
Authors
Dario Radecic
Dario Radecic
Kestra is, by design, language-agnostic, offering the flexibility to write scripts in your preferred language.
Kestra employs a declarative language for creating flows, and it allows you to write your script directly in your workflow thanks to our script Tasks . This approach works well for simple scripts, but for more complex scripts, you can leverage two Kestra features:
You can store your scripts on GitHub. Kestra can then download and run these scripts, allowing you to modify them on the fly without needing to adjust the actual flow.
You can use Kestra’s new code editor that enables you to write and execute your scripts directly from the Kestra UI.
Today, we’ll explore both methods in detail. But first, let’s develop a large Python script to demonstrate its functionality.
So, what will our “complex” Python script do?
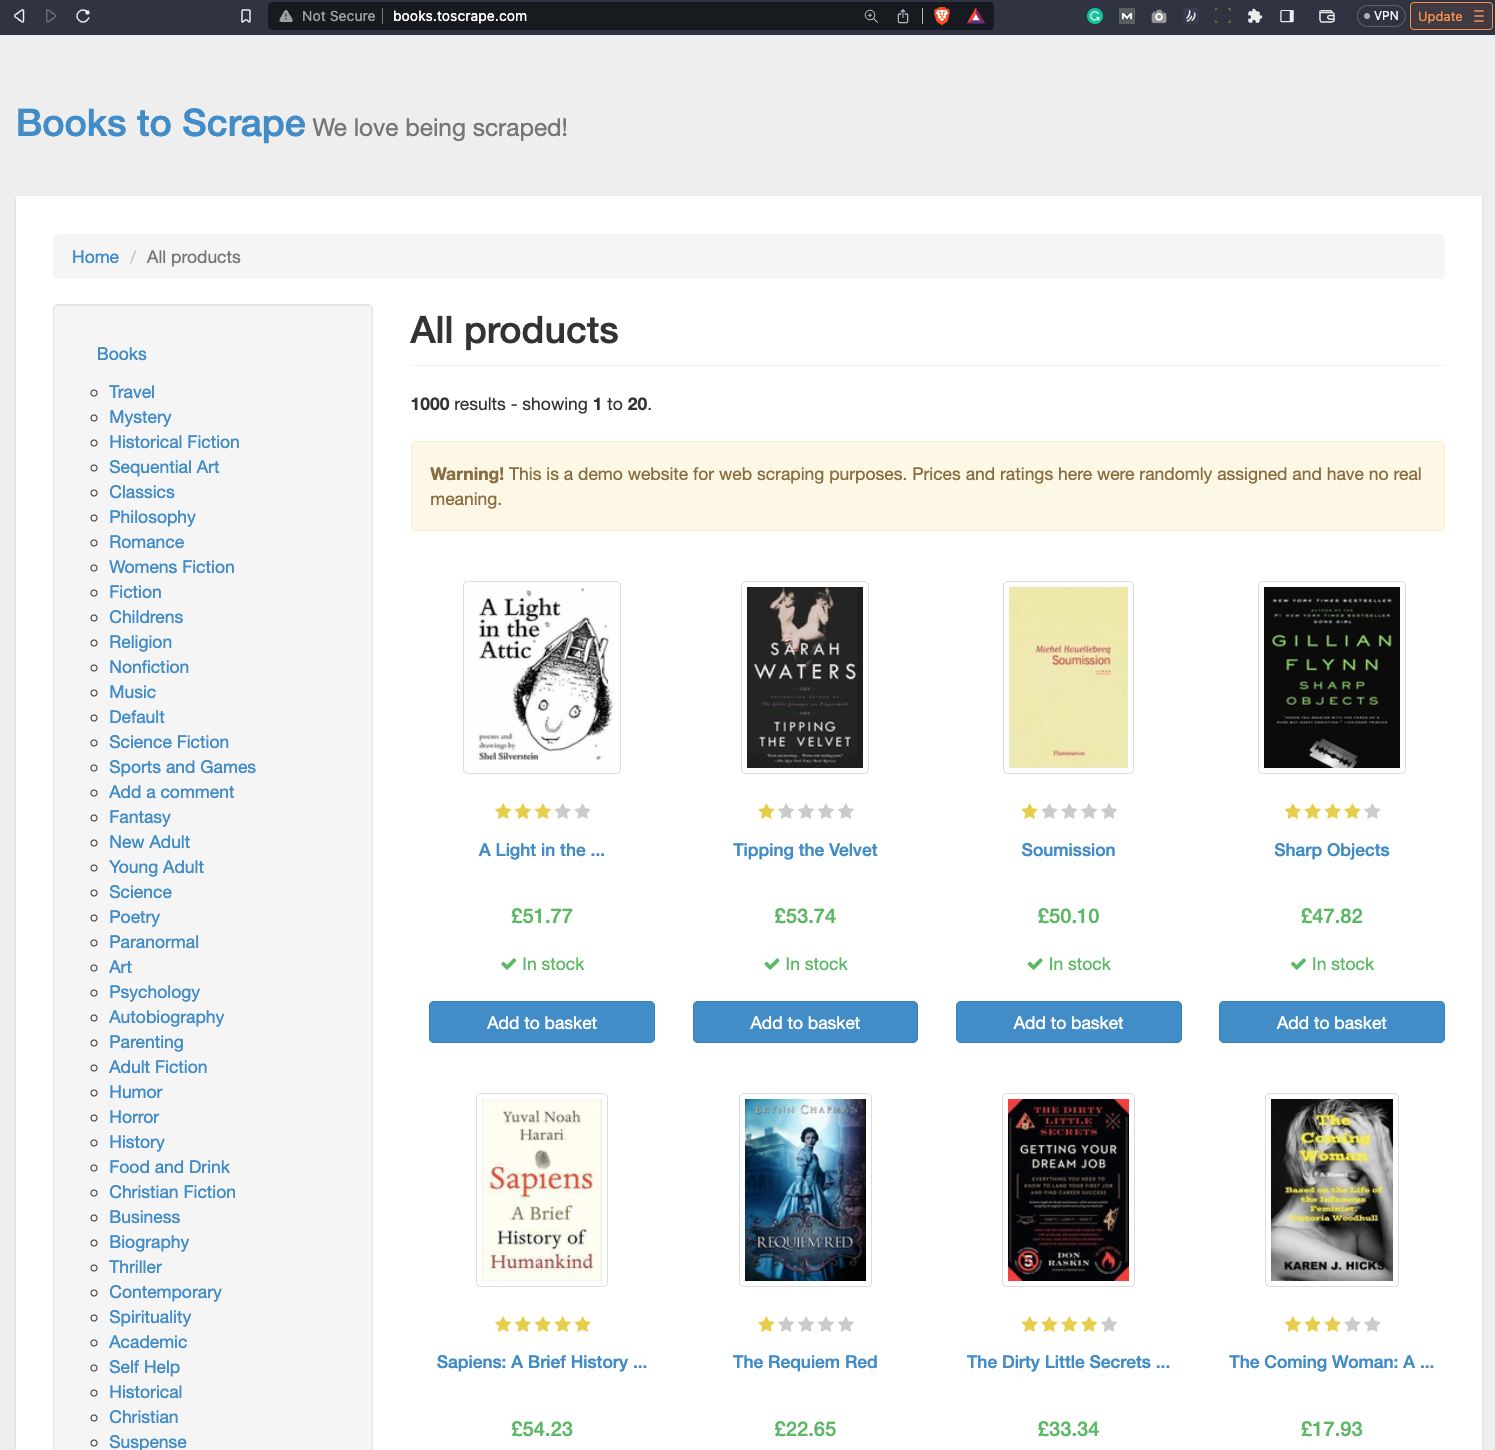
In a nutshell, it will scrape a website and organize the results in a Pandas DataFrame. We’ll leverage a website that was designed for beginners to learn web scraping - Books to Scrape.
It has books organized into categories, as you can see from the following image:
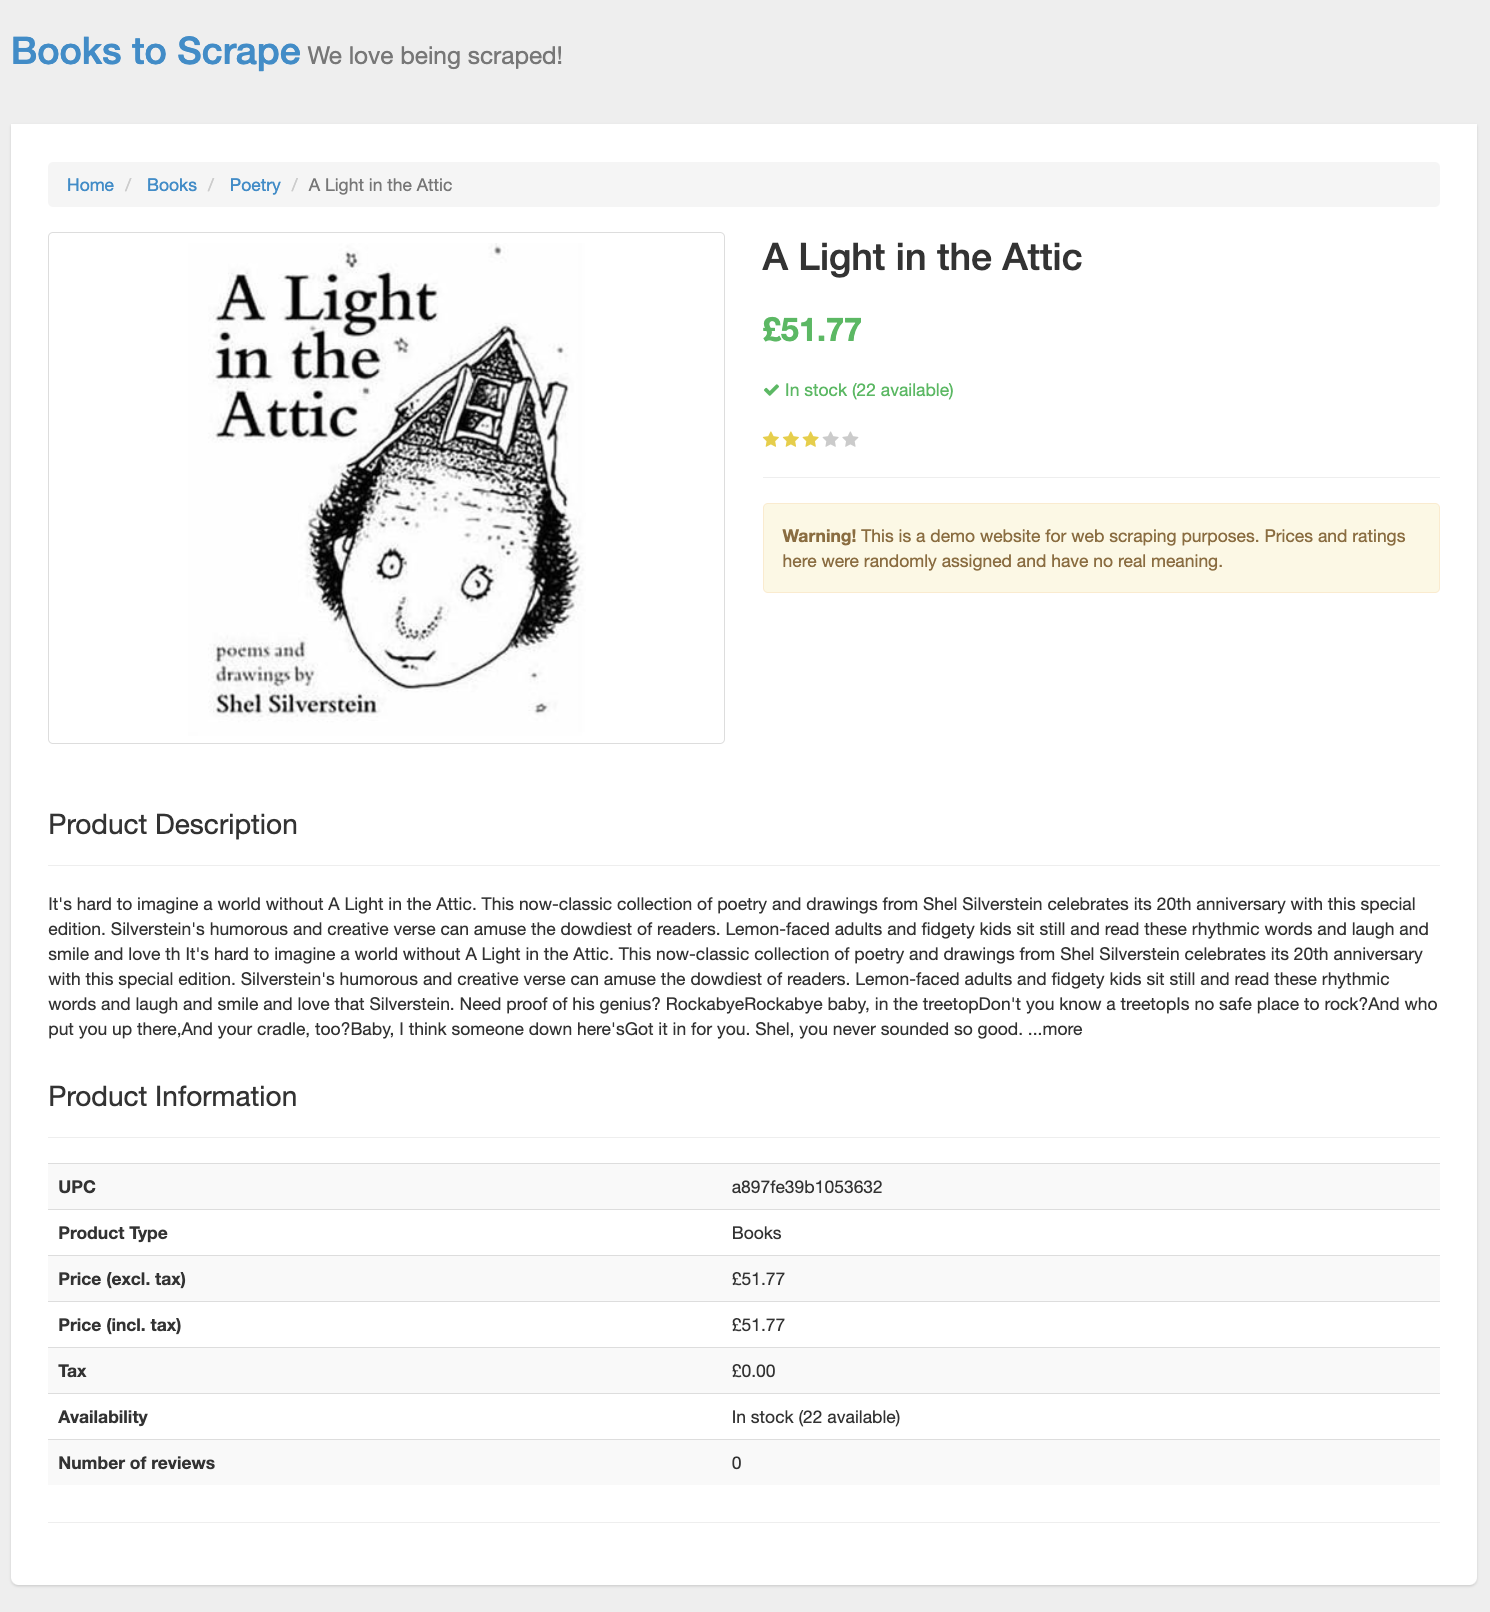
Clicking on an individual book opens up a whole new world of things to scrape:
And that’s just what we’ll do. Since this isn’t a web scraping article, we’ll only provide a high-level overview of the scraping logic. We have a file named scraper.py which implements the following functions:
get_books() - It accepts a list of topics and then iterates over them, constructs n URL, and uses the BeautifulSoup Python package to scrape the website. Once scraped, it extracts properties such as book title, link, thumbnail link, rating, price, and availability. Some of the properties might be missing, and we’ve taken that into account. Finally, books are organized into a Pandas DataFrame and returned to the user.main() - Declares a list of book topics and calls the get_books() function with them. Once done, it saves the returned Pandas DataFrame as a CSV file.If you prefer code over text, here’s an entire code snippet:
import requestsimport datetimeimport pandas as pdfrom bs4 import BeautifulSoupfrom collections import OrderedDict
def get_books(topic_list): # Generate full URLs from the argument provided by user all_urls = [] for topic in topic_list: all_urls.append('http://books.toscrape.com/catalogue/category/books/{}/index.html'.format(topic))
# Instantiate an empty list for holding the dictionary objects all_books = []
# Inform the user that the scraping has started, and when it started start_time = datetime.datetime.now() print('Book Scraping in Progress... Time Started: {}'.format(datetime.datetime.strftime(start_time, '%d.%m.%Y %H:%M:%S')))
# Iterate over every URL for url in all_urls: # Fetch HTML from it page = requests.get(url) soup = BeautifulSoup(page.content, 'lxml')
# Topic can be extracted from the URL itself # I've also removed everything that isn't necessary - '_2' from 'travel_2' for example curr_topic = url.split('/')[-2].split('_')[0]
# article tag is your starting point, as discussed earlier books = soup.find_all('article', attrs={'class': 'product_pod'})
# For every article tag on the webpage for book in books: # Initialize the variables so the error isn't thrown if data isn't found book_title = '' book_link = '' thumbnail_link = '' rating = '' price = '' availability = ''
# Check if title exists - if does, update book_title if book.find('h3').find('a') != None: book_title = book.find('h3').find('a').get('title')
# Check if link exists - if does, update book_link and thumbnail_link if book.find('div', attrs={'class': 'image_container'}).find('a') != None: base_book_url = 'http://books.toscrape.com/catalogue/' book_url = book.find('div', attrs={'class': 'image_container'}).find('a').get('href') book_link = base_book_url + book_url.split('../')[-1]
base_thumbnail_url = 'http://books.toscrape.com/' thumbnail_url = book.find('div', attrs={'class': 'image_container'}).find('img').get('src') thumbnail_link = base_thumbnail_url + thumbnail_url.split('../')[-1]
# Check if rating exists - if does, update rating if book.find('p', attrs={'class': 'star-rating'}) != None: rating = book.find('p', attrs={'class': 'star-rating'}).get('class')[-1]
# Check if price and availability exists - if does, update them if book.find('div', attrs={'class': 'product_price'}) != None: price = book.find('div', attrs={'class': 'product_price'}).find('p', attrs={'class': 'price_color'}).get_text() availability = book.find('div', attrs={'class': 'product_price'}).find('p', attrs={'class': 'instock availability'}).get_text().strip()
# Append the list with Ordered Dictionary from those variables all_books.append(OrderedDict({ 'Topic' : curr_topic, 'Title' : book_title, 'Rating' : rating, 'Price' : price, 'Availability' : availability, 'Link' : book_link, 'Thumbnail' : thumbnail_link }))
# Inform the user that scraping has finished and report how long it took end_time = datetime.datetime.now() duration = int((end_time - start_time).total_seconds()) print('Scraping Finished!') print('\tIt took {} seconds to scrape {} books'.format(duration, len(all_books)))
# Return Pandas DataFrame representation of the list return pd.DataFrame(all_books)
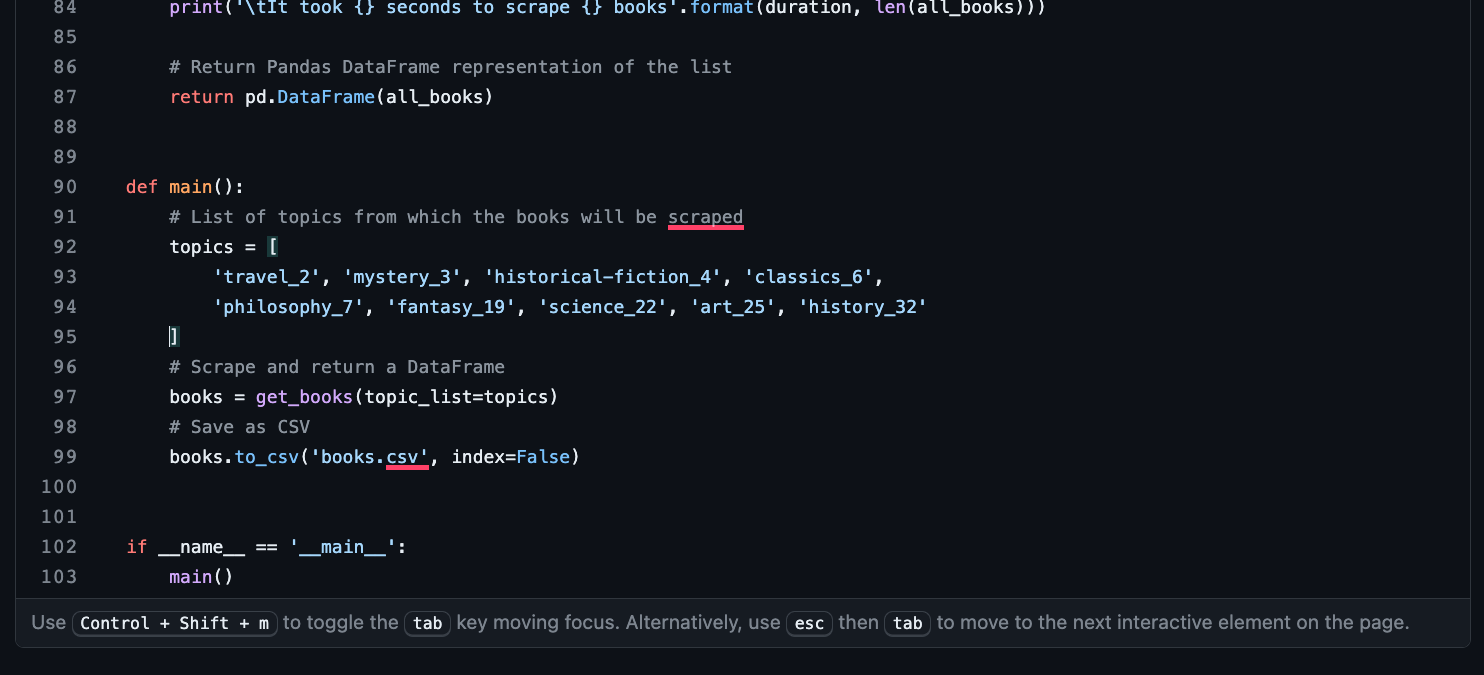
def main(): # List of topics from which the books will be scraped topics = ['travel_2', 'mystery_3', 'historical-fiction_4', 'classics_6', 'philosophy_7'] # Scrape and return a DataFrame books = get_books(topic_list=topics) # Save as CSV books.to_csv('books.csv', index=False)
if __name__ == '__main__': main()As you can see, navigating through nested HTML elements is messy, and you definitely don’t want to copy-paste this script into Kestra’s plain YAML flow code. There are much better ways.
But first, let’s test the script next to ensure it works properly.
You can run the scraper.py file from CMD/Terminal, depending on the operating system you’re using.
Here’s what we got printed to the console:
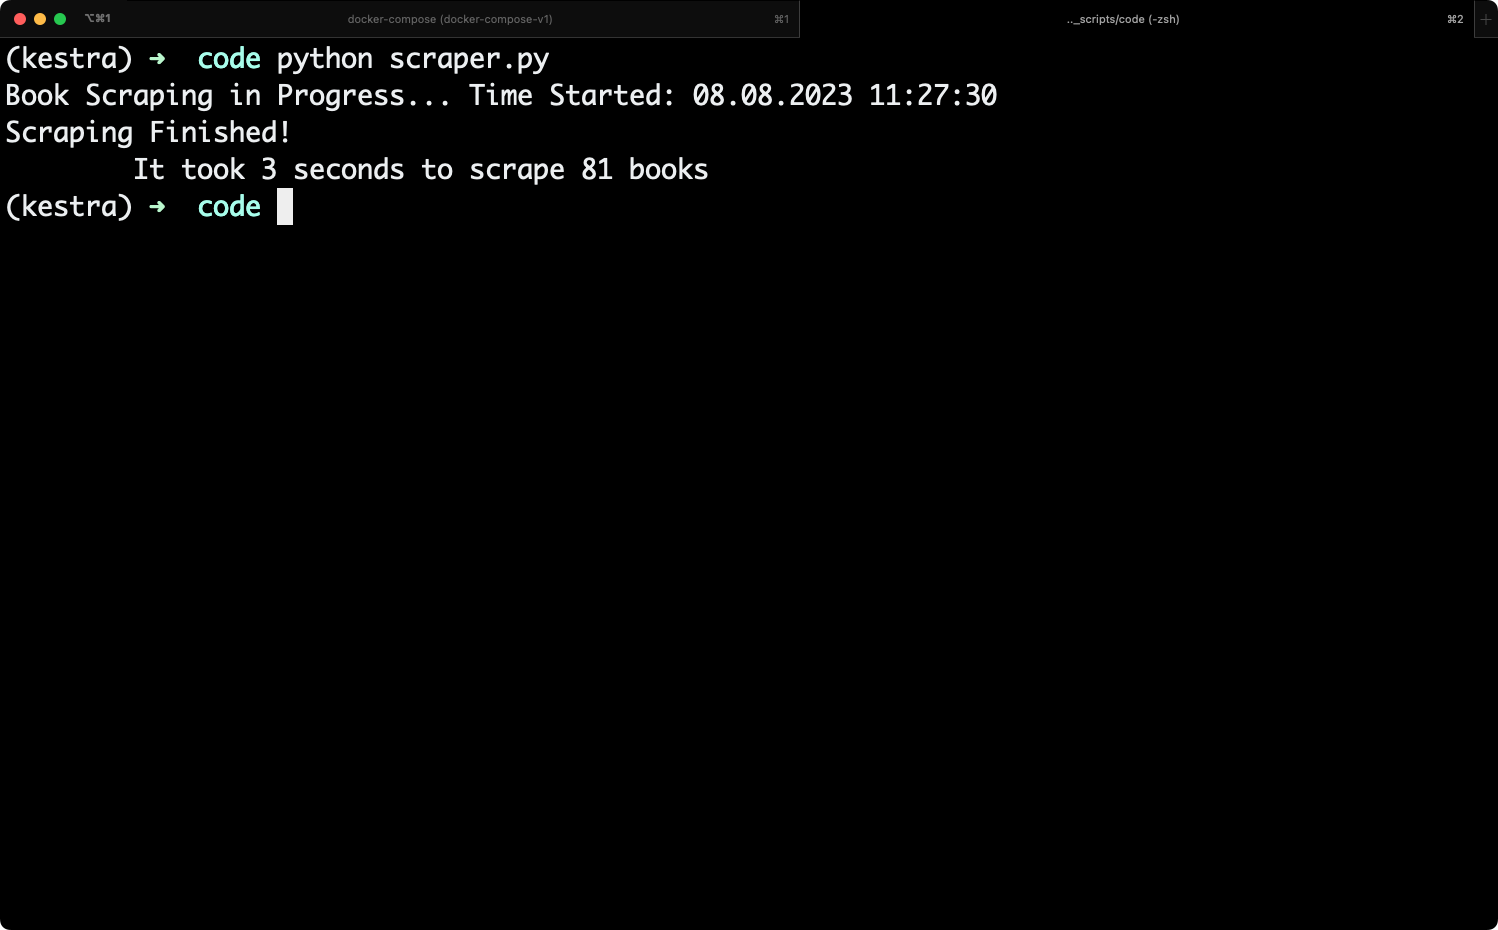
The script has scraped 81 books in 3 seconds, and supposedly saved the results into a CSV file.
You’ll see this file in the same place where your Python script is located:

It looks like everything worked, so let’s bring this logic to Kestra next.
In this section, you’ll learn how to have your Python scripts living on GitHub, and also how to connect Kestra to a GitHub repo.
First things first, you’ll want to create a requirements.txt file. It will store all the Python dependencies needed to run the script.
You can check the Python package versions manually, or simply copy everything from the below snippet:
requests==2.26.0pandas==2.0.3beautifulsoup4==4.12.2lxml==4.9.3Now create a new GitHub repository and copy both files to it. You should end up with something like this:
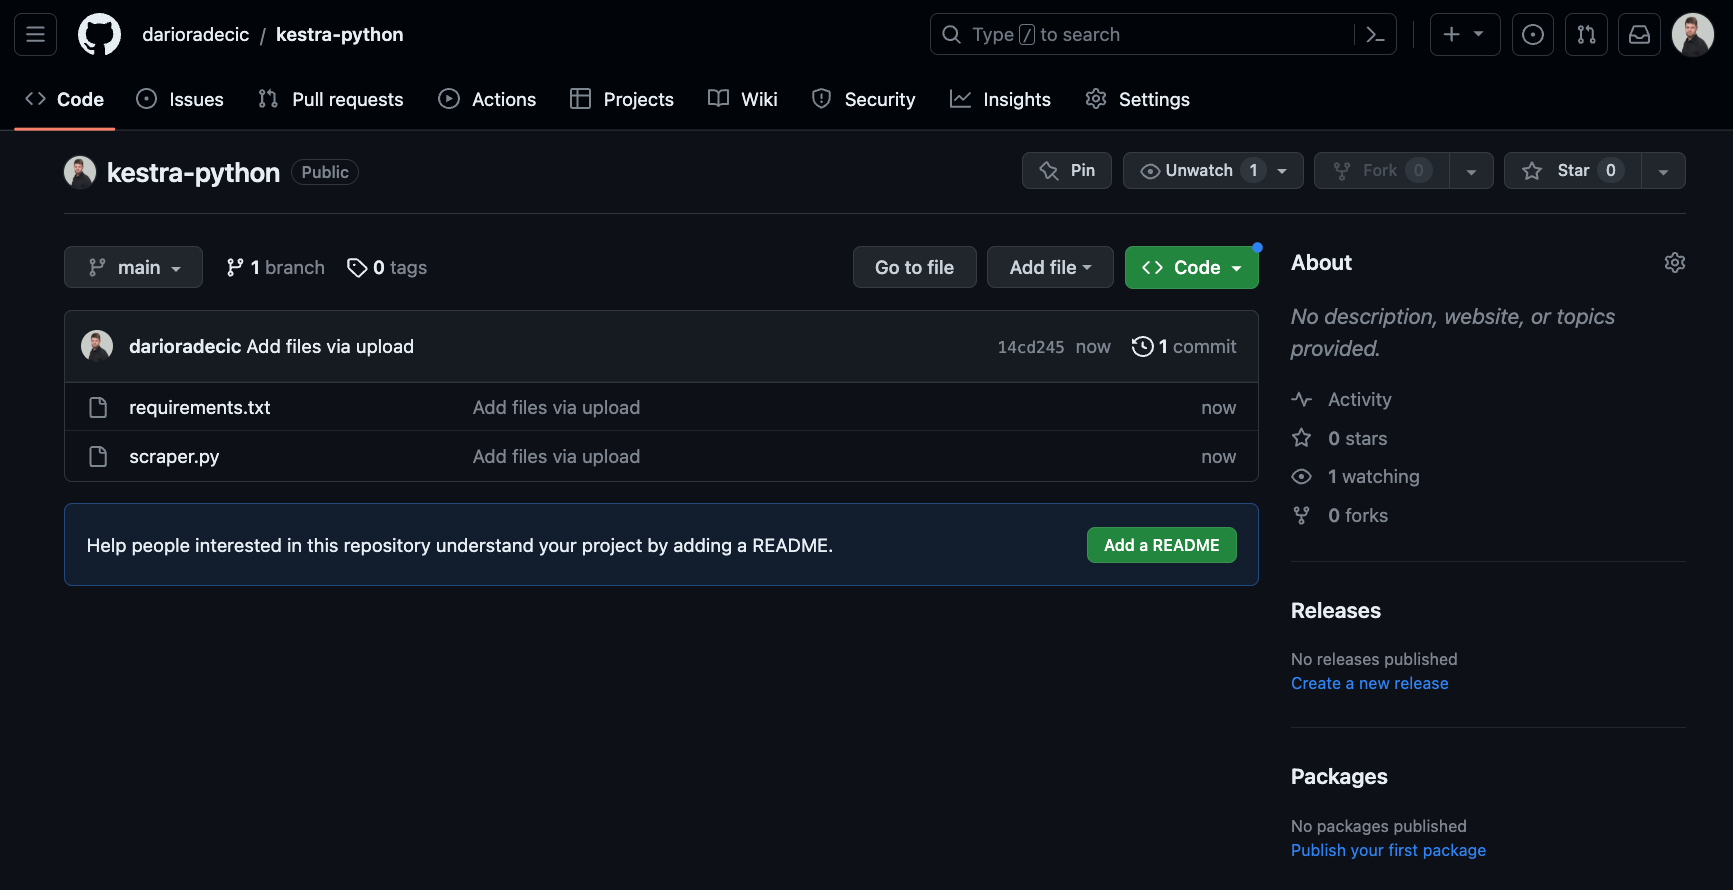
And that’s it! You’re now ready to create a new Kestra flow.
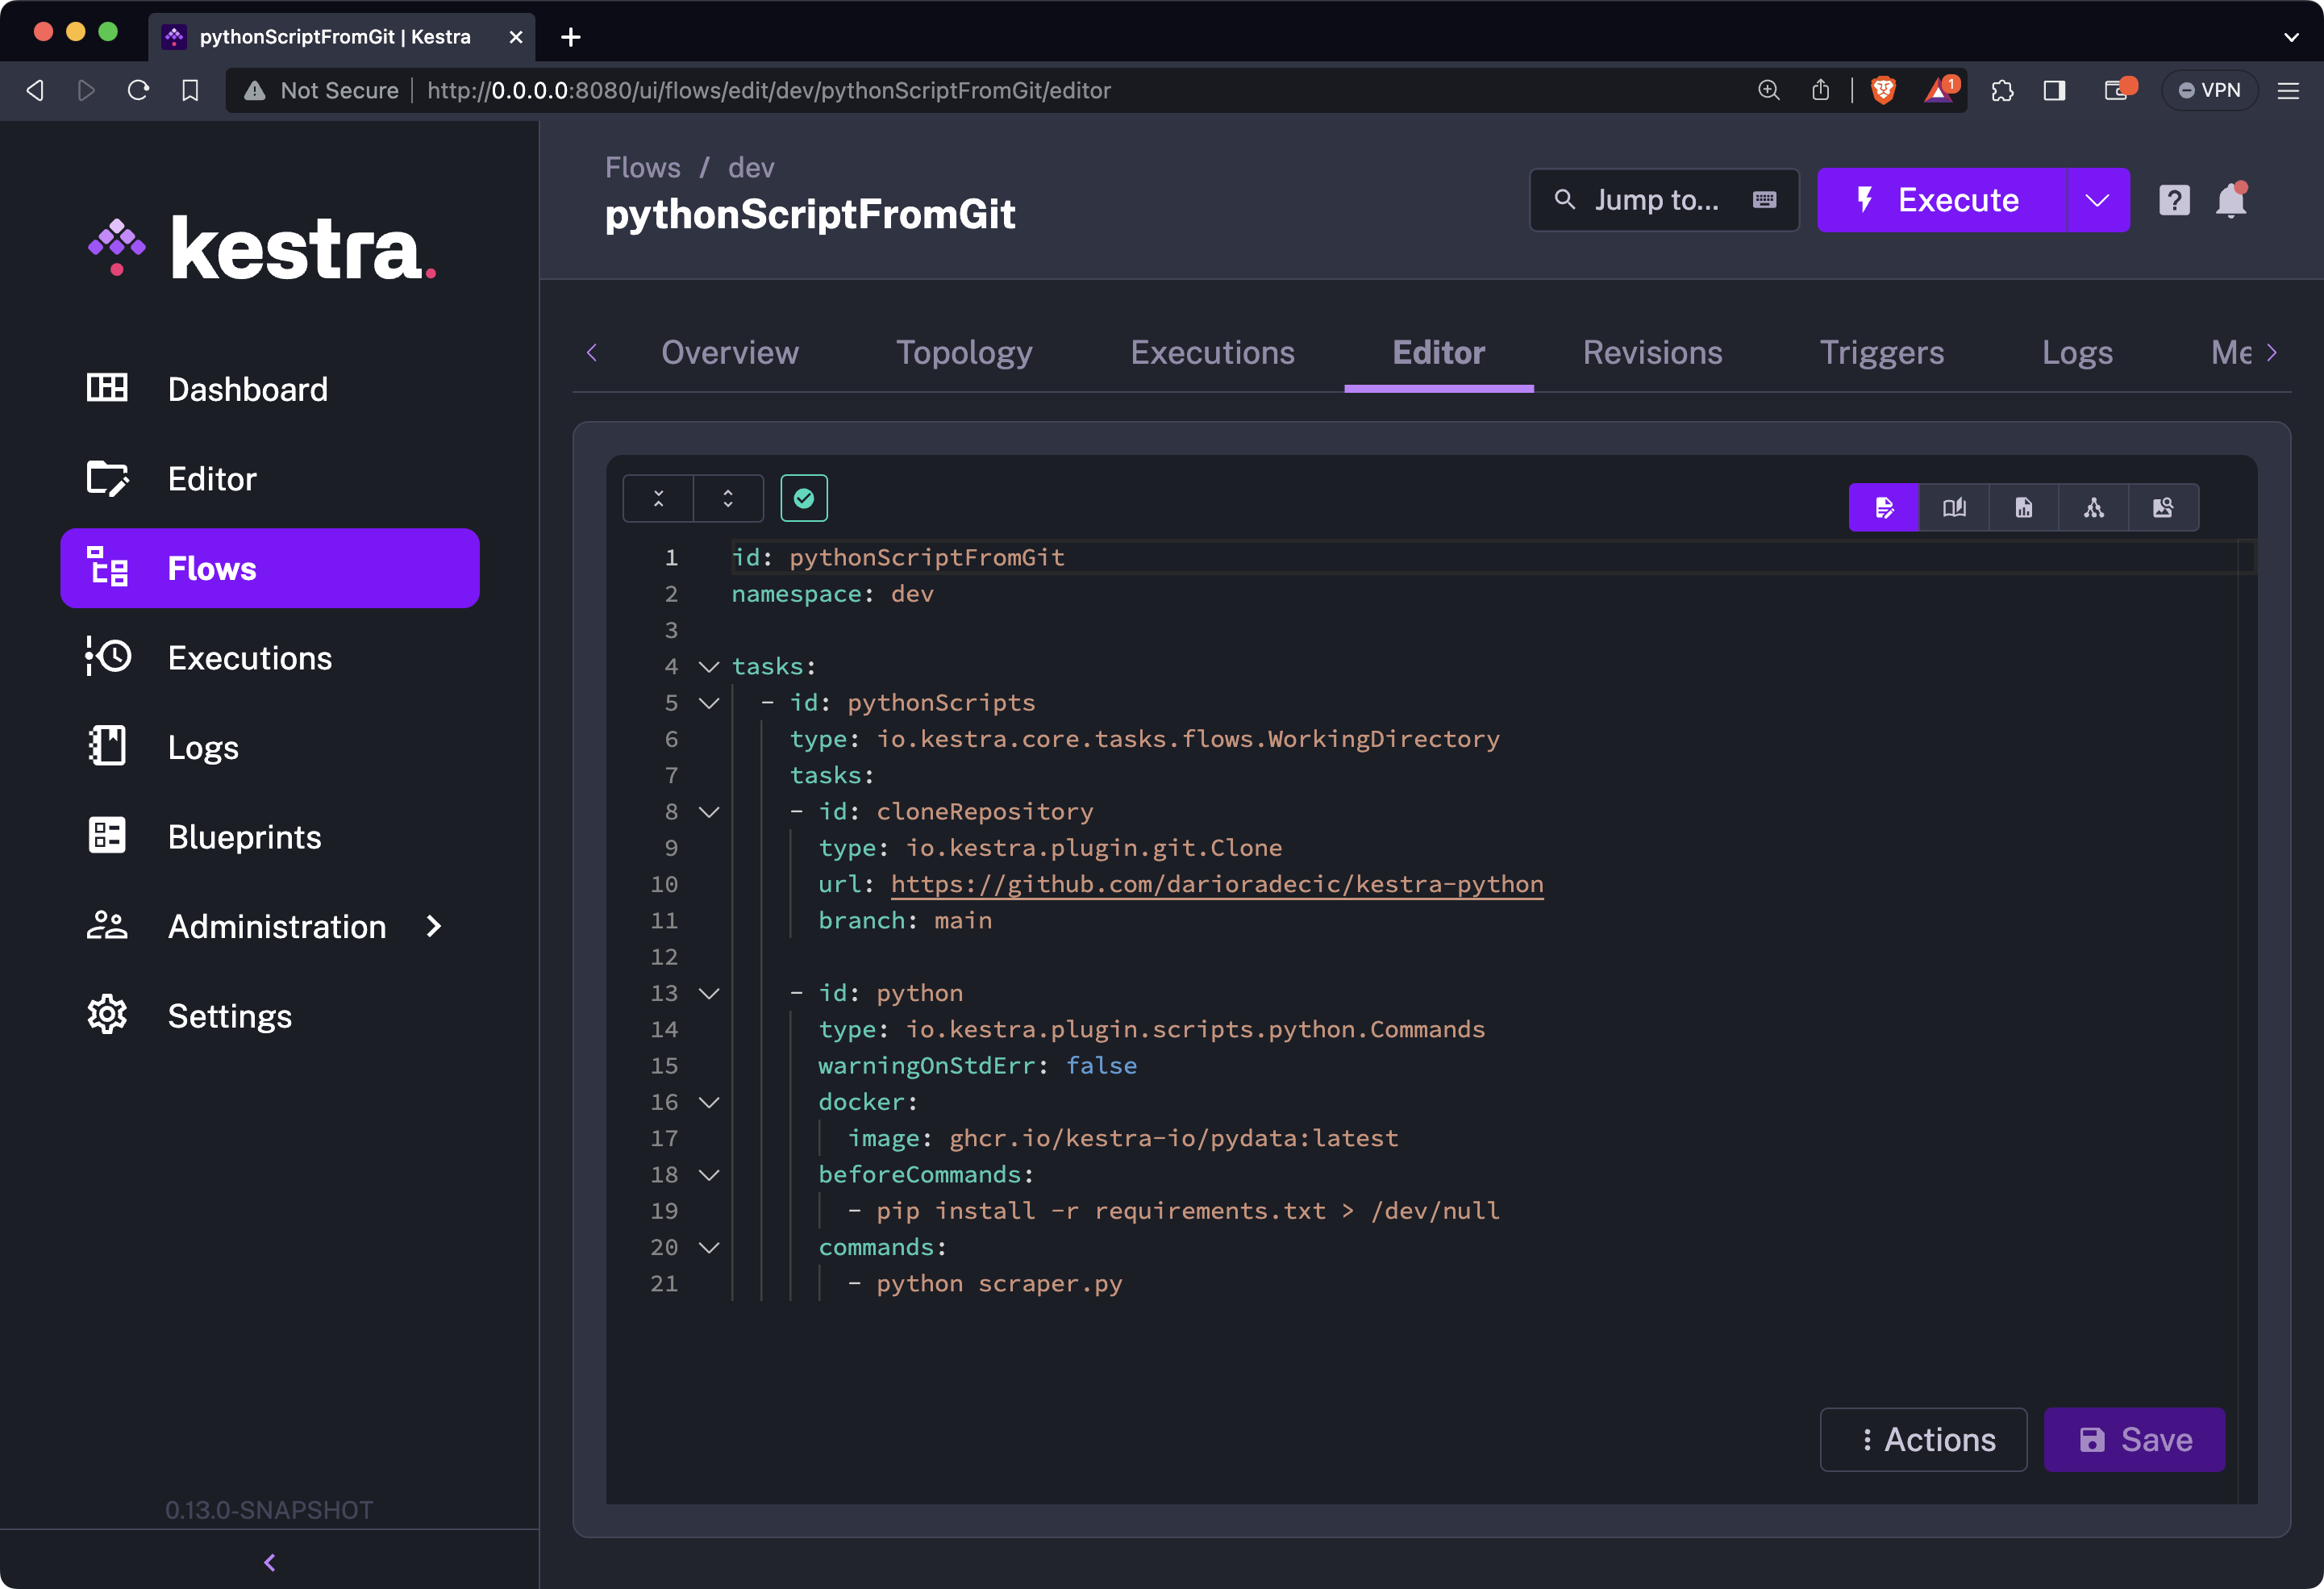
We’ve created a new Kestra flow that uses the io.kestra.plugin.core.flow.WorkingDirectory plugin.
You’ll want to use the io.kestra.plugin.git.Clone plugin to clone a GitHub repository locally (to Kestra). Just remember to specify your GitHub repo URL in this task.
Further, we’re using a io.kestra.plugin.scripts.python.Commands task instead of io.kestra.plugin.scripts.python.Script, since we technically have the script downloaded and stored on Kestra’s storage. Also, make sure to install dependencies from a requirements.txt file, and then just run the Python file:
id: pythonScriptFromGitnamespace: company.team
tasks:  - id: workingDirectory    type: io.kestra.plugin.core.flow.WorkingDirectory    tasks:    - id: cloneRepository      type: io.kestra.plugin.git.Clone      url: https://github.com/darioradecic/kestra-python      branch: main
    - id: pythonScript      type: io.kestra.plugin.scripts.python.Commands      warningOnStdErr: false      docker:        image: ghcr.io/kestra-io/pydata:latest      beforeCommands:        - pip install -r requirements.txt > /dev/null      commands:        - python scraper.py
And here’s what your editor’s content should look like:
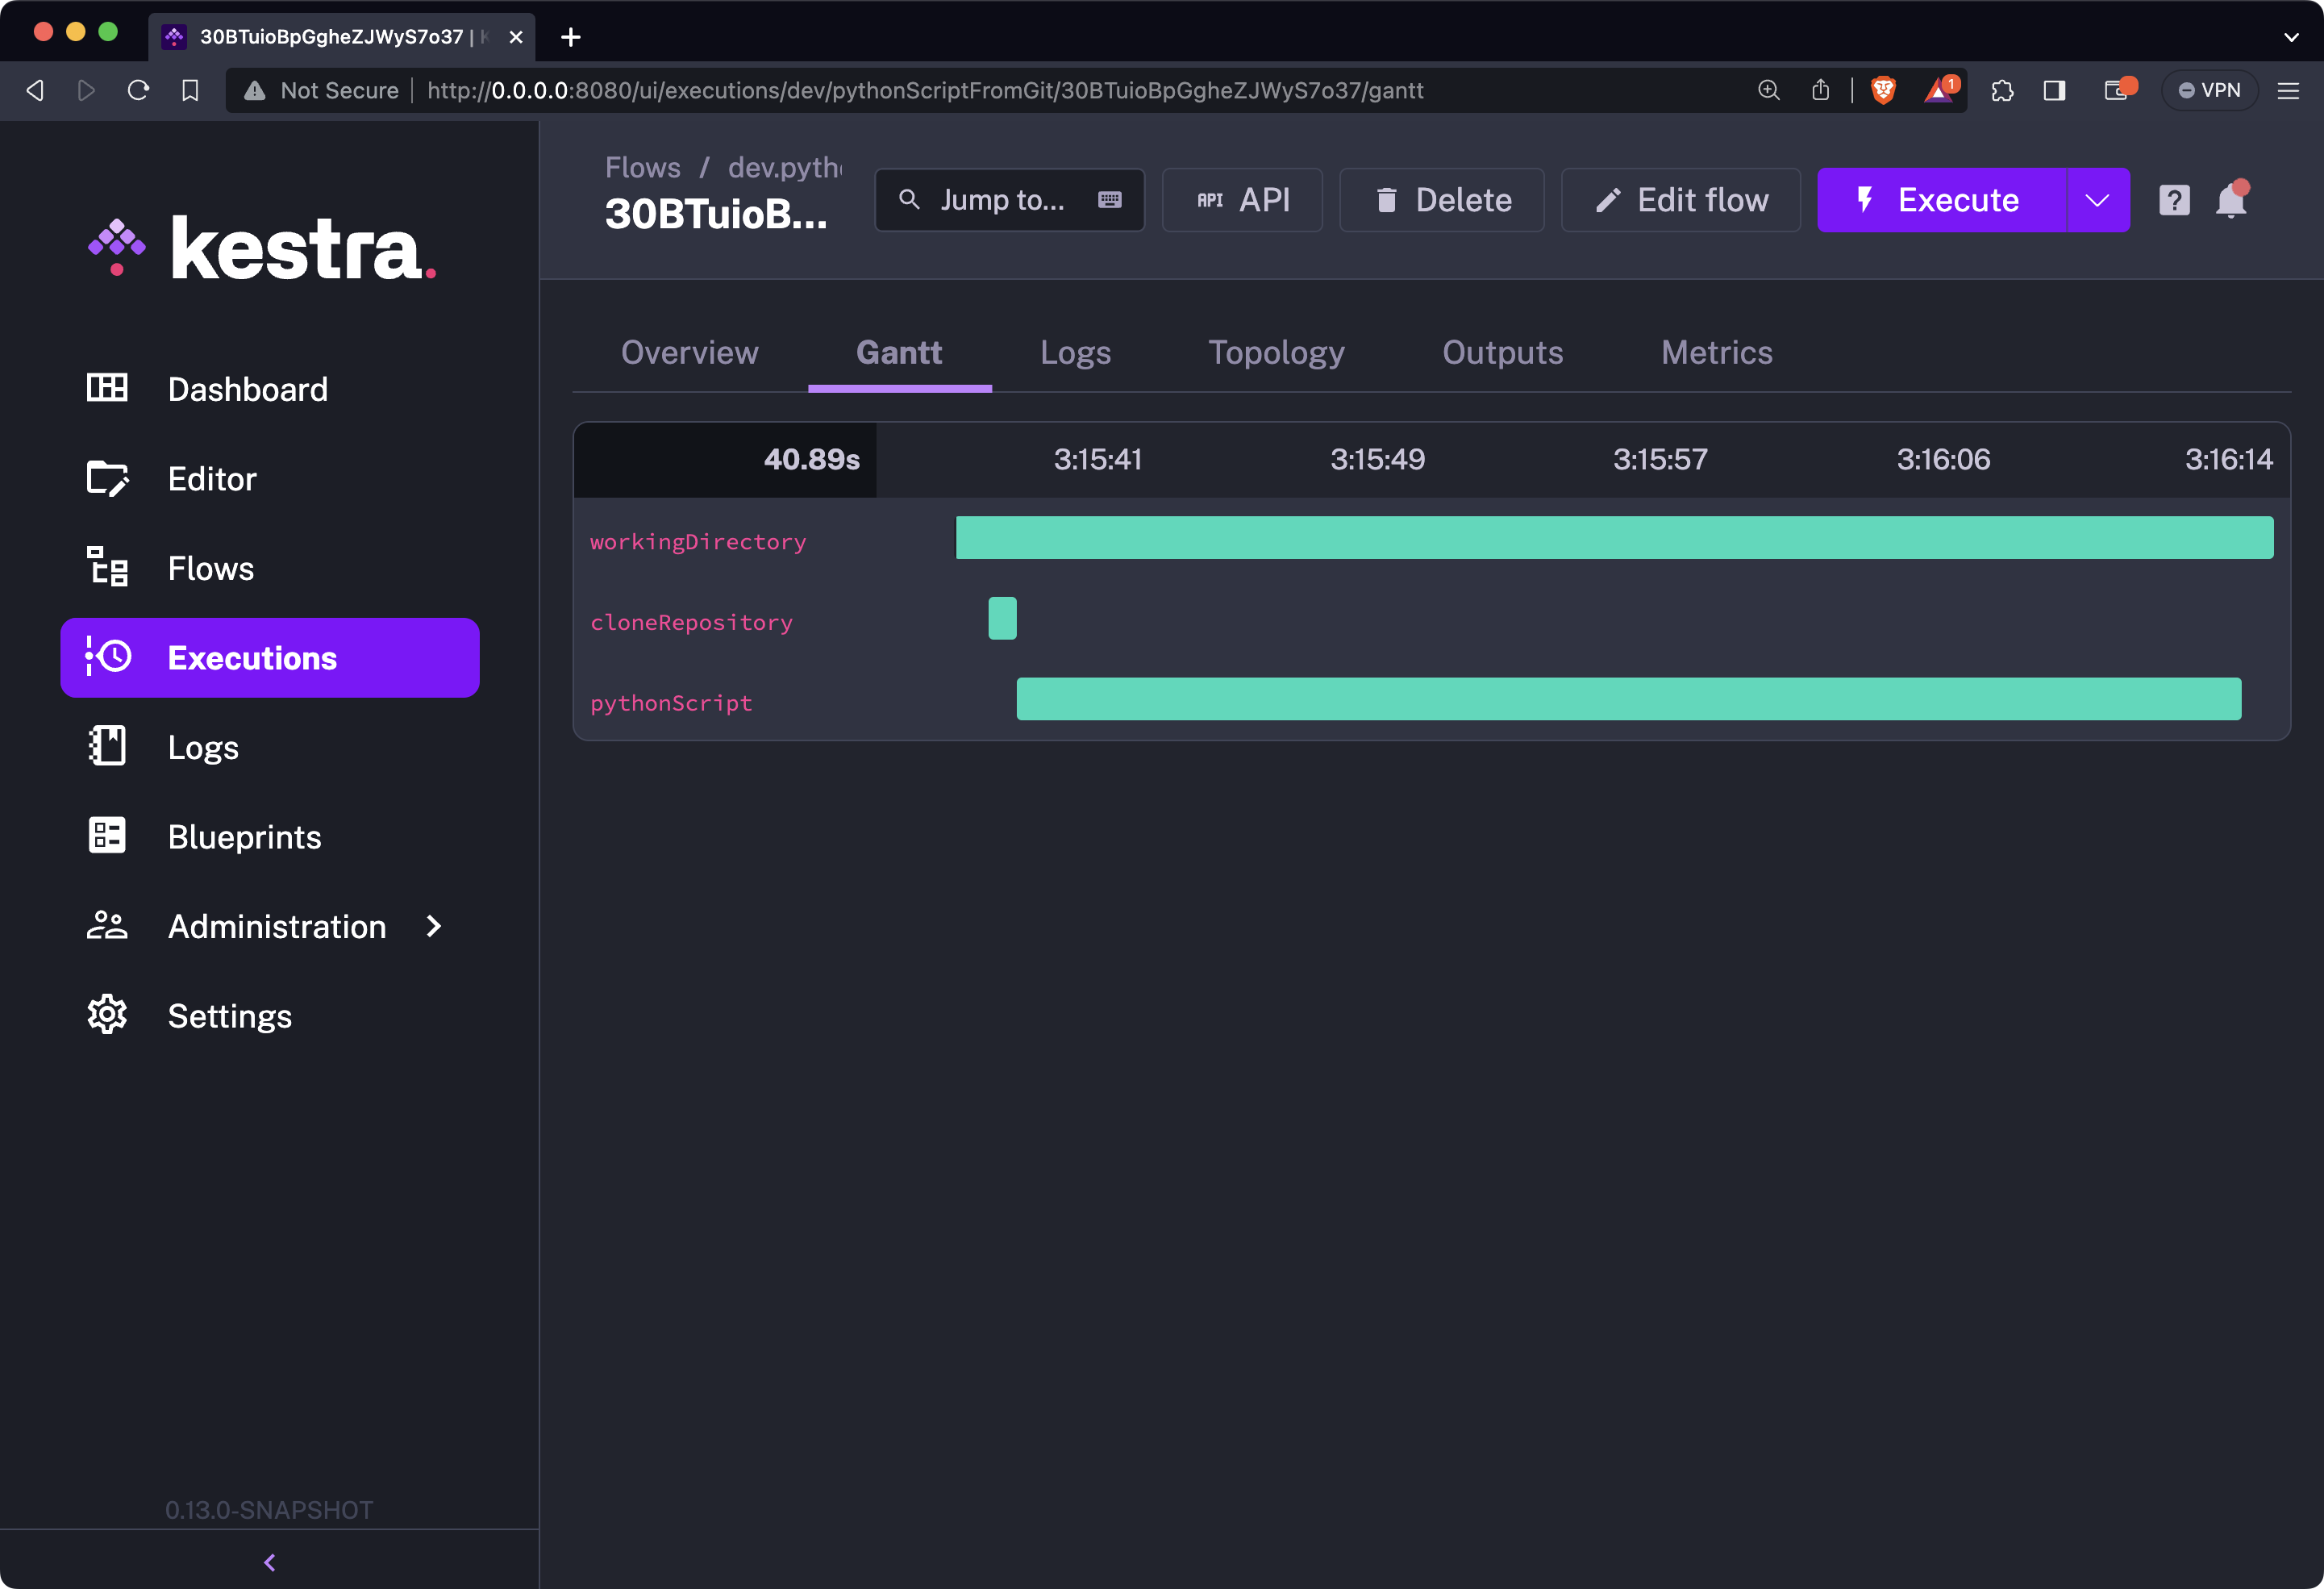
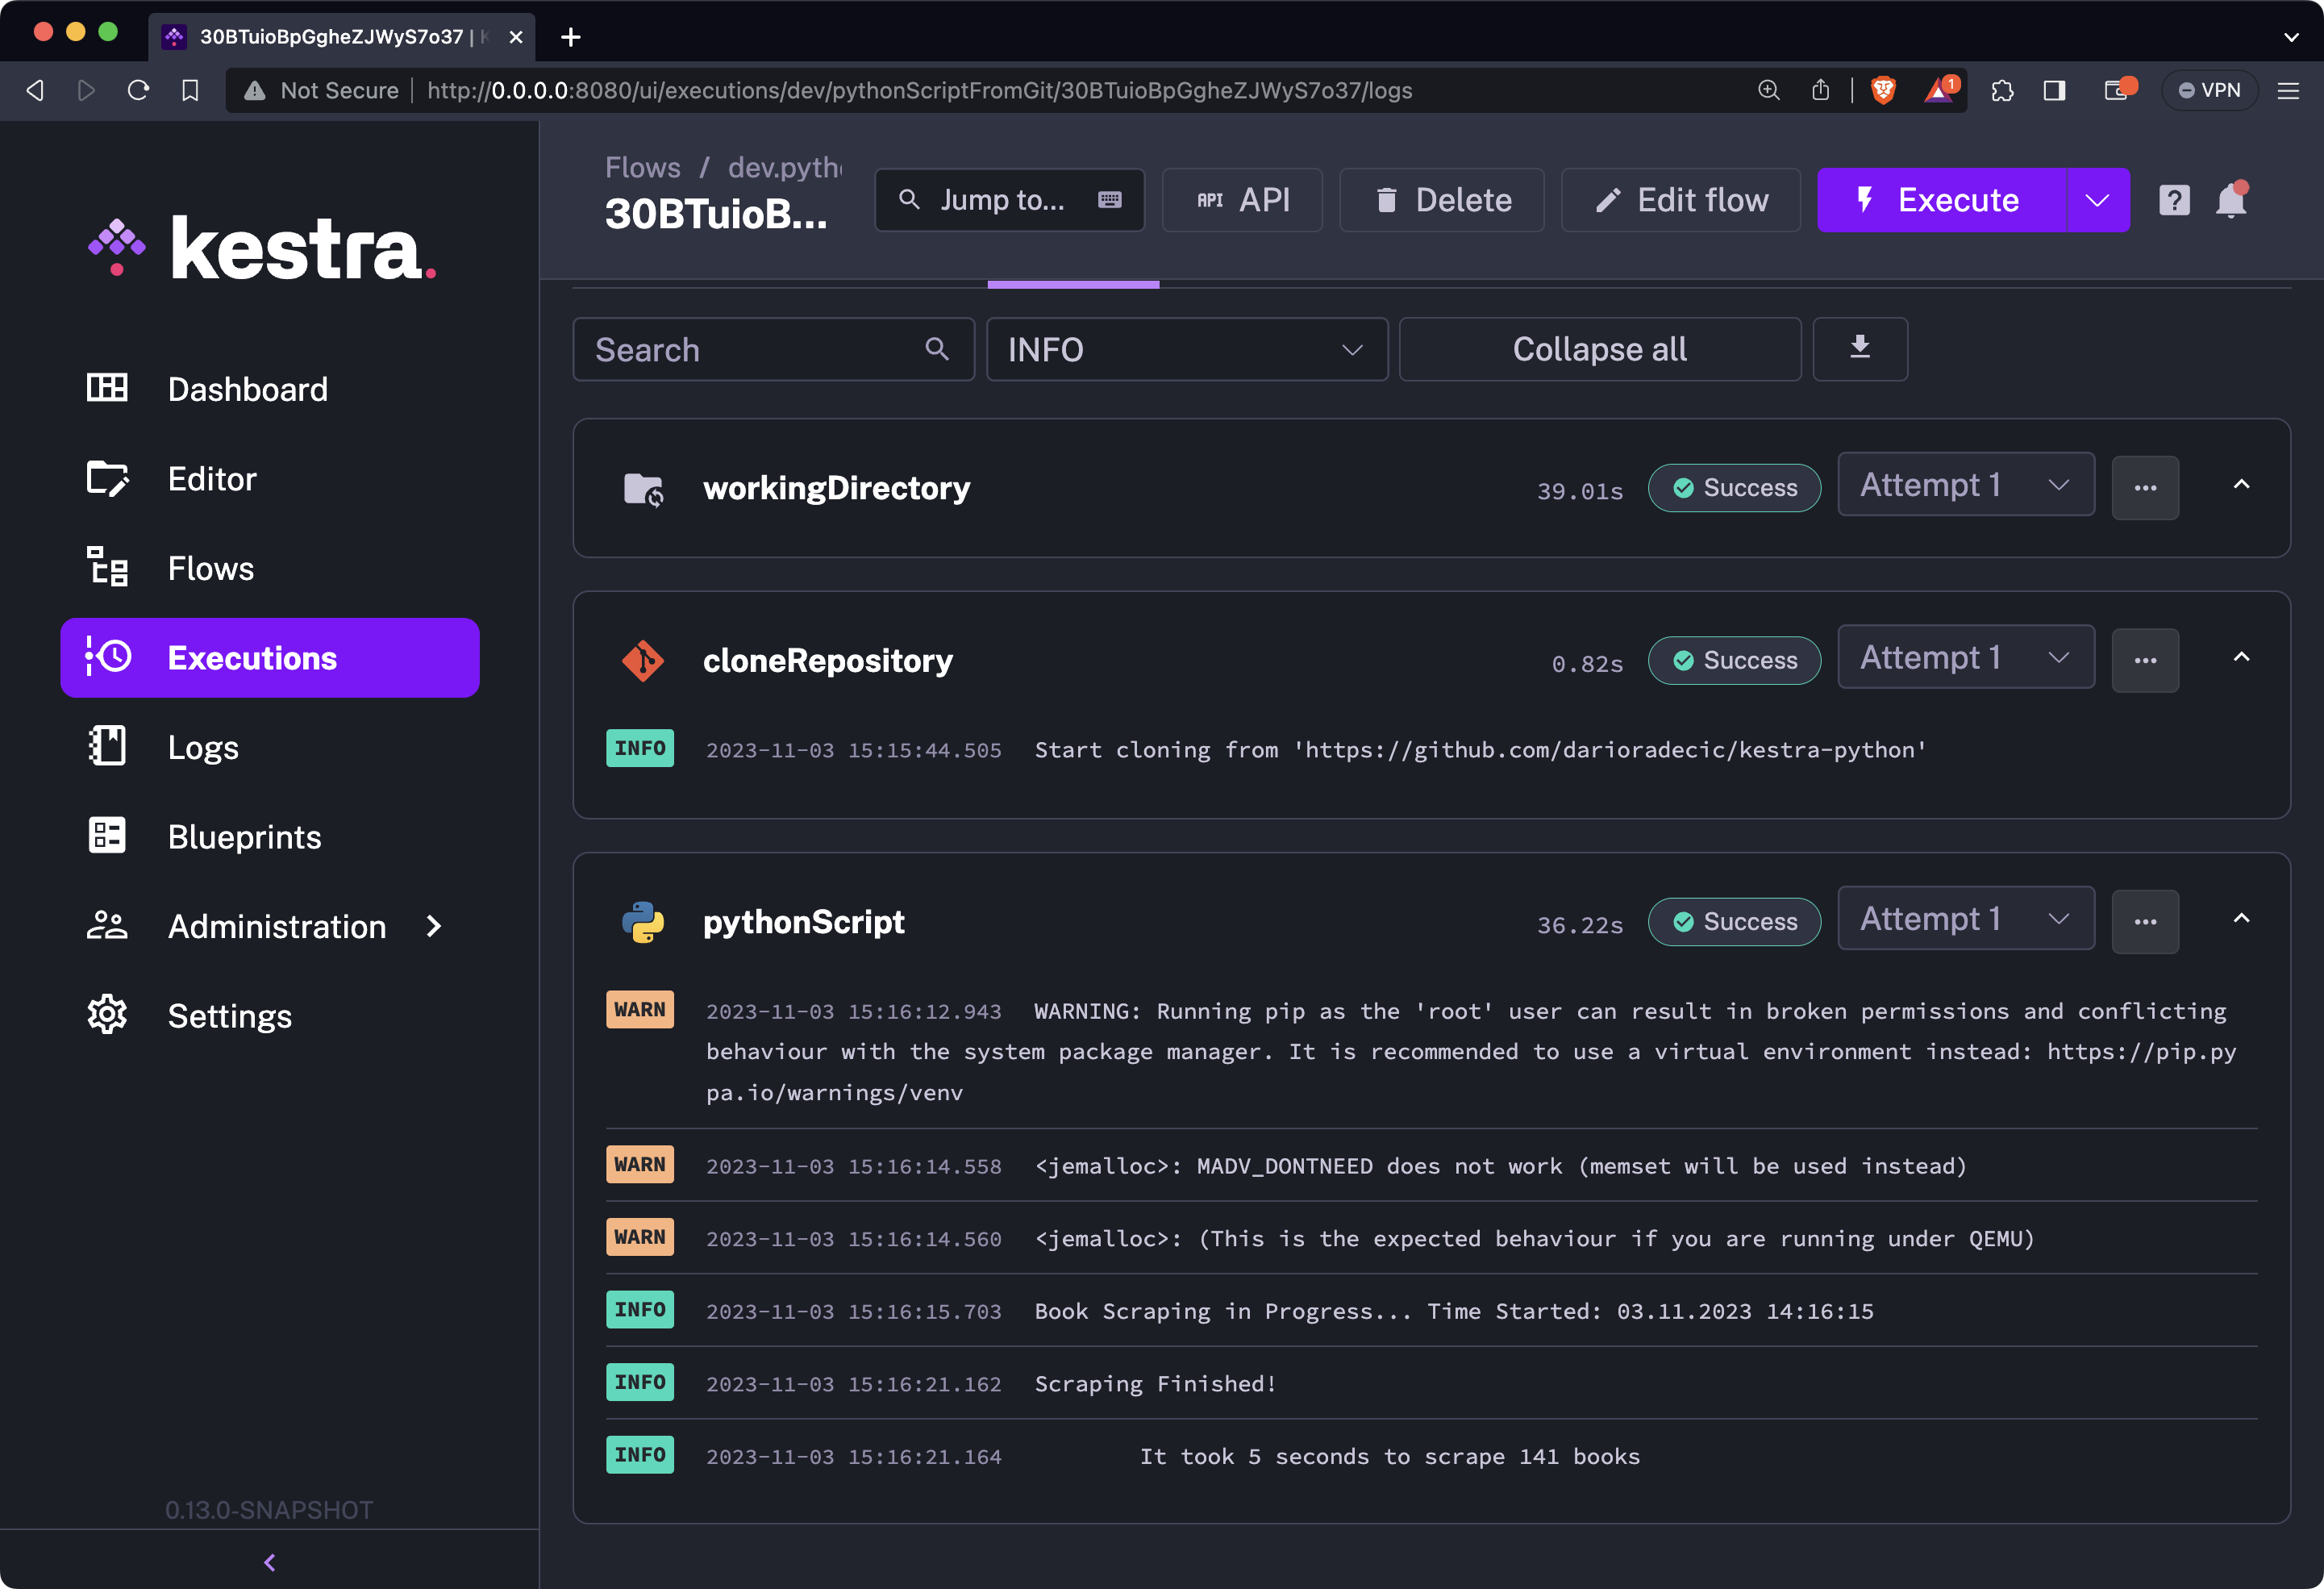
You can run it, and this time you’ll see three green bars. The additional bar in the middle represents the task of cloning the GitHub repo:
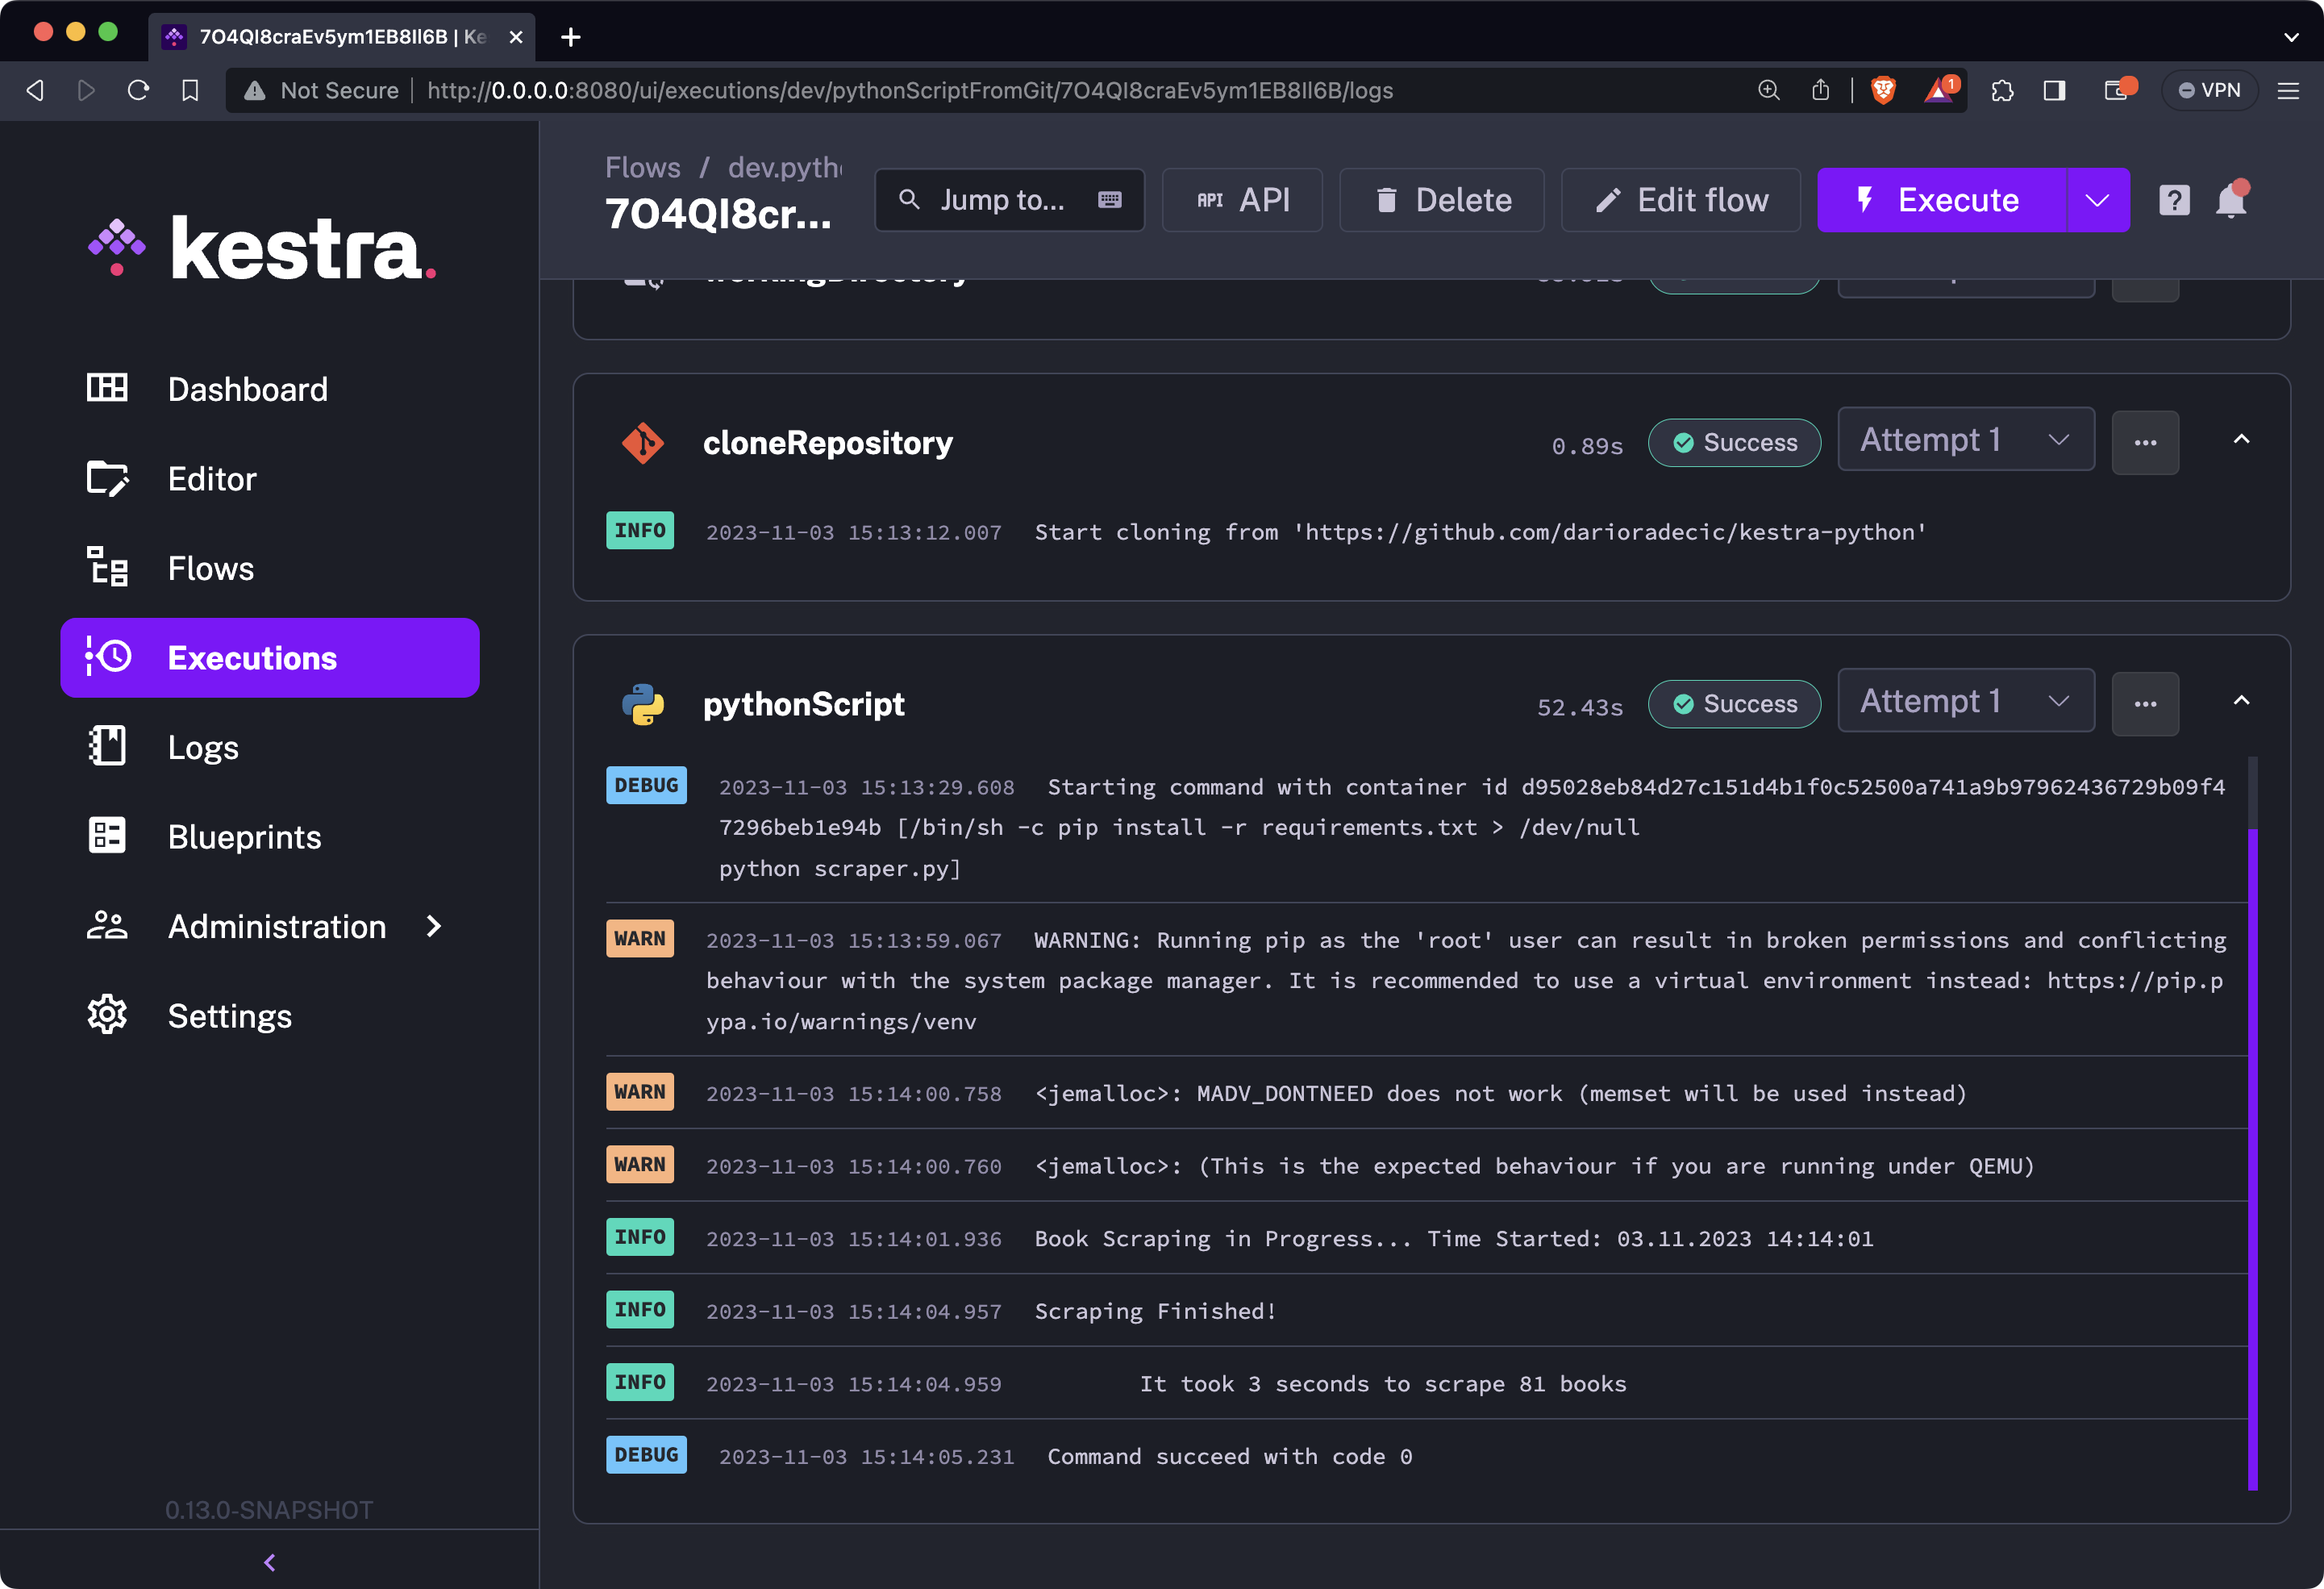
You can further inspect the contents of the Logs tab. It will show you the same success message seen in the previous section, while we were testing the script locally:
The biggest benefit of running Python script this way is that you or anyone else from your team can modify the Python code on the fly, without the need to do any modification on Kestra’s end. Let’s see that in action next.
To demonstrate, we’ve decided to add a couple more book categories to the Python file. Nothing fancy or groundbreaking, but you should end up with a couple of more scraped books:
The best part is that you can now simply re-run the Kestra flow and leave the flow YAML file identical to what it was.
As you can see, the Python script has now scraped a total of 141 books instead of 81, which means Kestra was able to detect the change on a Python script stored on GitHub:
If you ask us, that’s the true power of separating code logic from data flows - scalability.
Up next, you’ll learn how to run Python scripts using our new code editor.
To start using it, click on the Editor tab in the sidebar navigation, and choose your namespace from the dropdown menu:
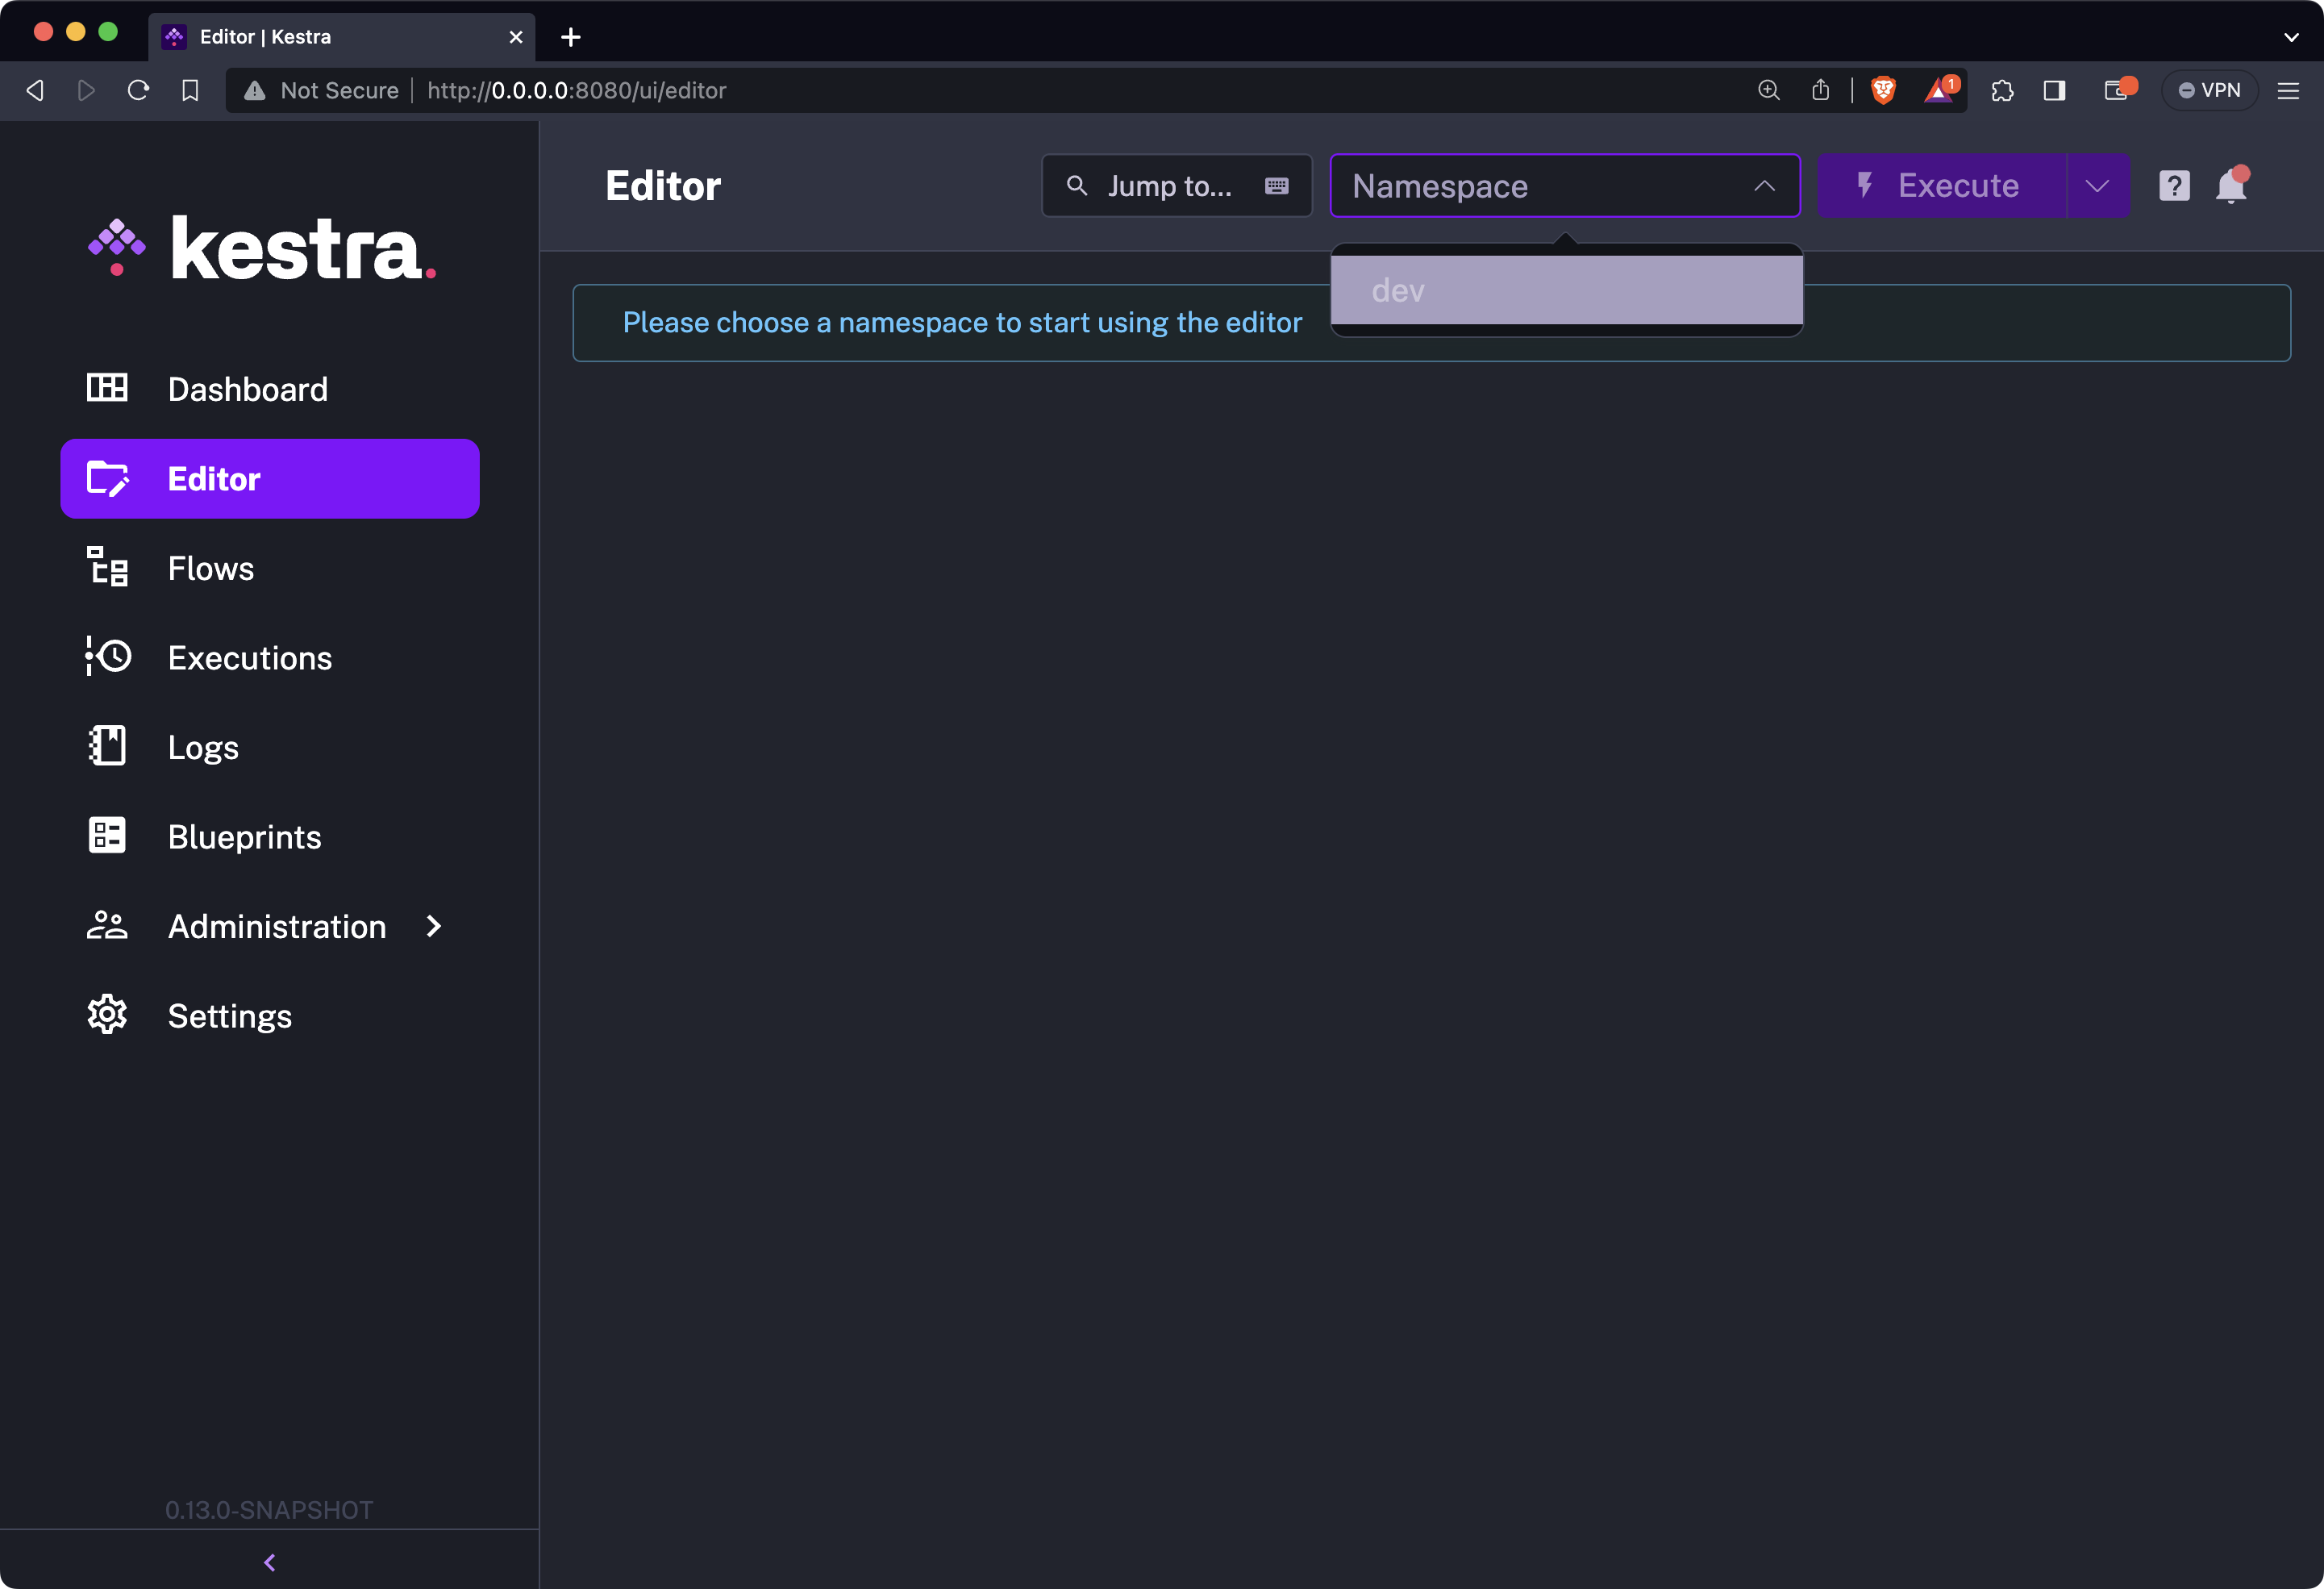
After a couple of seconds of initializations, you’ll be presented with a familiar-looking interface:
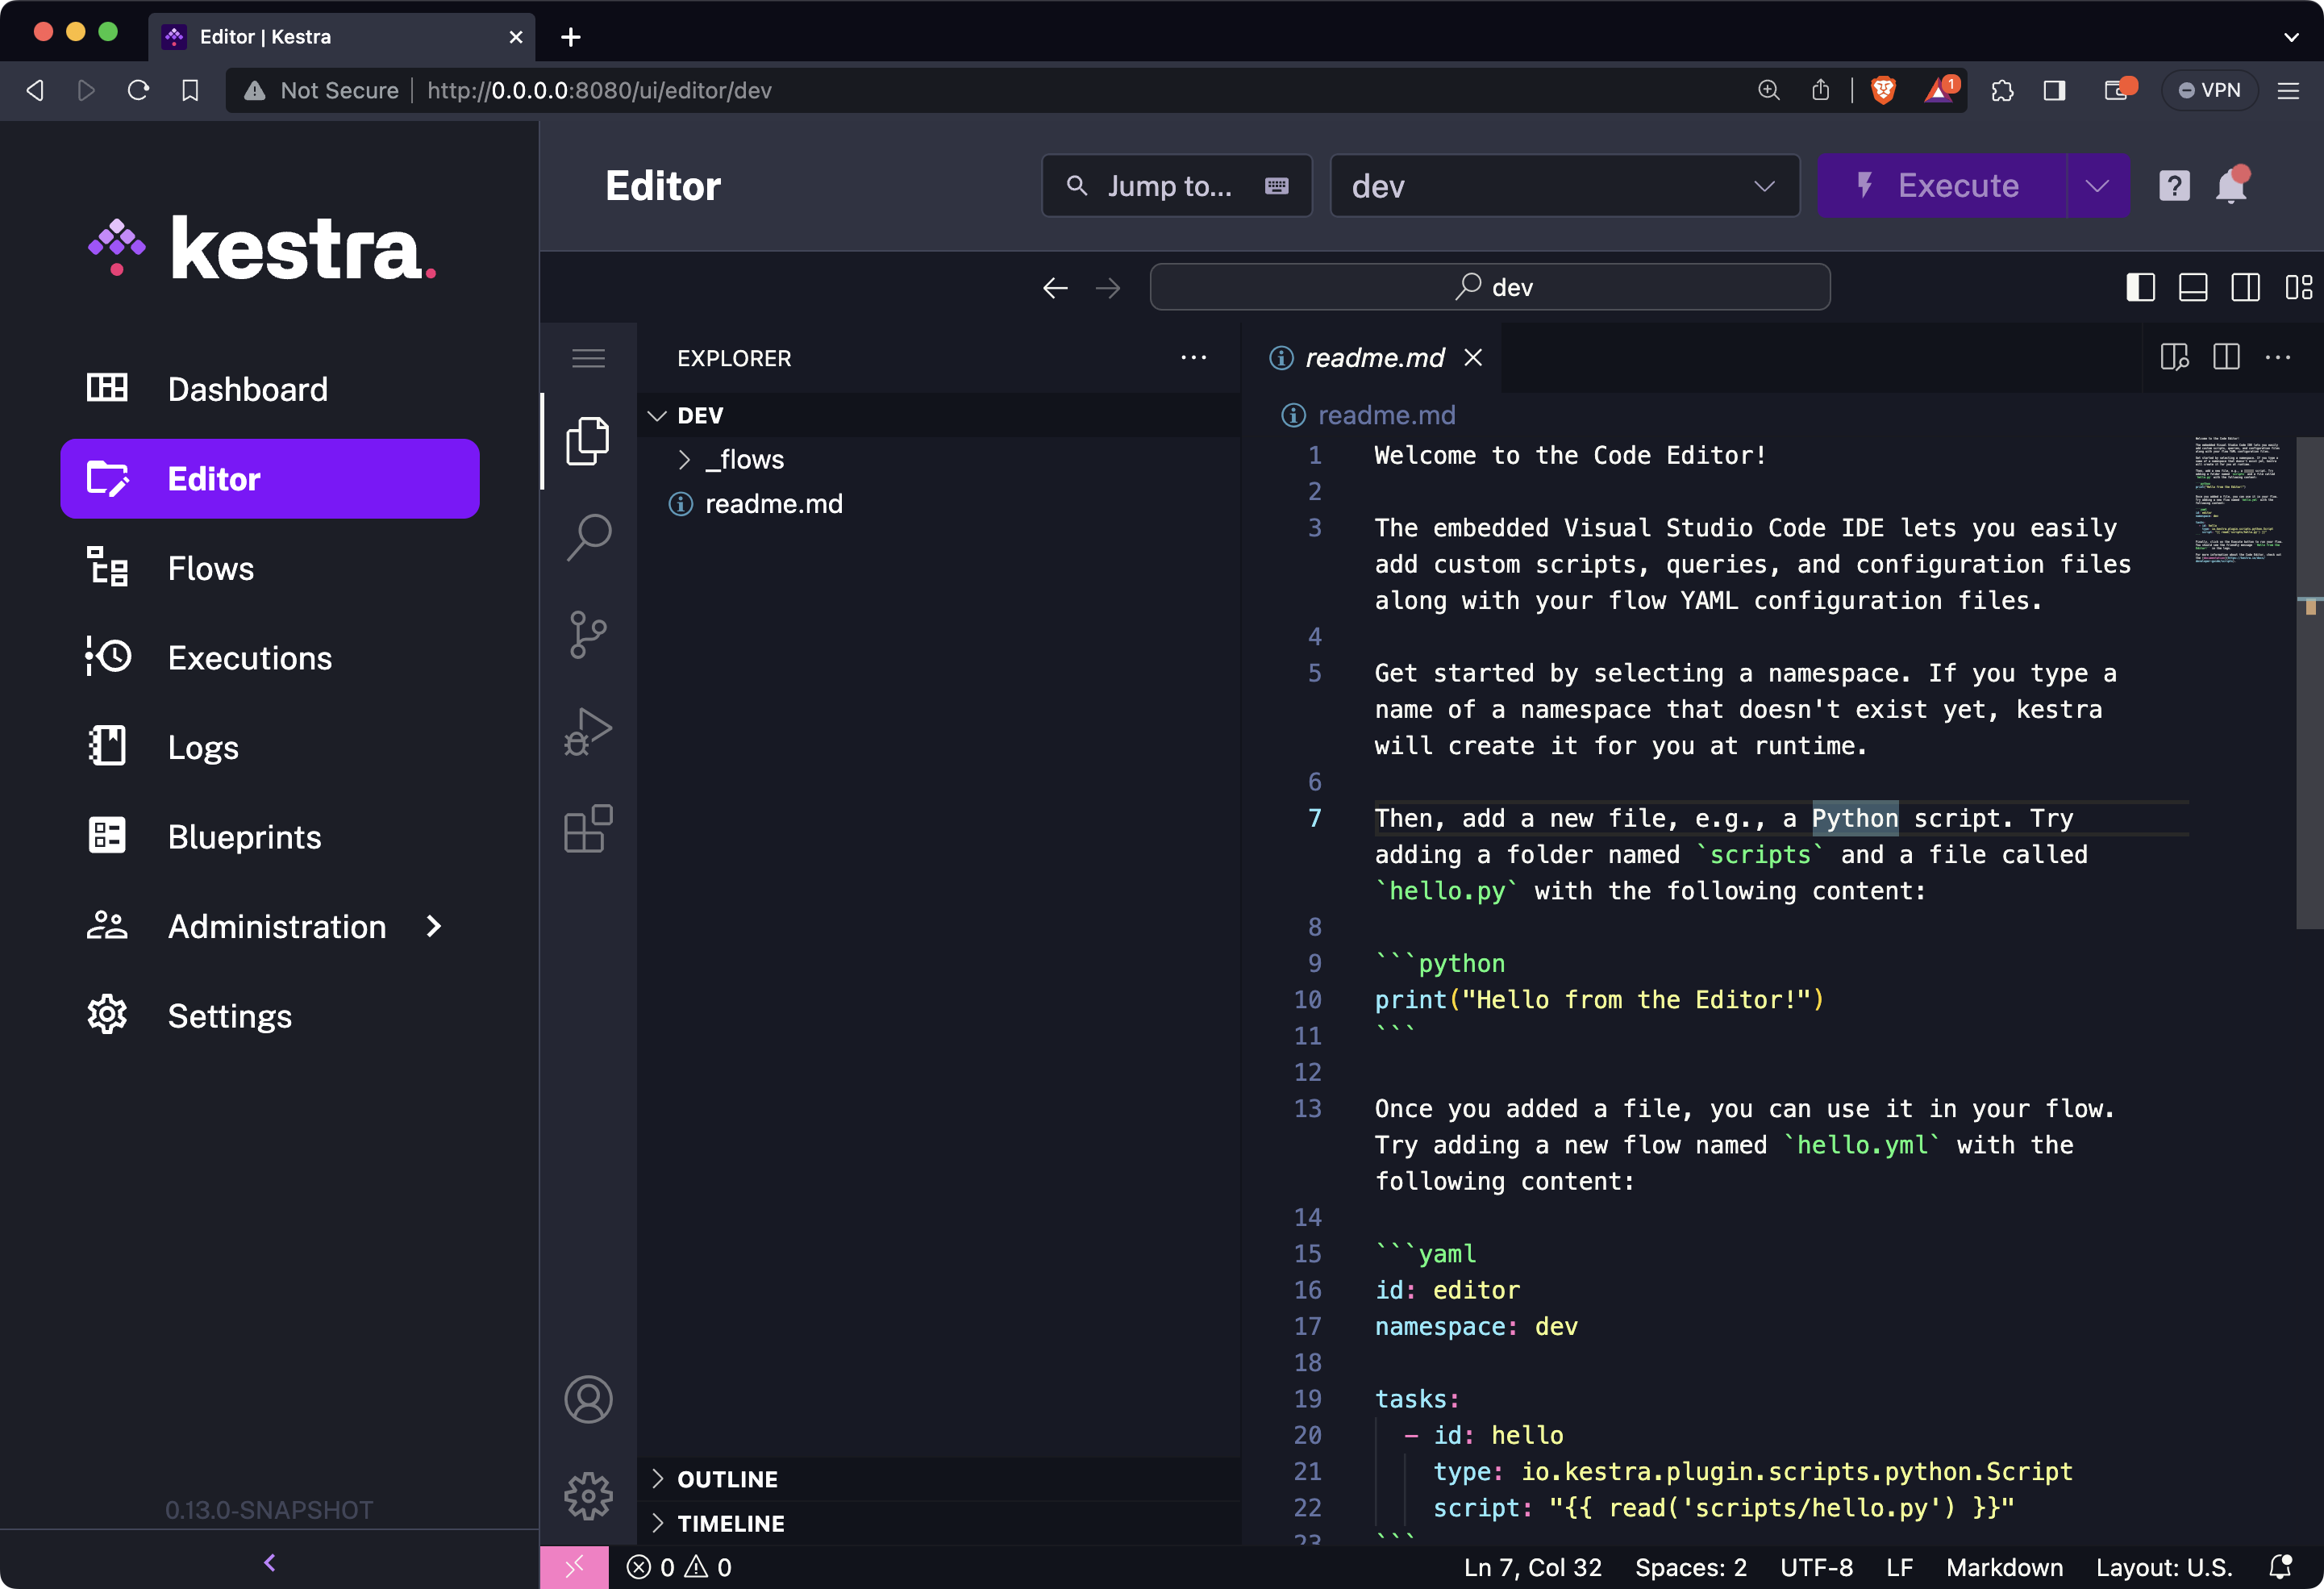
The contents of the _flows folder are a topic to discuss some other time, so leave it untouched. Everything you do Python-wise will have to be stored in a new folder named, let’s say scripts.
Let’s go through the process next.
To start, create a new folder scripts in the root directory, and create a Python file named scraper.py in it.
Once the Python file is opened, paste the contents of our web scraping script. Here’s what it should look like:
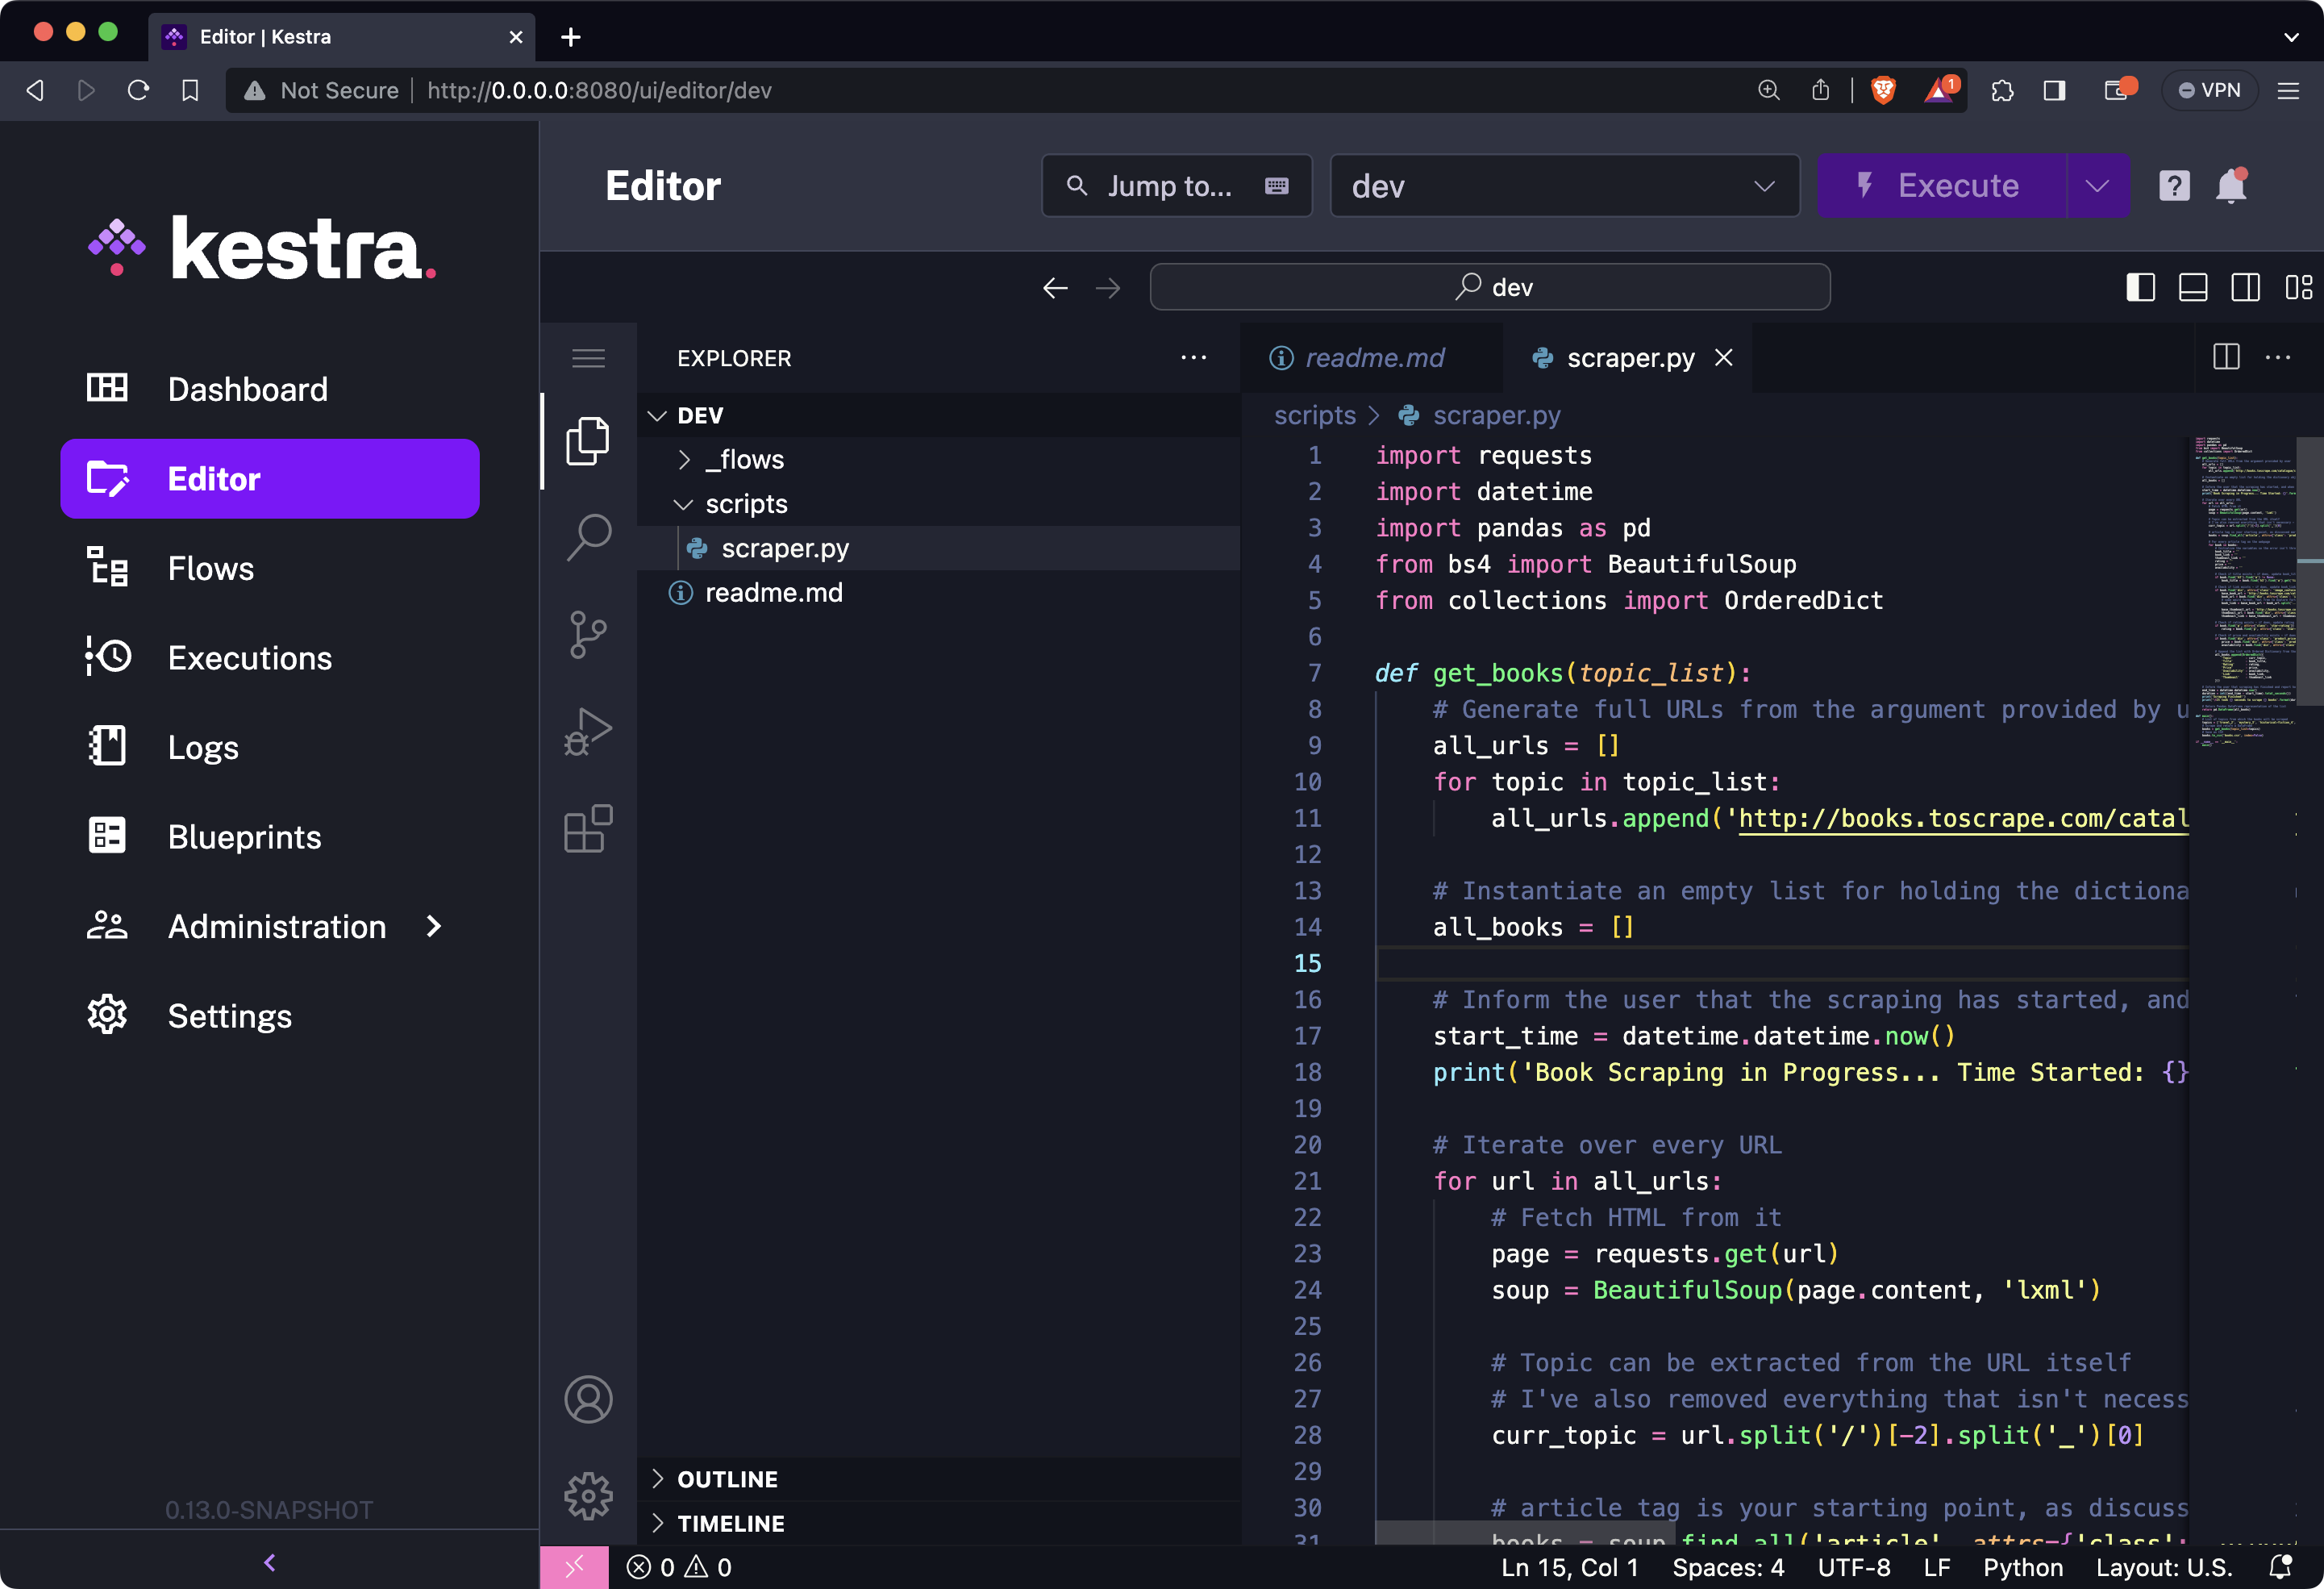
And that’s it! Just make sure the Python file is saved, and you’re ready to use it in your workflows.
If this is your first time using the new editor to run Python scripts, don’t worry, most of your Kestra logic can remain unchanged.
You still need to use the io.kestra.plugin.scripts.python.Script plugin, but now, instead of pasting the script directly into YAML, you can leverage the new {{ read('<path>/<to>/script.py') }} syntax.
Don’t forget to include beforeCommands to install the necessary Python dependencies. Your code may (and likely will) fail otherwise.
Here’s the full source code:
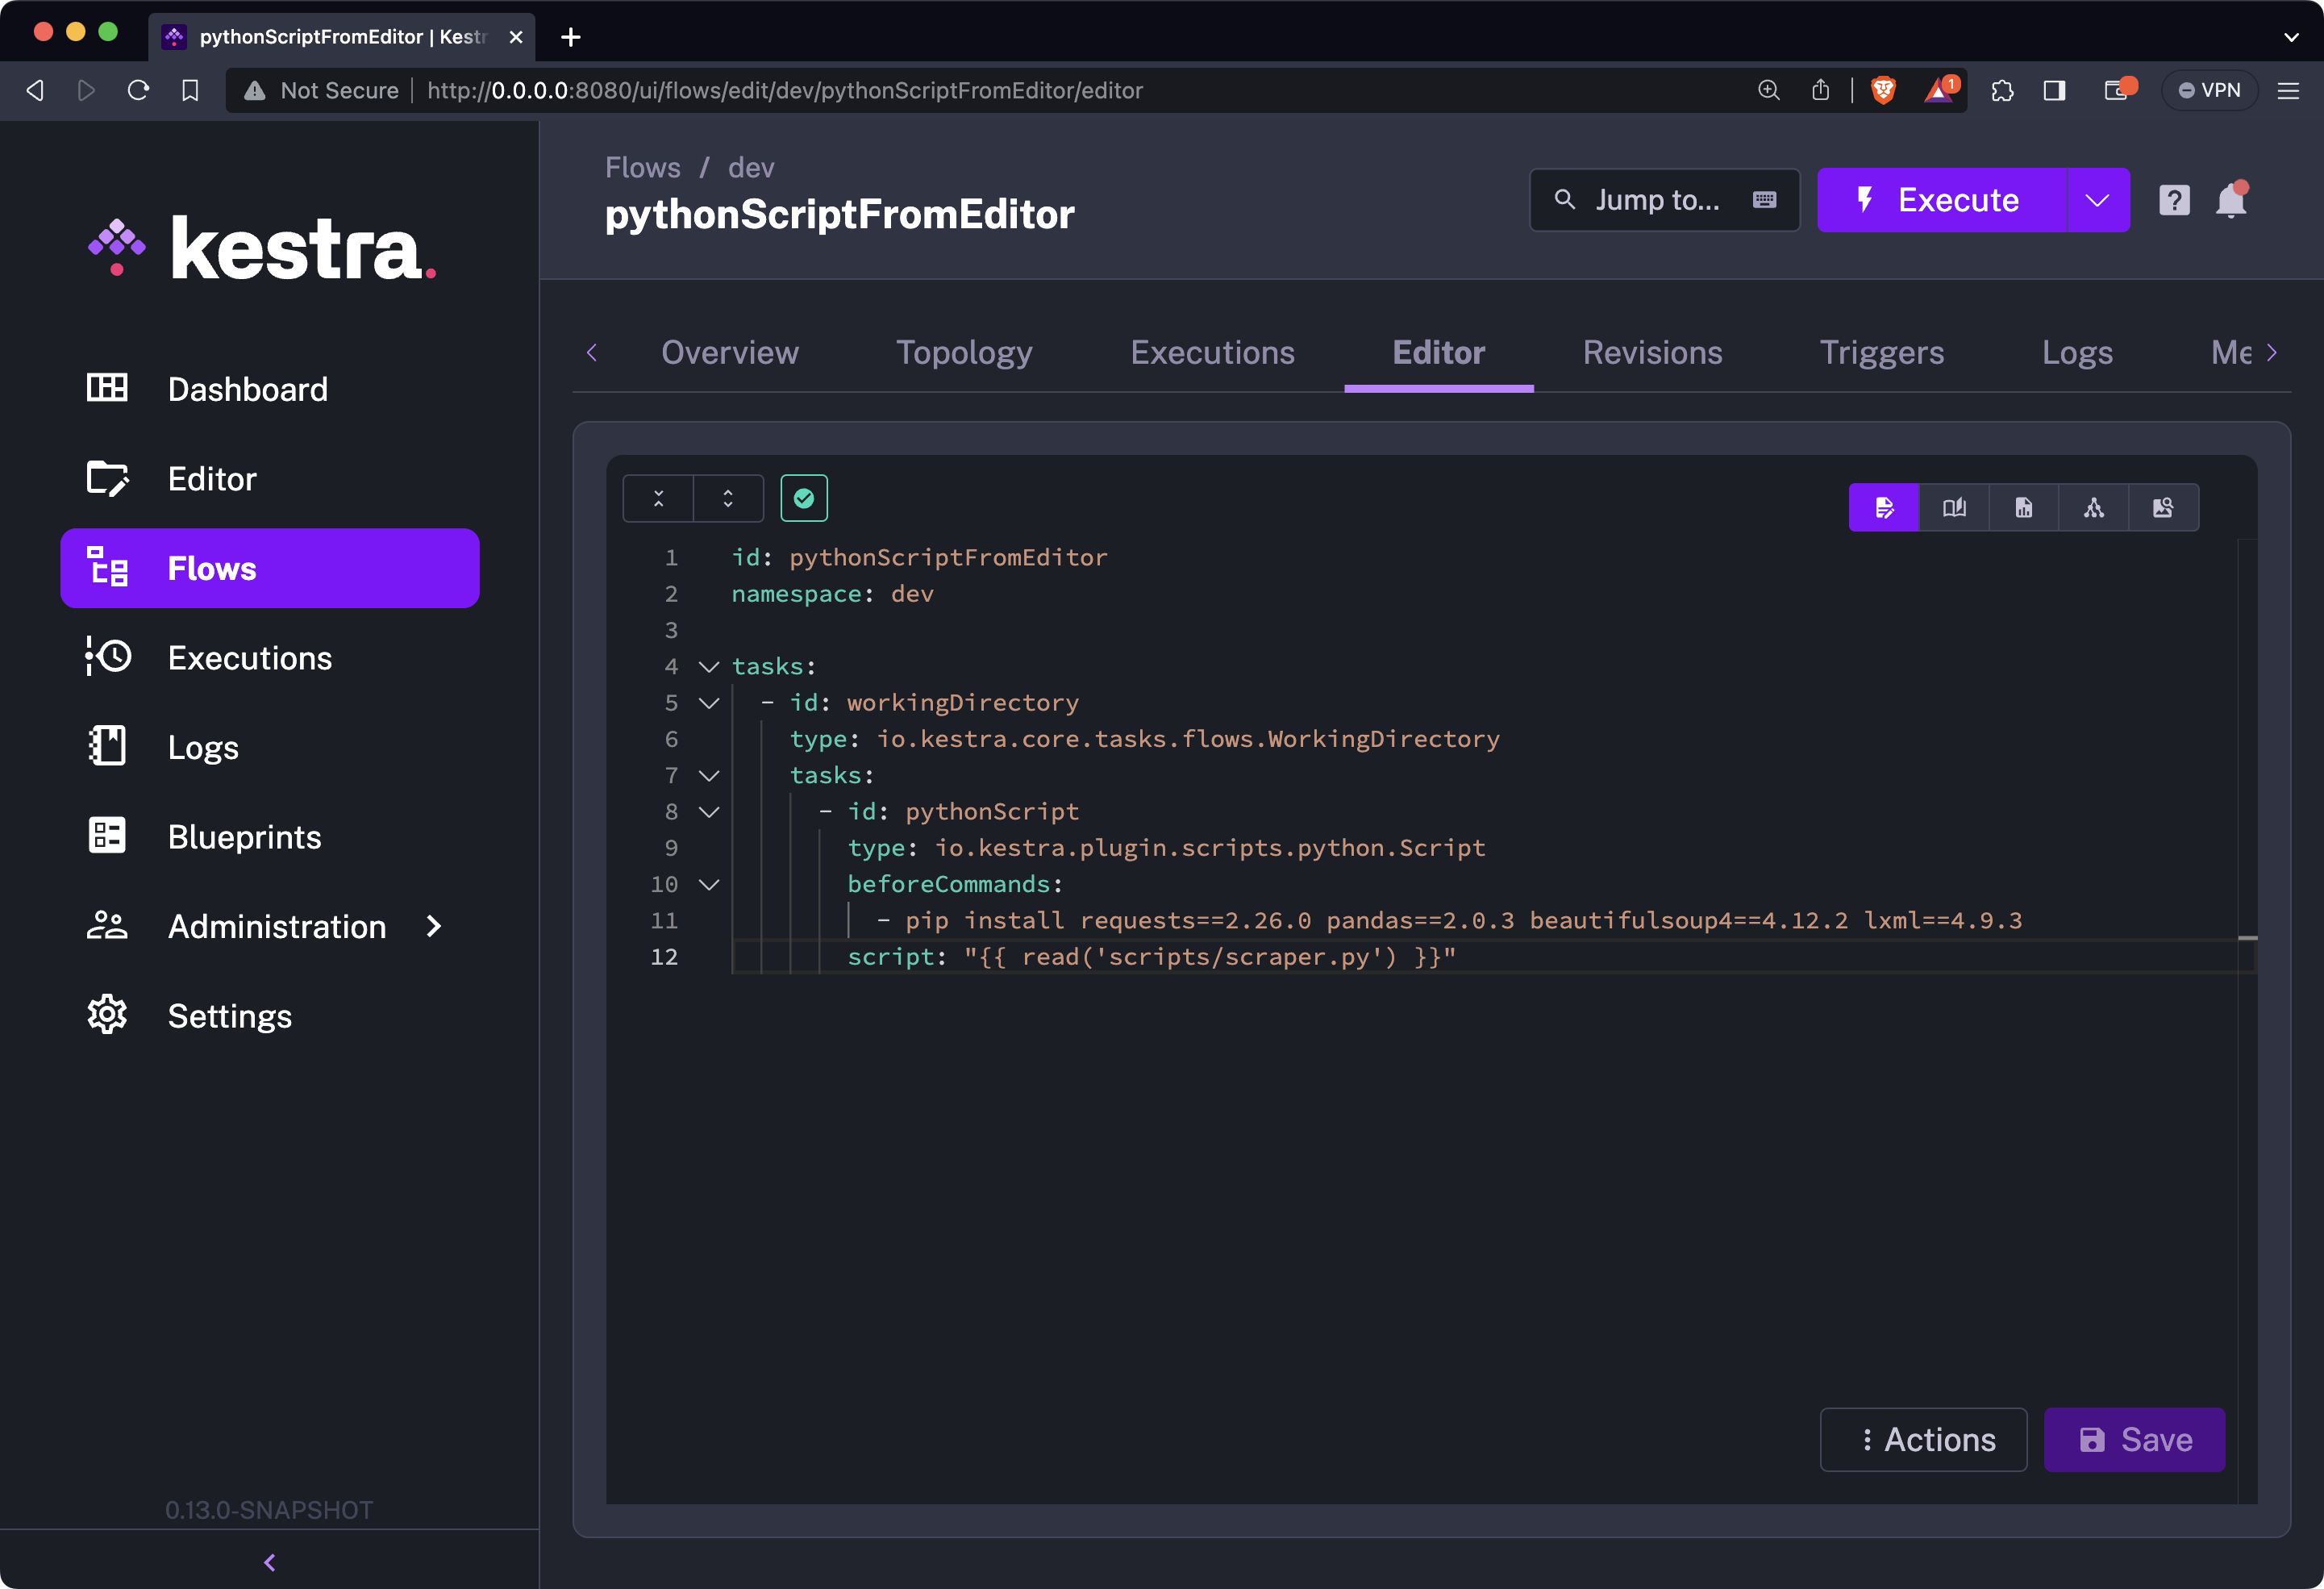
id: pythonScriptFromEditornamespace: company.team
tasks:  - id: workingDirectory    type: io.kestra.plugin.core.flow.WorkingDirectory    tasks:      - id: pythonScript        type: io.kestra.plugin.scripts.python.Script        beforeCommands:          - pip install requests==2.26.0 pandas==2.0.3 beautifulsoup4==4.12.2 lxml==4.9.3        script: "{{ read('scripts/scraper.py') }}"
Your YAML flow file now looks extra tidy:
As before, save the flow and run it by clicking on the purple “Execute” button. You’ll see the following in the Gantt view:
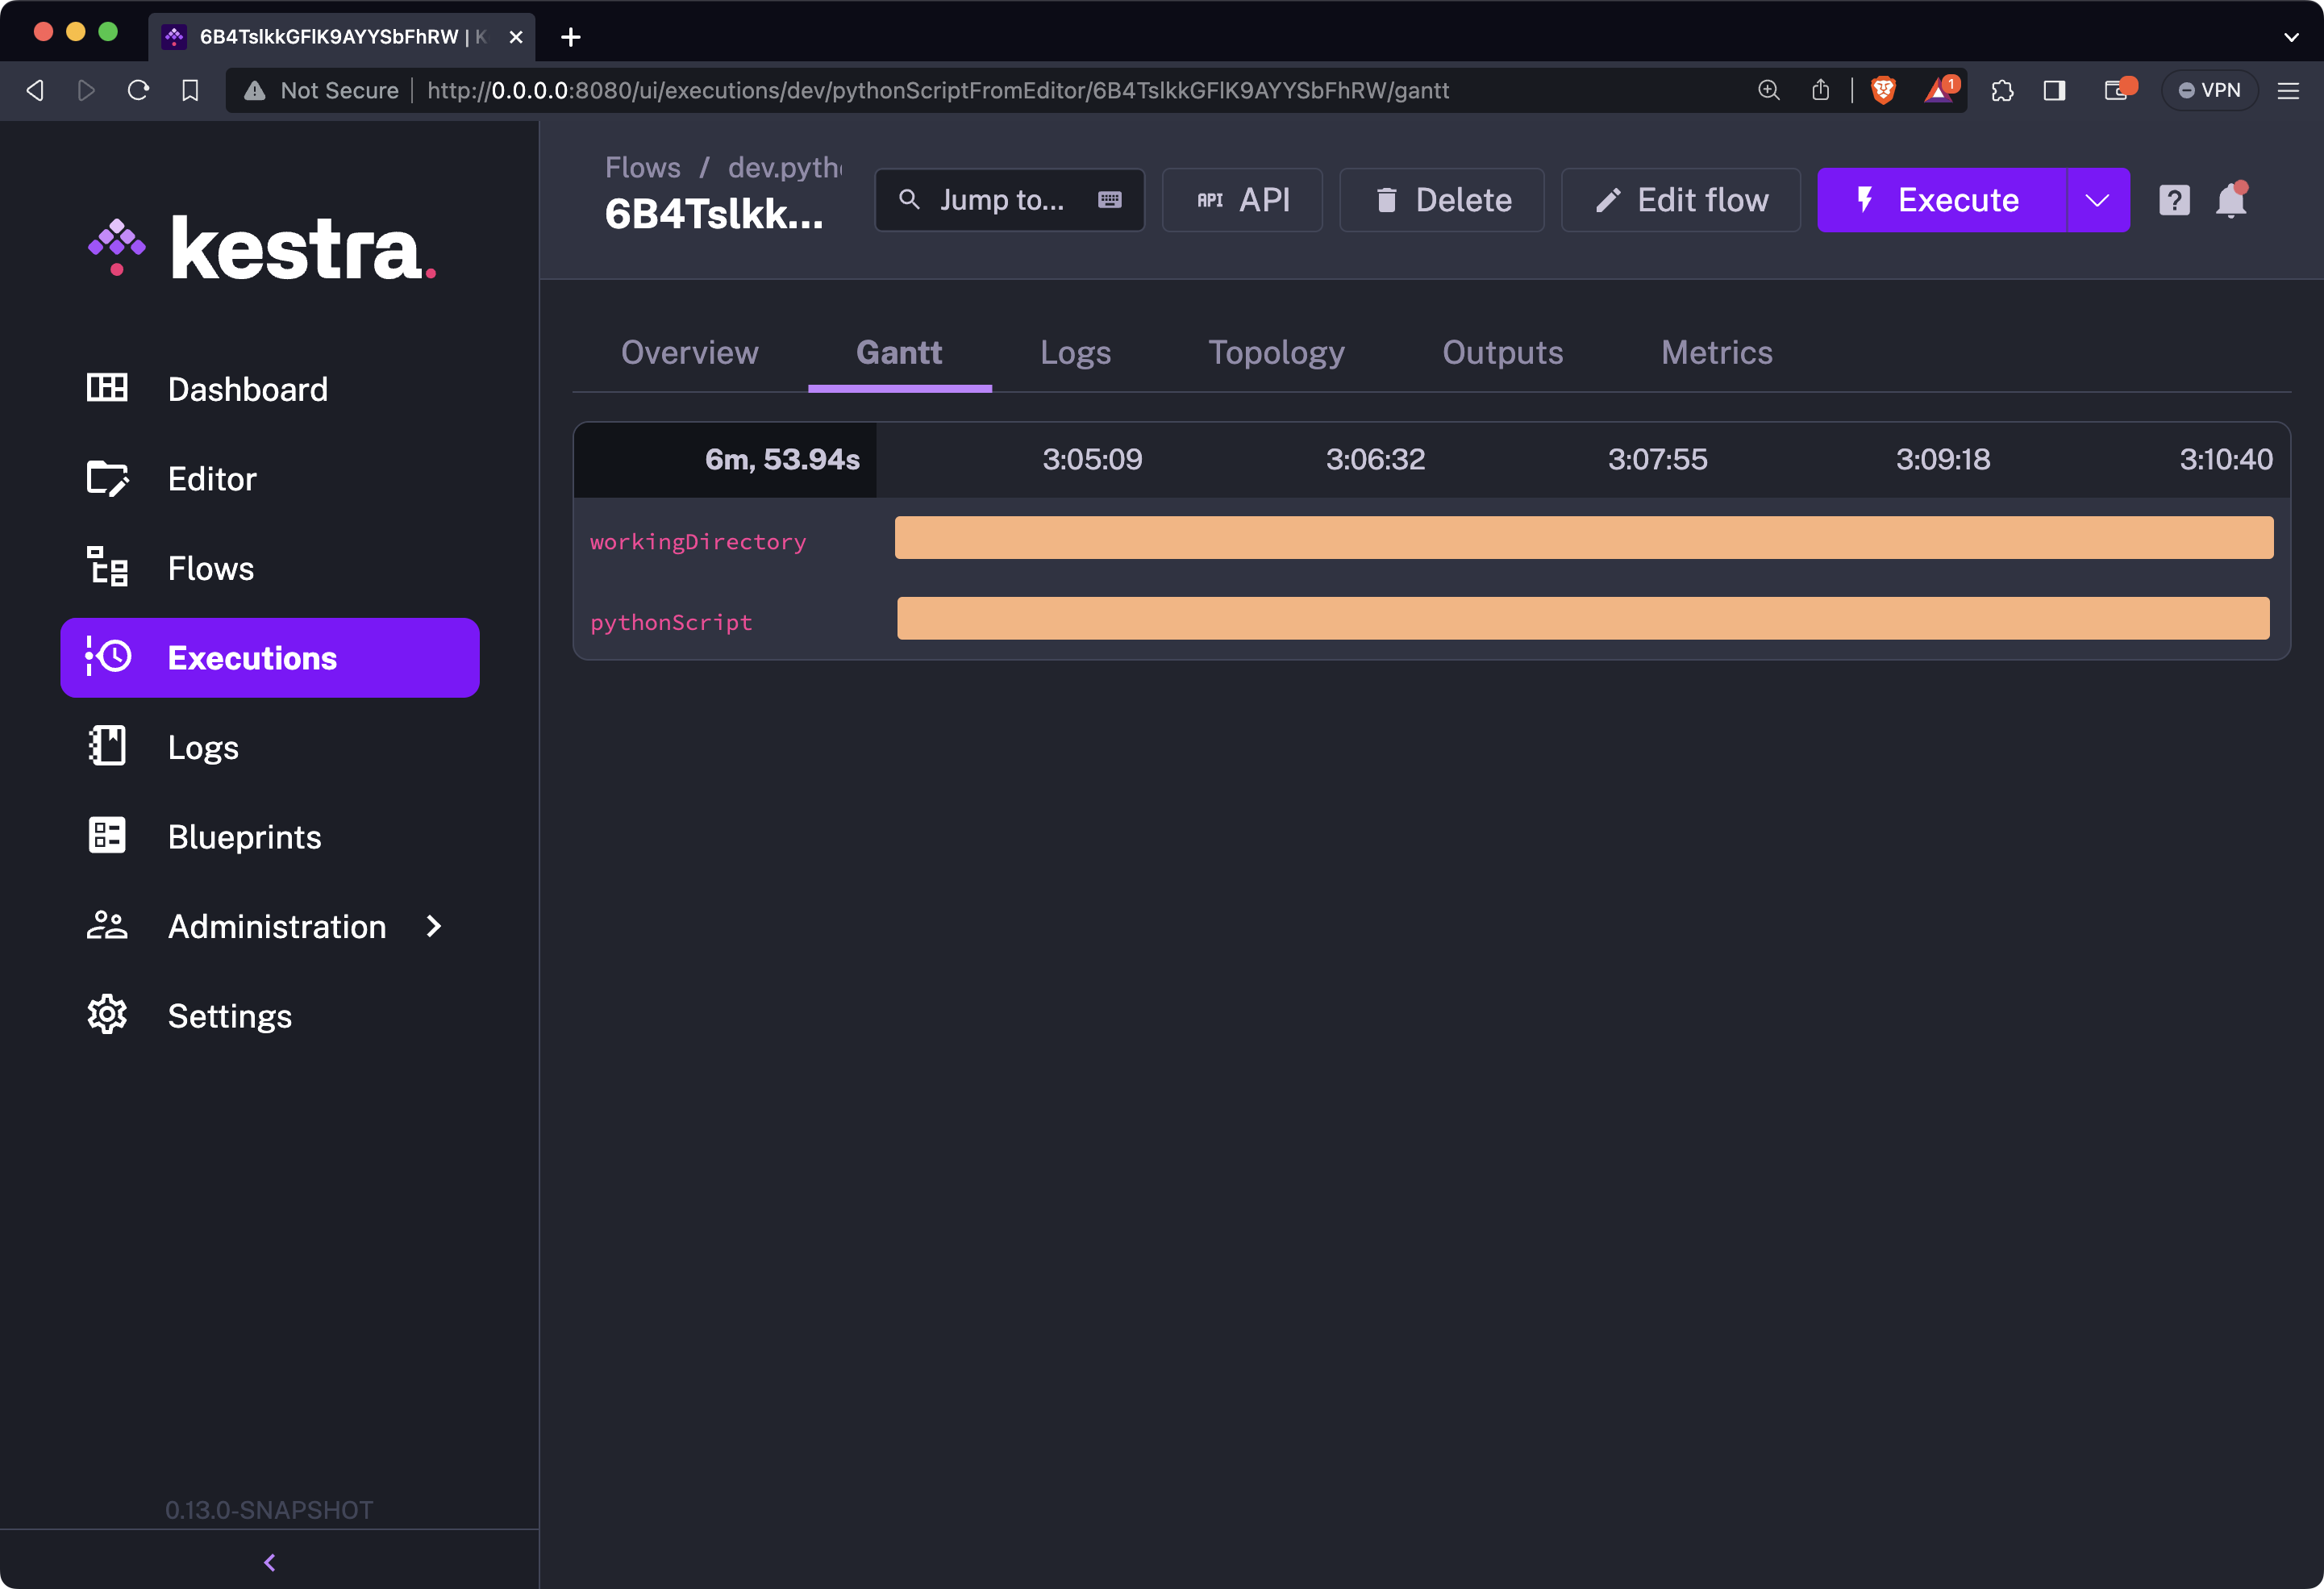
So, why are the bars orange? The answer is simple - we got a warning message while installing Python libraries saying pip commands shouldn’t be run by the root user:
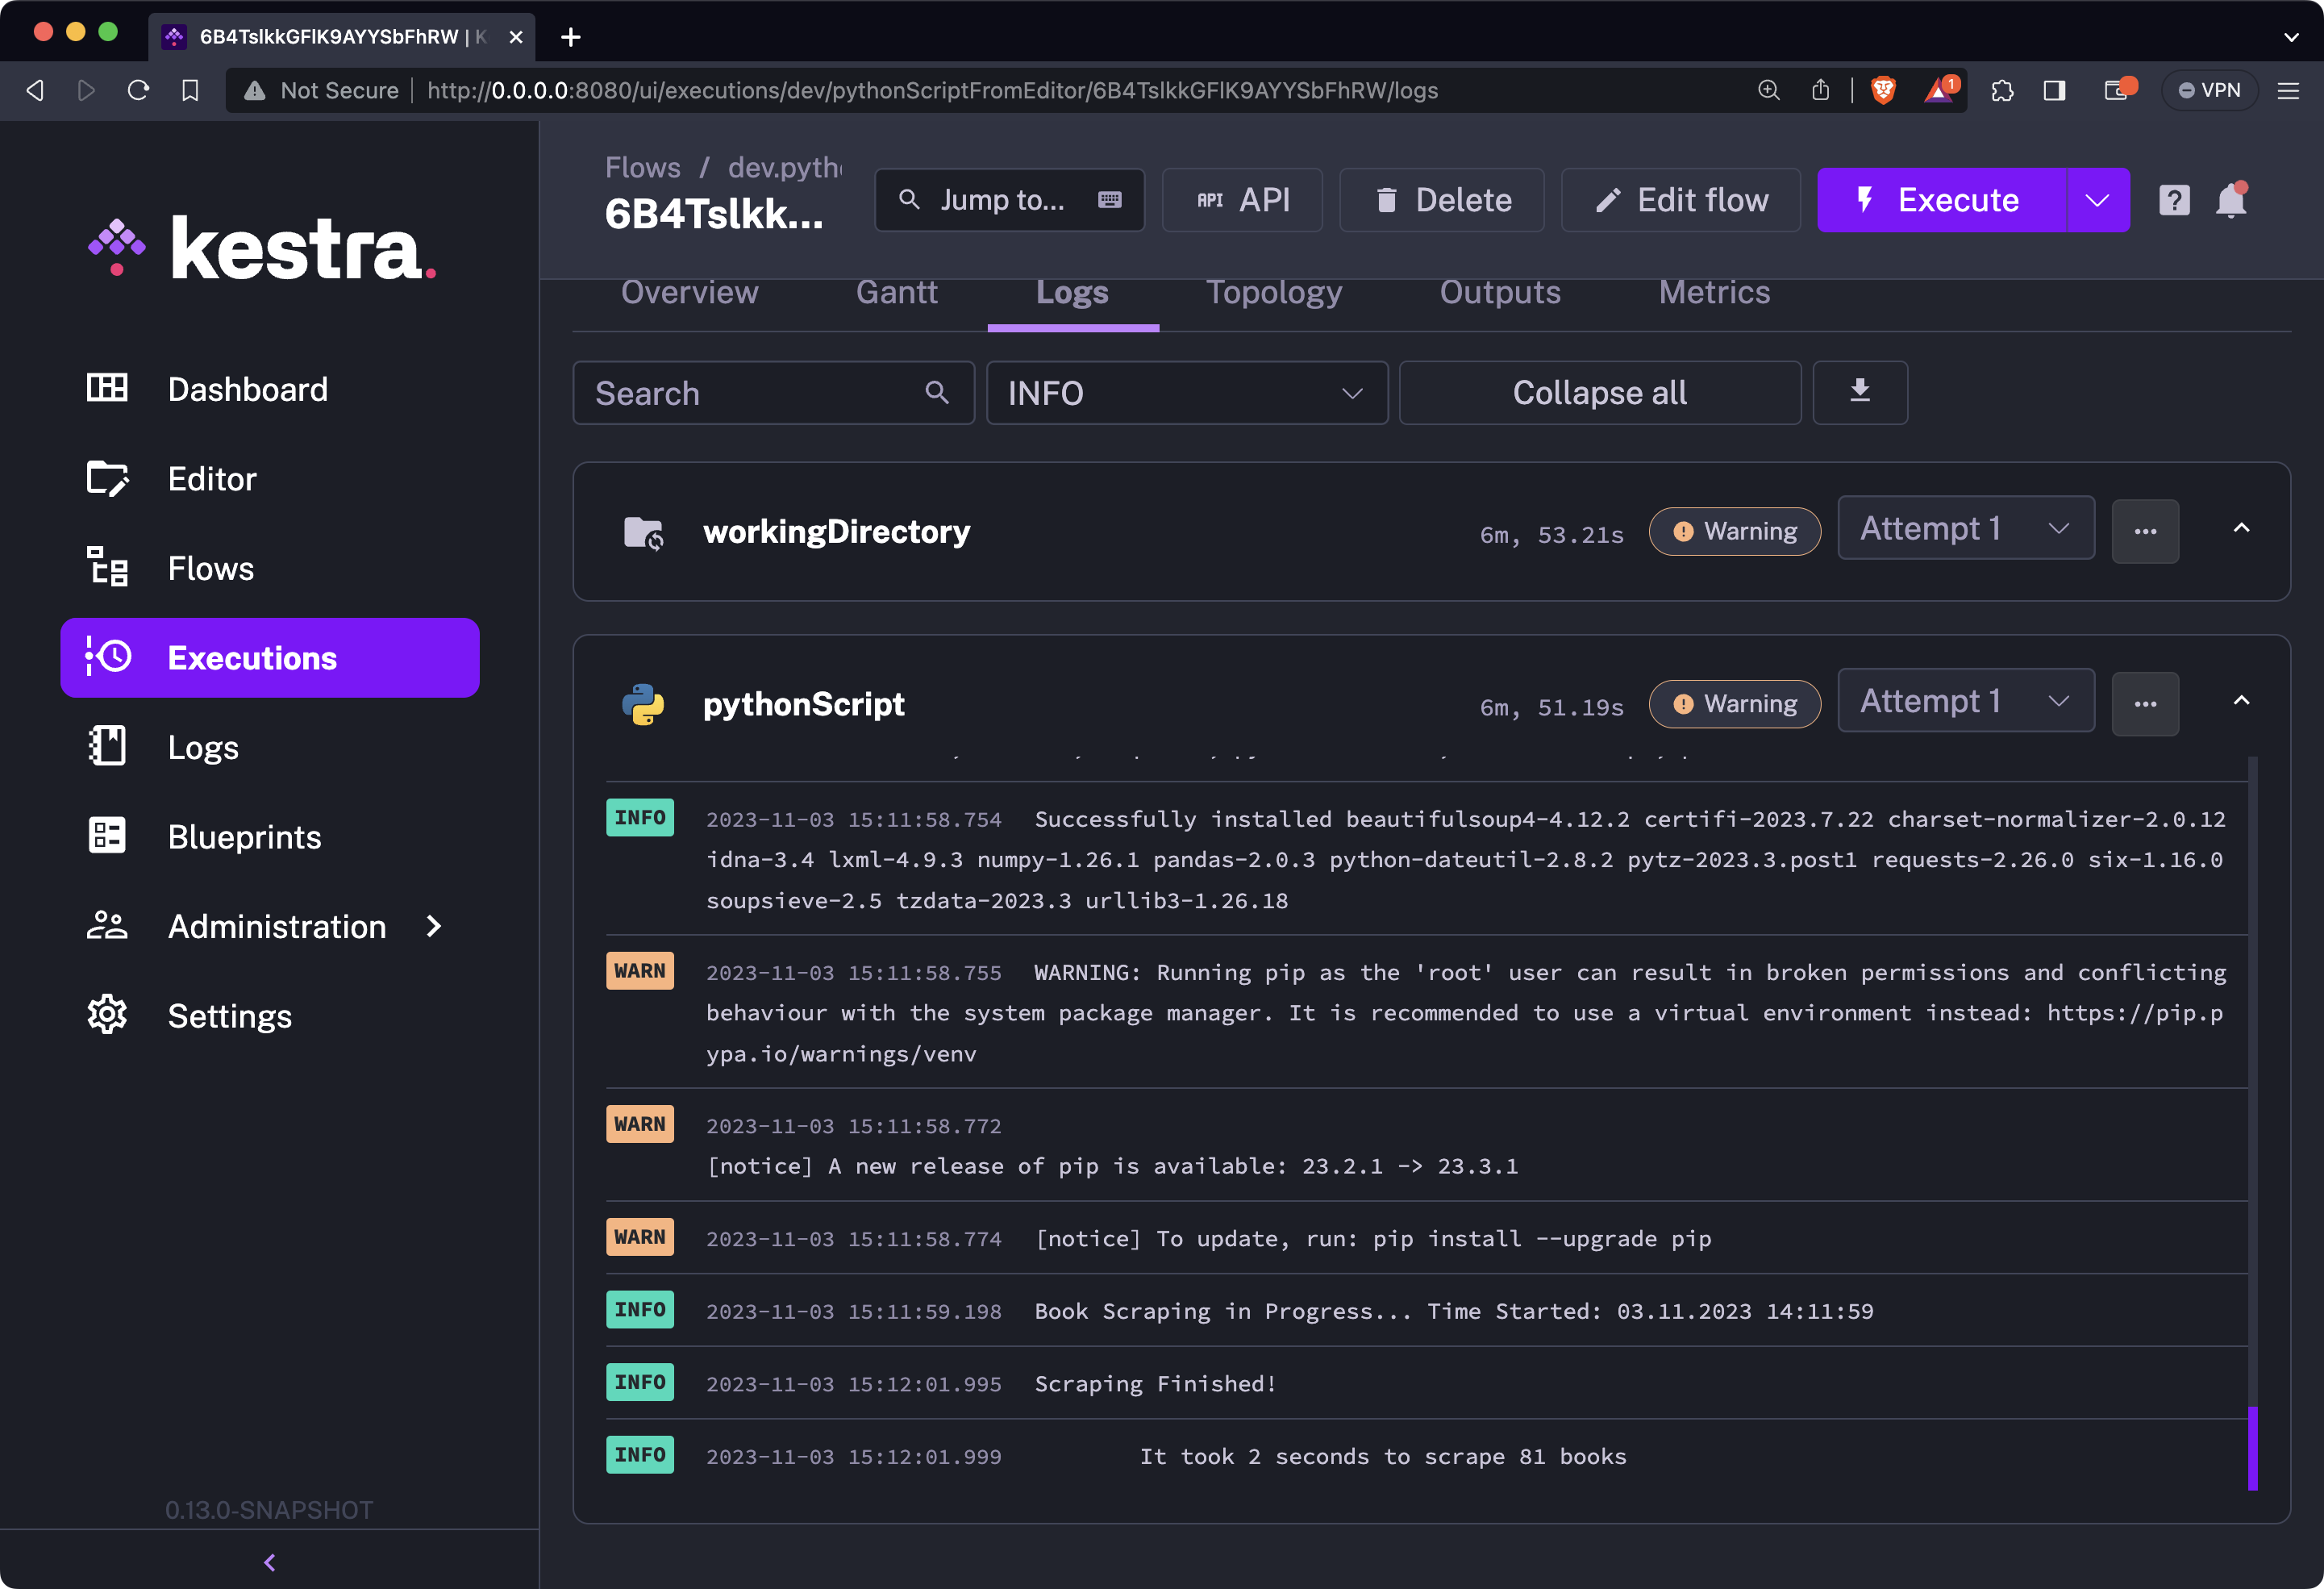
It’s a warning you can safely ignore. It doesn’t affect the runtime in any way.
Below the warning message, you’ll also see that 81 books were scraped successfully - the exact same output we had in the previous sections.
And that’s two ways to run complex and lengthy Python scripts in your Kestra flows. Let’s make a brief recap next.
You have two excellent way to manage your scripts with Kestra: GitHub and the new built-in editor.
The prior assumes you’re hosting your script files in a GitHub repo. That way, you’ll make your flow YAML files shorter and easier to read, and you or your team will be able to make changes to the scripts without needing to change anything on Kestra’s end.
The latter allows you to write and edit Python code straight from the Kestra UI, and then just call the scripts through a io.kestra.plugin.scripts.python.Script plugin.
Whichever one you choose, you won’t go wrong.
Make sure to stay tuned to the Kestra blog for more up-to-date guides on orchestration, automation tools, trends in data management, and new features related to our Kestra orchestration platform.
Join the Slack community if you have any questions or need assistance. Follow us on Twitter for the latest news. Check the code in our GitHub repository and give us a star if you like the project.

Stay up to date with the latest features and changes to Kestra