
Authors
Shruti Mantri
Shruti Mantri
Databricks provides a unified analytics platform for data scientists, engineers, and analysts to seamlessly collaborate on big data and machine learning projects. This post demonstrates how various data engineering activities can be performed on Databricks using Kestra’s plugin.
Databricks, created by the creators of Apache Spark, provides a complete analytics platform that helps data science, engineering, and analytics teams work better together. It runs in the cloud and combines various tools, streamlining the entire data lifecycle from preparing and exploring data to advanced analytics and machine learning.
At its heart, Databricks makes it easier for teams from different areas to work together smoothly. This teamwork boosts productivity and encourages sharing knowledge, leading to better decisions.
Databricks also offers advanced analytics and machine learning features, helping companies find valuable insights in their data. It’s known for being easy to use, scalable, and efficient, making it a key tool for businesses that want to use their data to innovate and stay ahead in the competitive, data-centric world.
Data warehouse workloads are typically part of a larger technological stack. To streamline operations, orchestration, and scheduling of data pipelines are crucial. This is where Kestra comes into play.
Kestra is designed to orchestrate and schedule scalable data workflows, thereby enhancing DataOps teams’ productivity. It can construct, operate, manage, and monitor a variety of complex workflows sequentially or in parallel.
Kestra can execute workflows based on event-based, time-based, and API-based scheduling, giving data teams complete control over their orchestration. Databricks already offers many cost optimization processes like data compression and auto-scaling. However, Kestra makes it simpler to create or delete Databricks compute clusters, upload or download files from Databricks File System (DBFS), and query data by integrating with Databricks’s storage and compute resources. Not only this, Kestra also supports interacting with Databricks jobs.
Besides the Databricks plugin, Kestra offers numerous other plugin integrations which you can check on the Kestra’s plugins page. These plugins can effectively process and transform tabular data within relational databases, reducing the processing cost of platforms like Databricks.
Kestra’s Databricks plugin provides an efficient solution for creating intricate data pipelines. You can perform the create and delete cluster tasks, DBFS download and upload file tasks, query tasks, and create and submit job tasks. Let’s dive into the key functionalities provided by the plugin.
All the Kestra’s Database plugin tasks will require you to provide the Databricks host name and authentication token to communicate with the Databricks cluster. In order to generate the authentication token for your cluster, you should go to the Settings and go to Developer tab. Here, you would have Access tokens section. Click on the “Manage” button in this section. Here you can generate a new token. You can put a comment on “What’s this token for?” text box, and select the appropriate lifetime for the token. Click on the “Generate” button. This will generate the new token.
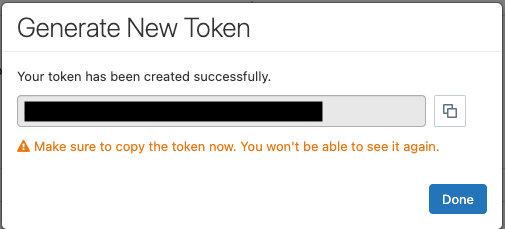
Do ensure that you save the generated token with you before hitting “Done” on the popup, as you will not be able to access this token any time later.
Using Kestra, you can create the Databricks Compute cluster with the CreateCluster task. We can provide parameters like the name of the cluster, the node type, number of nodes that should be present in the cluster, and the Spark version with which the cluster should be initialized. This task is a longer running task, as it waits for the cluster to be up and running. The task returns the clusterId, the state of the cluster, and its URI as the output.
The following code snippet creates the Databricks Compute cluster.
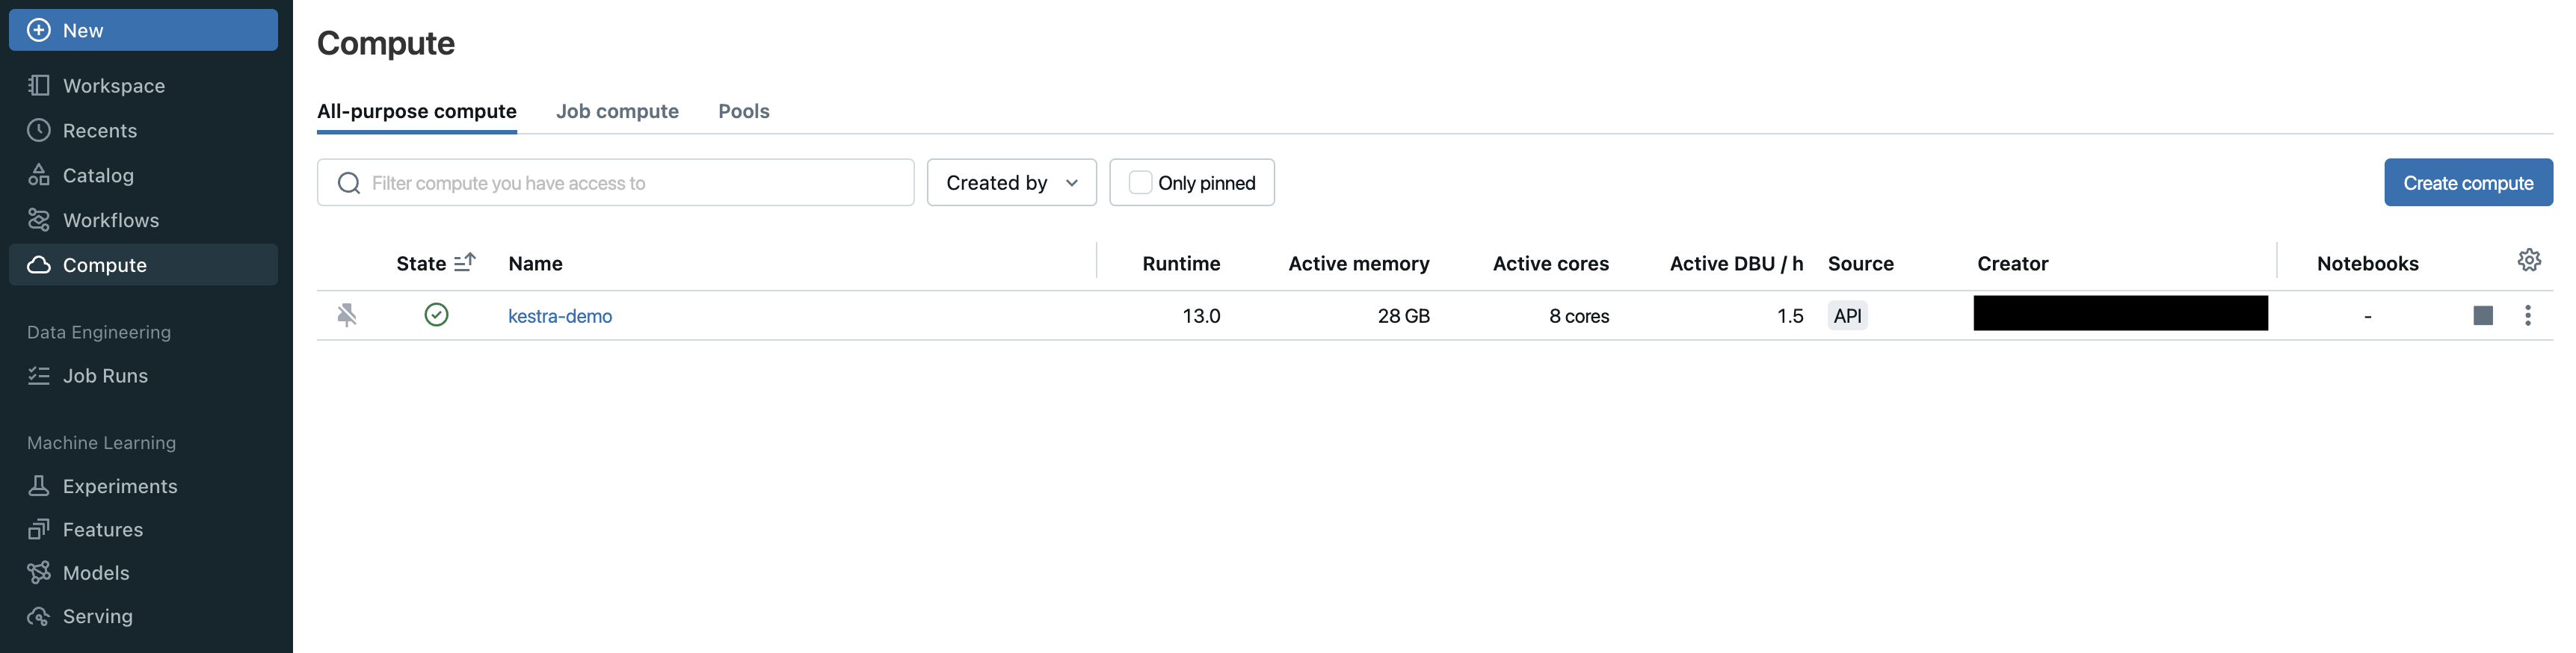
id: databricks-create-clusternamespace: company.teamtasks: - id: create-cluster type: io.kestra.plugin.databricks.cluster.CreateCluster authentication: token: <your-token> host: <your-host> clusterName: kestra-demo nodeTypeId: Standard_DS3_v2 numWorkers: 1 sparkVersion: 13.0.x-scala2.12Post running this flow, you can check that the newly created compute cluster should now appear under the Compute section on the Databricks console.
Now that the compute cluster is running, let us upload a file to DBFS. Using the upload task of the Kestra’s Databricks plugin, we can upload a file from Kestra’s internal storage onto DBFS. There is no restriction on the size of the file. The task will upload the file in chunks of 1 MB.
The following code snippet will first download a CSV file from the HTTP URL into Kestra’s internal storage. This file from Kestra’s internal storage will then be uploaded onto DBFS on the path specified in the to attribute of the Databricks’ Upload task.
id: databricks-uploadnamespace: company.teamtasks: - id: http_download type: io.kestra.plugin.core.http.Download uri: "https://huggingface.co/datasets/kestra/datasets/raw/main/csv/orders.csv" - id: uploadFile type: io.kestra.plugin.databricks.dbfs.Upload authentication: token: <your-token> host: <your-host> from: "{{ outputs.http_download.uri }}" to: /Shared/kestra/data/orders.csvOnce the flow is successfully run, you can open the DBFS Browser on your Databricks console, and ensure that the file has got uploaded on the appropriate path.
Let us now perform a couple of query operations on Databricks. Kestra’s Databricks plugin provides a dedicated task for querying data from Databricks. This task requires you to mention the httpPath. In order to get the httpPath, you need to go to the compute cluster using which you need to perform this query. On the compute cluster’s page, go to JDBC/ODBC tab under the Advanced options. This is where you will get the HTTP Path, which you can use in the httpPath attribute of your query task.
The first query task that we will perform will be to load the data from the DBFS file into a table. The query in this task will read the CSV file from the DBFS. It will create the table in Databricks by inferring the schema from the CSV file, and the data will be filled in the table from this CSV file.
The following code snippet will create the table, and load the data from the CSV file present in the DBFS.
id: databricks-load-tablenamespace: company.teamtasks: - id: load-table-from-dbfs type: io.kestra.plugin.databricks.sql.Query accessToken: <your-token> host: <your-host> httpPath: <your-httpPath> sql: "CREATE TABLE orders USING CSV LOCATION '/Shared/kestra/data/orders.csv' OPTIONS (header \"true\", inferSchema \"true\");"Once you run the above flow, you can go to the Catalog section on the Databricks console, and check the newly created table in the default catalog and schema of your Databricks workspace.
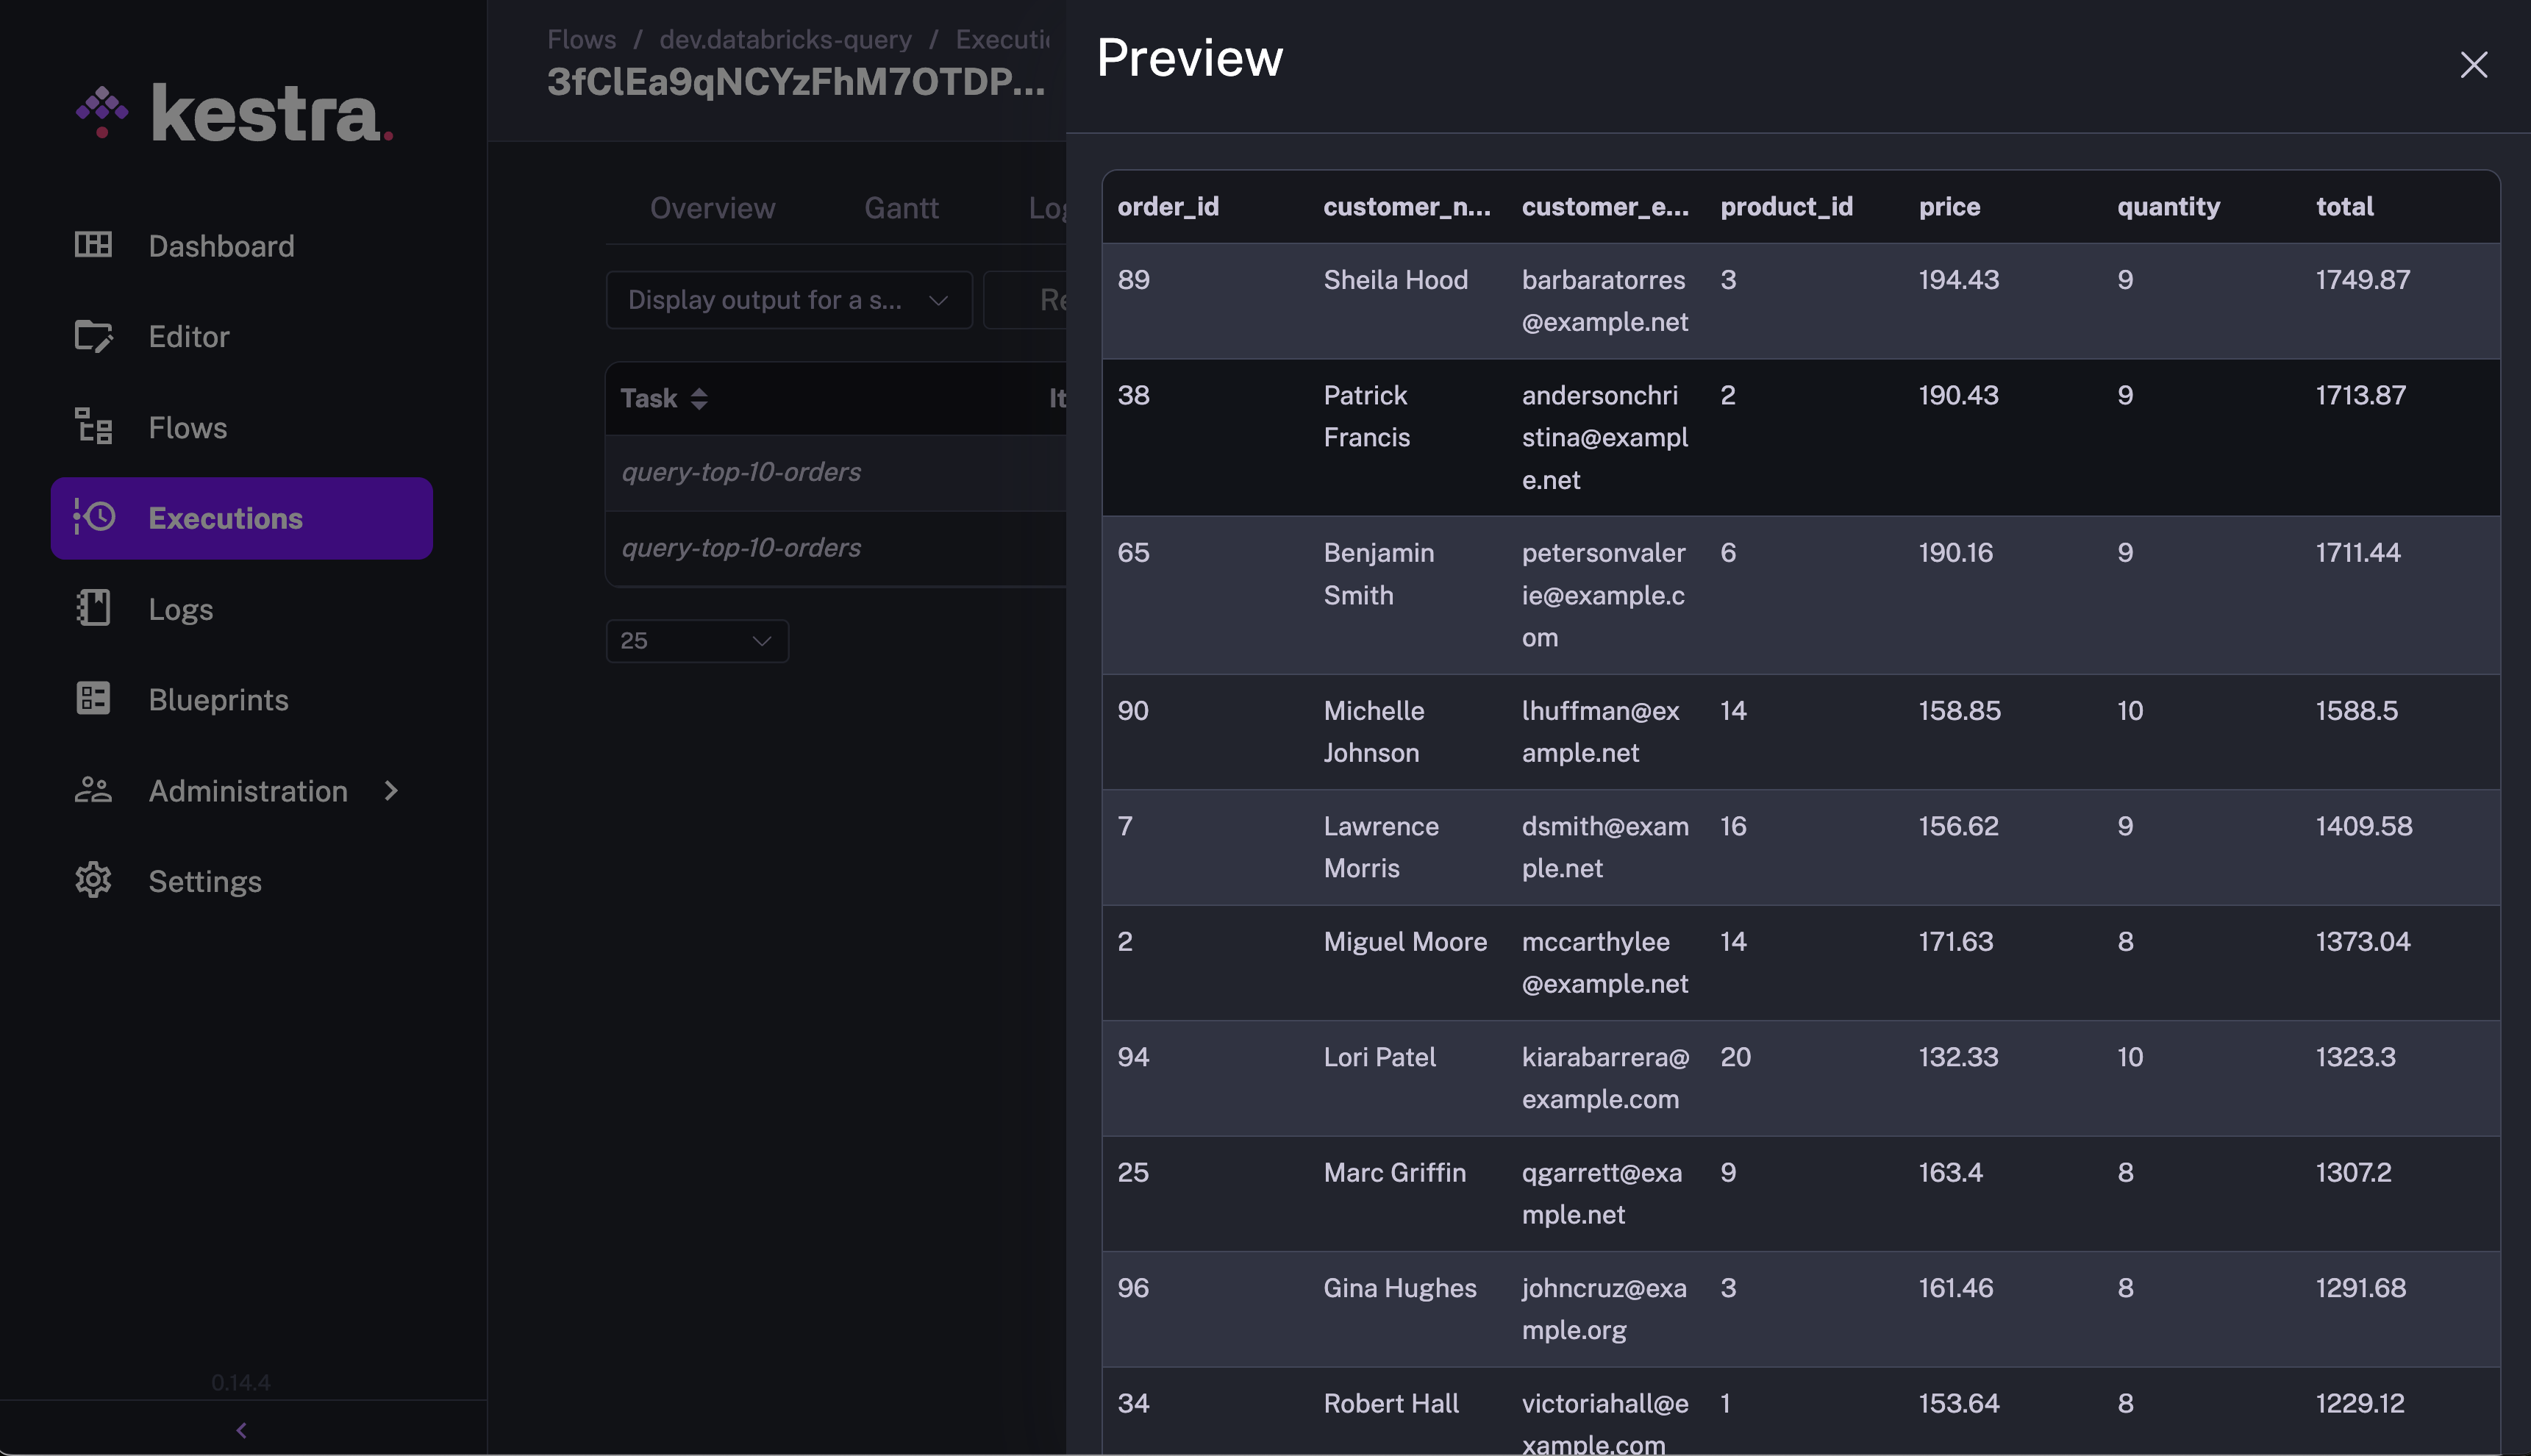
Let us now move on to the second query task where we will be querying this newly created table. We will query the orders table to get the top 10 orders in terms of the highest order total.
The following code snippet will query the orders table to get the top 10 orders.
id: databricks-querynamespace: company.teamtasks: - id: query-top-10-orders type: io.kestra.plugin.databricks.sql.Query accessToken: <your-token> host: <your-host> httpPath: <your-httpPath> sql: "SELECT * FROM orders ORDER BY total DESC limit 10;"Once you run this flow, take a look at the Outputs tab of this execution. The Outputs tab will provide the size indicating the number of records fetched by the query, and an uri to the Kestra’s internal storage file which contains the fetched records from the query.
Now that we have performed all the tasks on the Databricks cluster, we can delete it to avoid unnecessary compute costs. Kestra’s Databricks plugin provides the DeleteCluster task that will delete the compute cluster. This task takes the clusterId to pick the corresponding cluster for deletion.
The following code snippet will delete the cluster from your Databricks workspace:
id: databricks-delete-clusternamespace: company.teamtasks: - id: delete_cluster type: io.kestra.plugin.databricks.cluster.DeleteCluster authentication: token: <your-token> host: <your-host> clusterId: <cluster-id>This example demonstrated how Kestra provides flexibility and control to data teams. It can orchestrate any kind of workflow with ease using the rich UI that monitors all executions.
Kestra’s Databricks plugin makes data warehousing simple even for non-developers thanks to the simple declarative definition. Your Databricks pipeline can accommodate raw data from multiple sources and transform it using ETL operations. Additionally, you can skip the transformation and directly load data into the warehouse using the ELT pipeline. Kestra can manage both workflows simultaneously. In any case, Kestra ensures that the data is readily available to perform analysis and learn valuable patterns.
Join the Slack community if you have any questions or need assistance. Follow us on Twitter for the latest news. Check the code in our GitHub repository and give us a star if you like the project.

Stay up to date with the latest features and changes to Kestra