 Keycloak SCIM Provisioning
Available on: Enterprise Edition>= 0.18.0
Sync Users and Groups from Keycloak to Kestra using SCIM.
Prerequisites
- Keycloak Account: an account with administrative privileges to configure SCIM provisioning.
- Enable multi-tenancy in Kestra: tenants MUST be enabled in Kestra to support SCIM provisioning. You can enable tenants by setting the
kestra.ee.tenants.enabledconfiguration property totrue:
kestra:
  ee:
    tenants:
      enabled: true
Kestra SCIM Setup: Create a New Provisioning Integration
- In the Kestra UI, navigate to the
Administration→IAM→Provisioningpage. - Click on the
Createbutton in the top right corner of the page. - Fill in the following fields:
- Name: Enter a name for the provisioning integration.
- Description: Provide a brief description of the integration.
- Provisioning Type: currently, we only support SCIM 2.0 — leave the default selection and click
Save.

The above steps will generate a SCIM endpoint URL and a Secret Token that you will use to authenticate Keycloak with the SCIM integration in Kestra. Save those details as we will need them in the next steps.
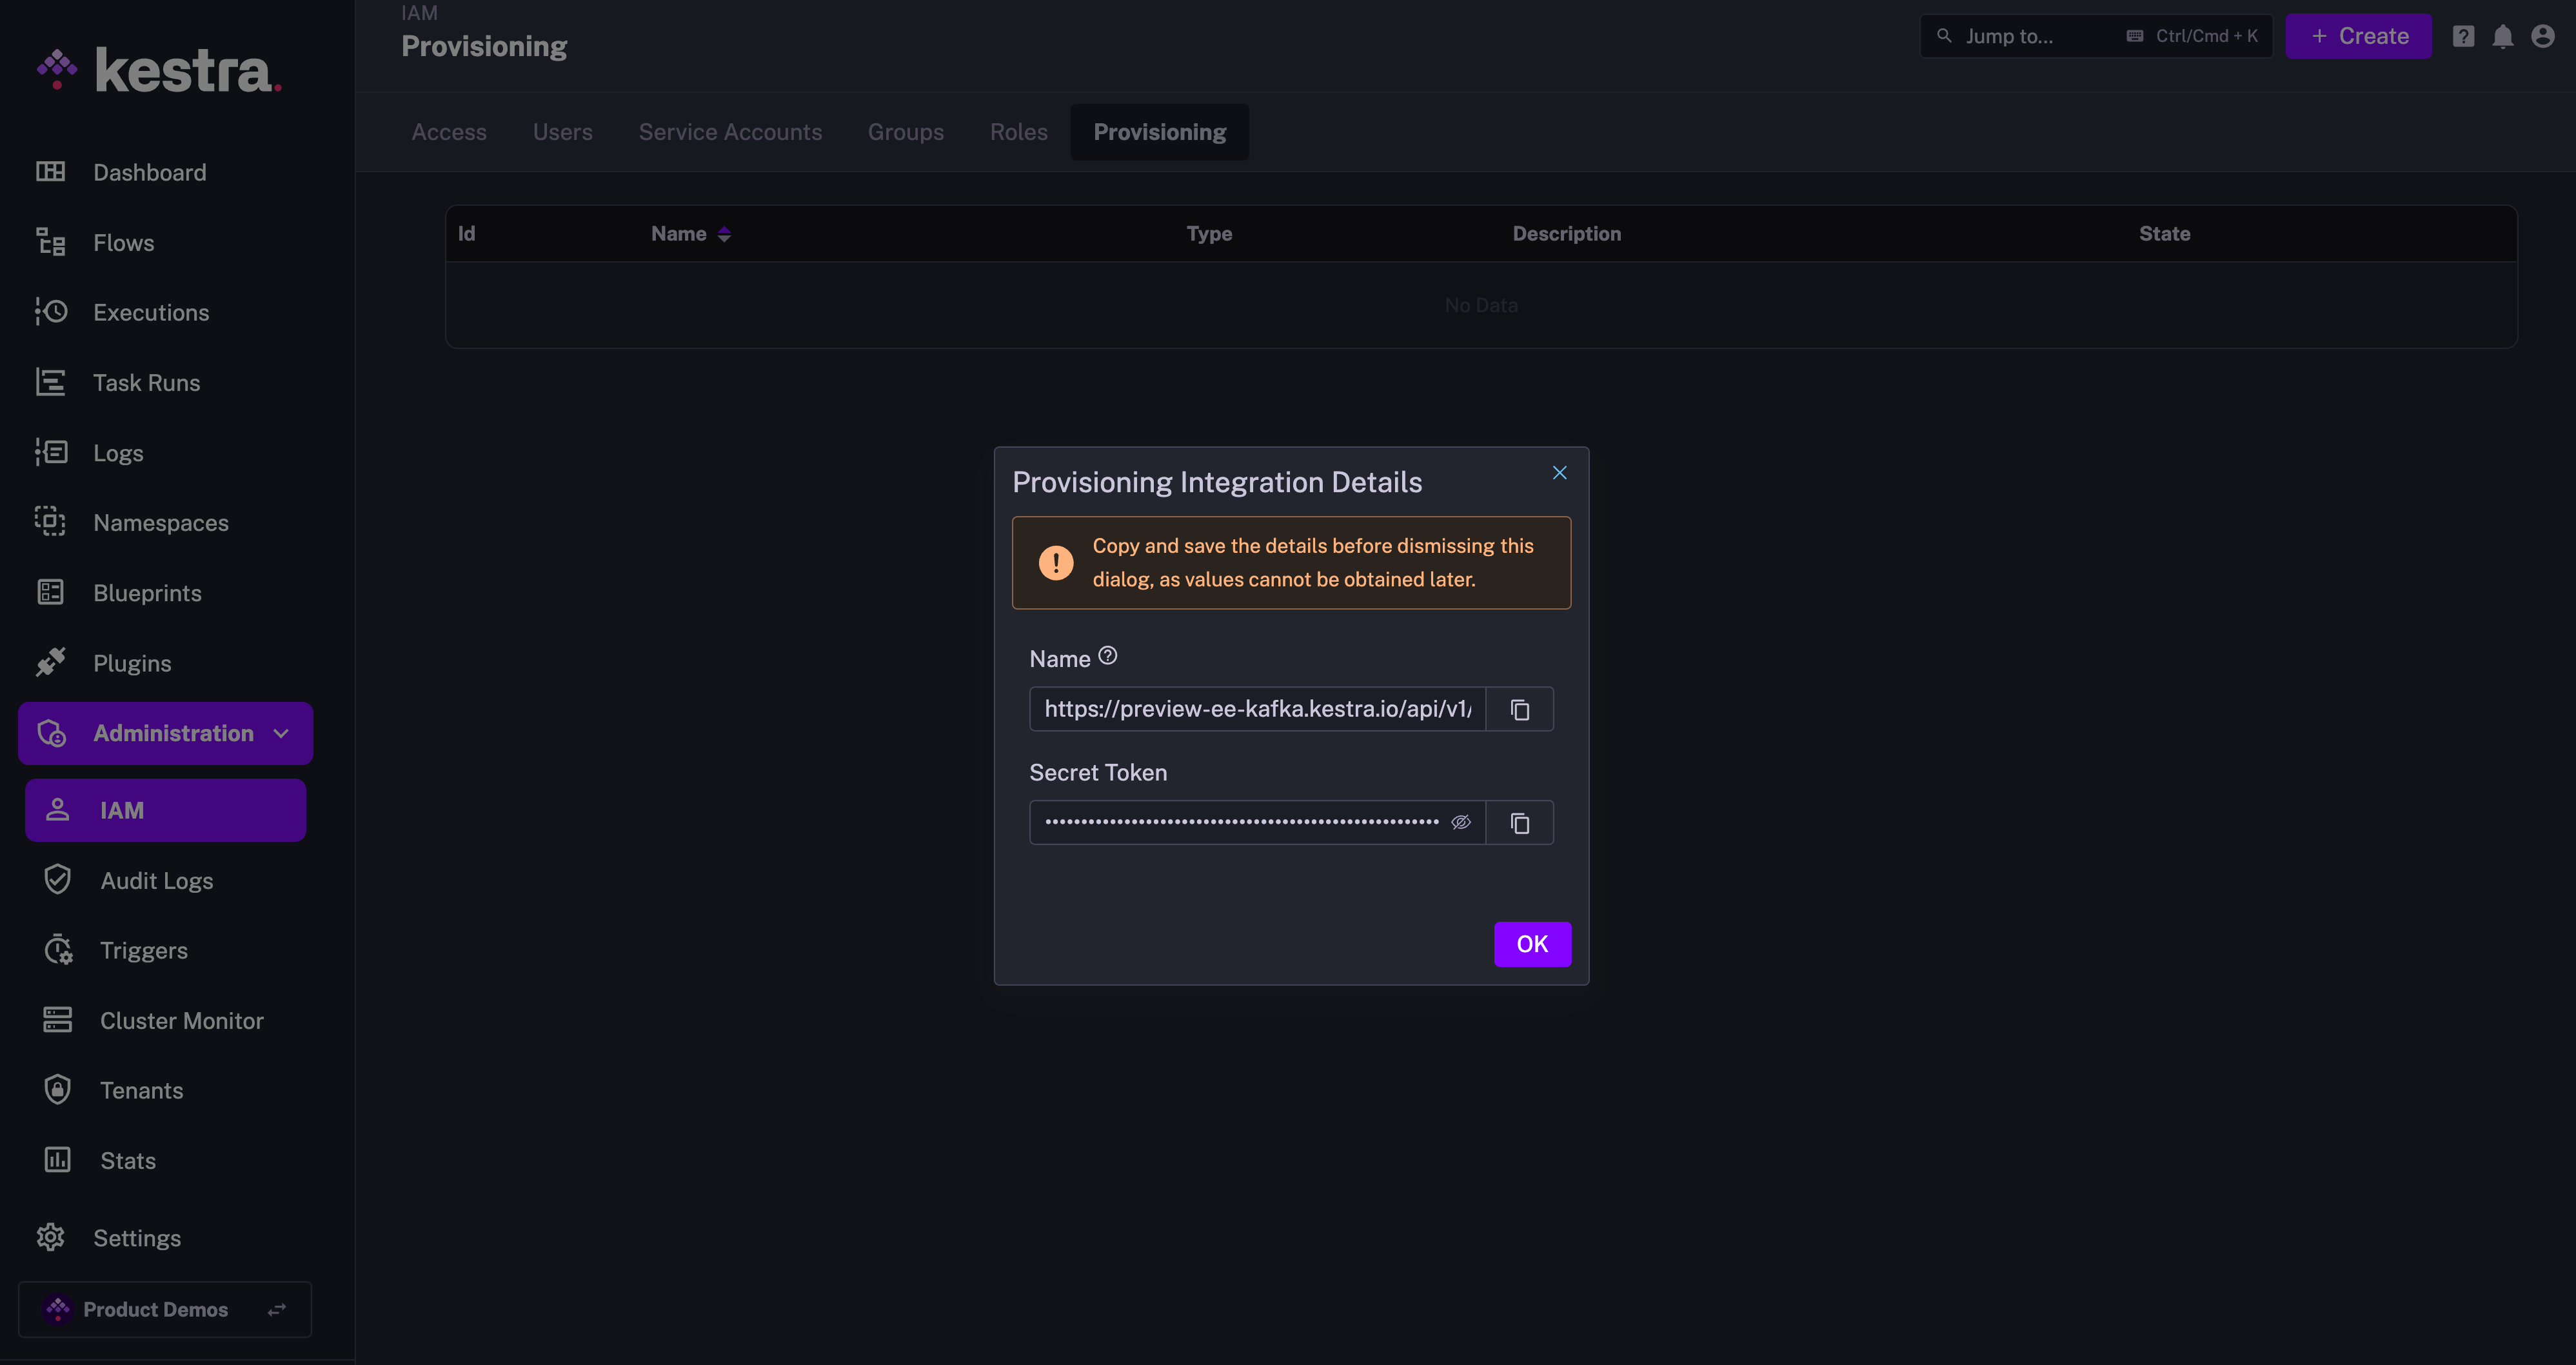
The endpoint should look as follows:
https://your_kestra_host/api/v1/your_tenant/integrations/integration_id/scim/v2
The Secret Token will be a long string (ca. 200 characters) that will authenticate requests from Keycloak to Kestra.
Enable or Disable SCIM Integration
Note that you can disable or completely remove the SCIM Integration at any time. When an integration is disabled, all incoming requests for that integration endpoint will be rejected.
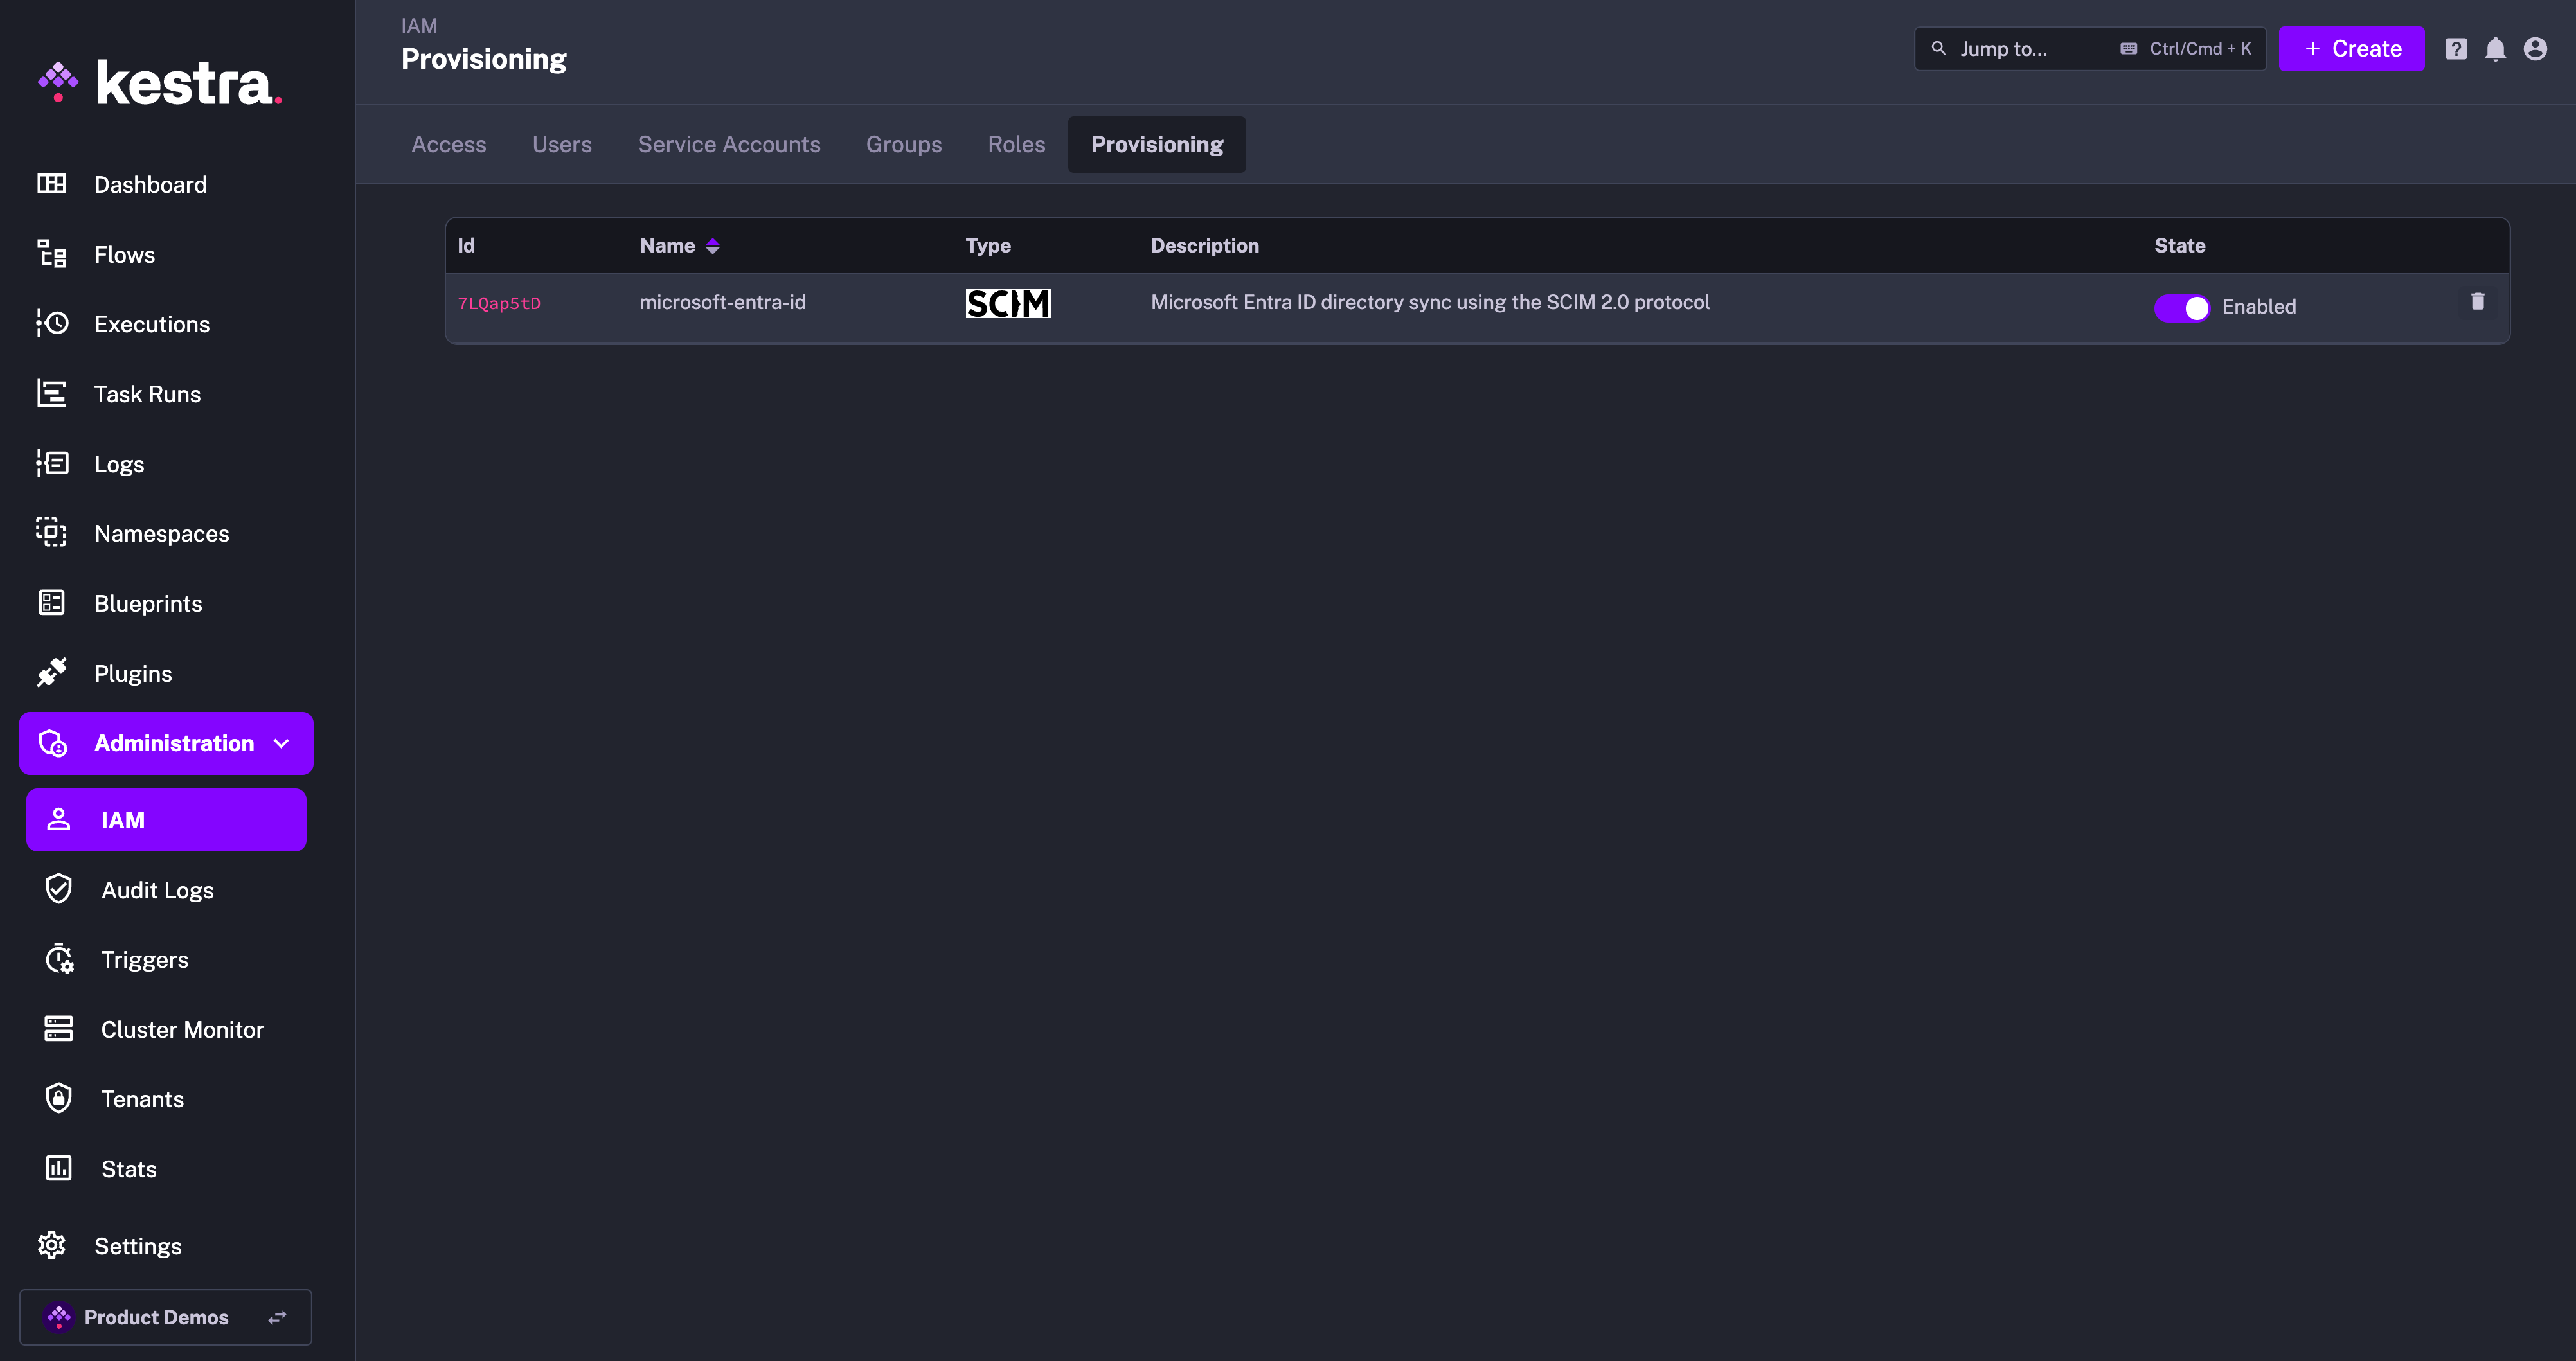
At first, you can disable the integration to configure your Keycloak SCIM integration, and then enable it once the configuration is complete.
IAM Role and Service Account
When creating a new Provisioning Integration, Kestra will automatically create two additional objects:
- Role
SCIMProvisionerwith the following permissions:GROUPS:CREATE,READUPDATE,DELETEUSERS:CREATE,READ,UPDATEBINDINGS:CREATE,READ,UPDATE,DELETE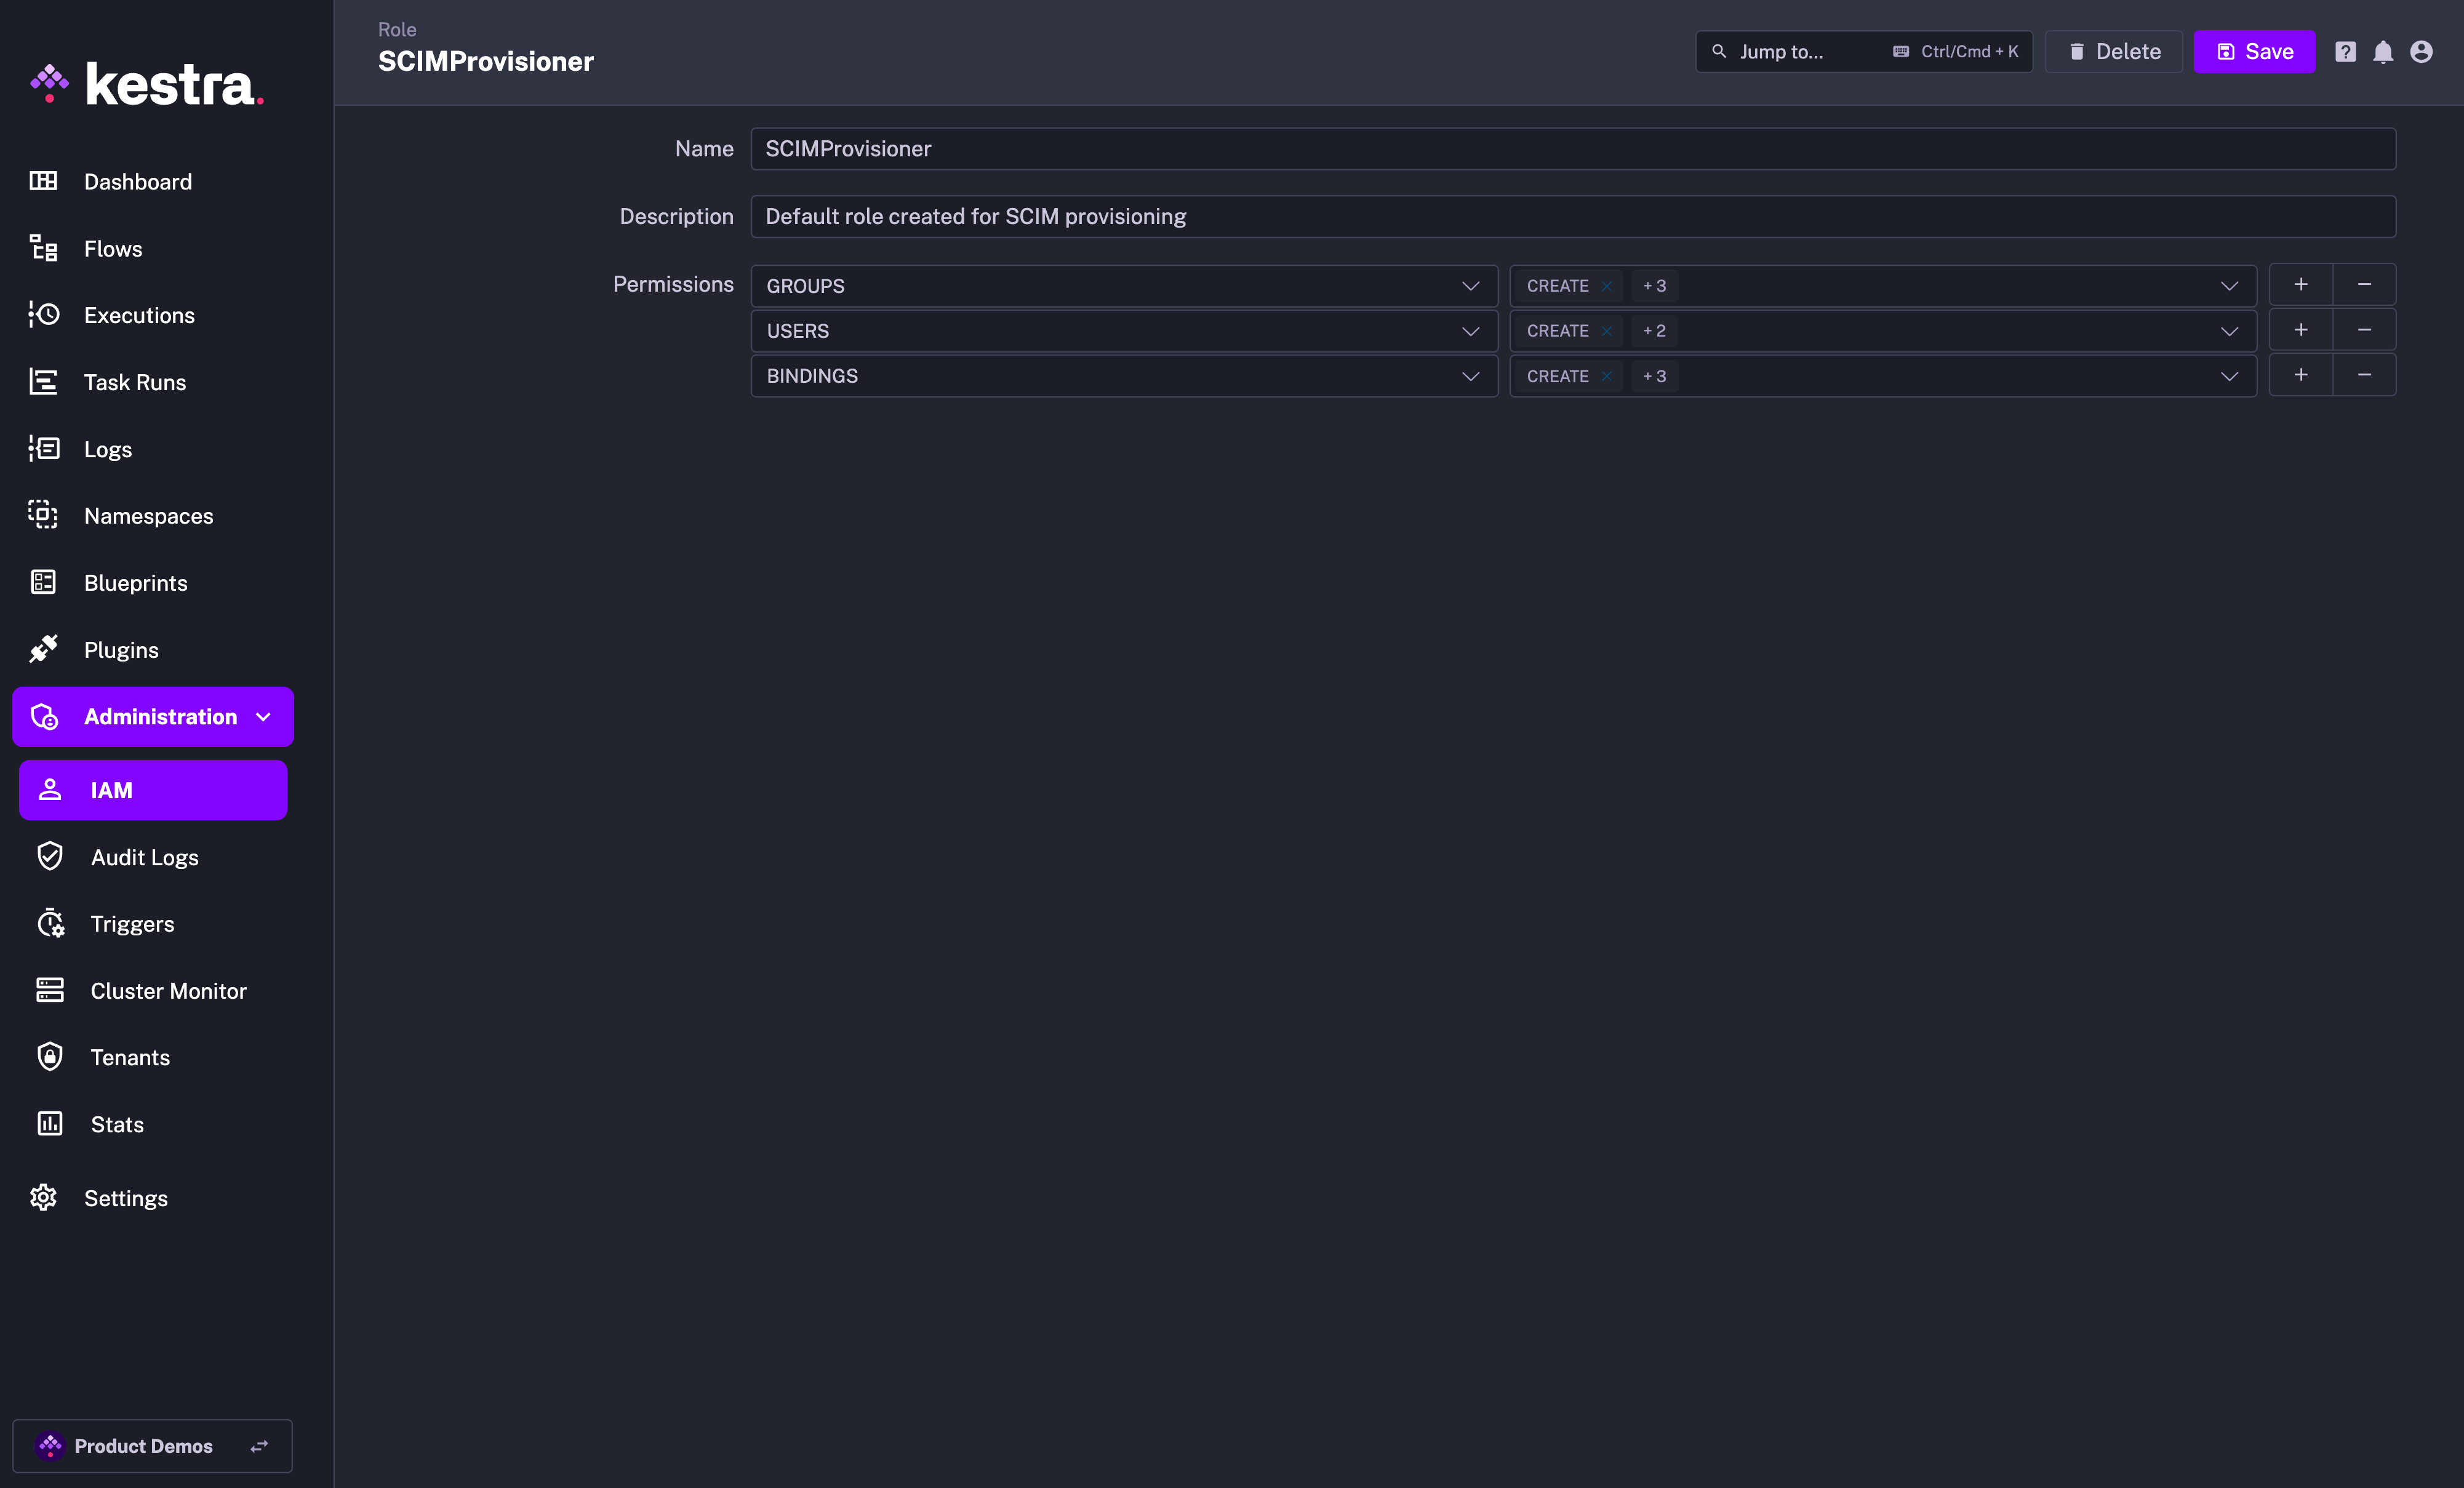
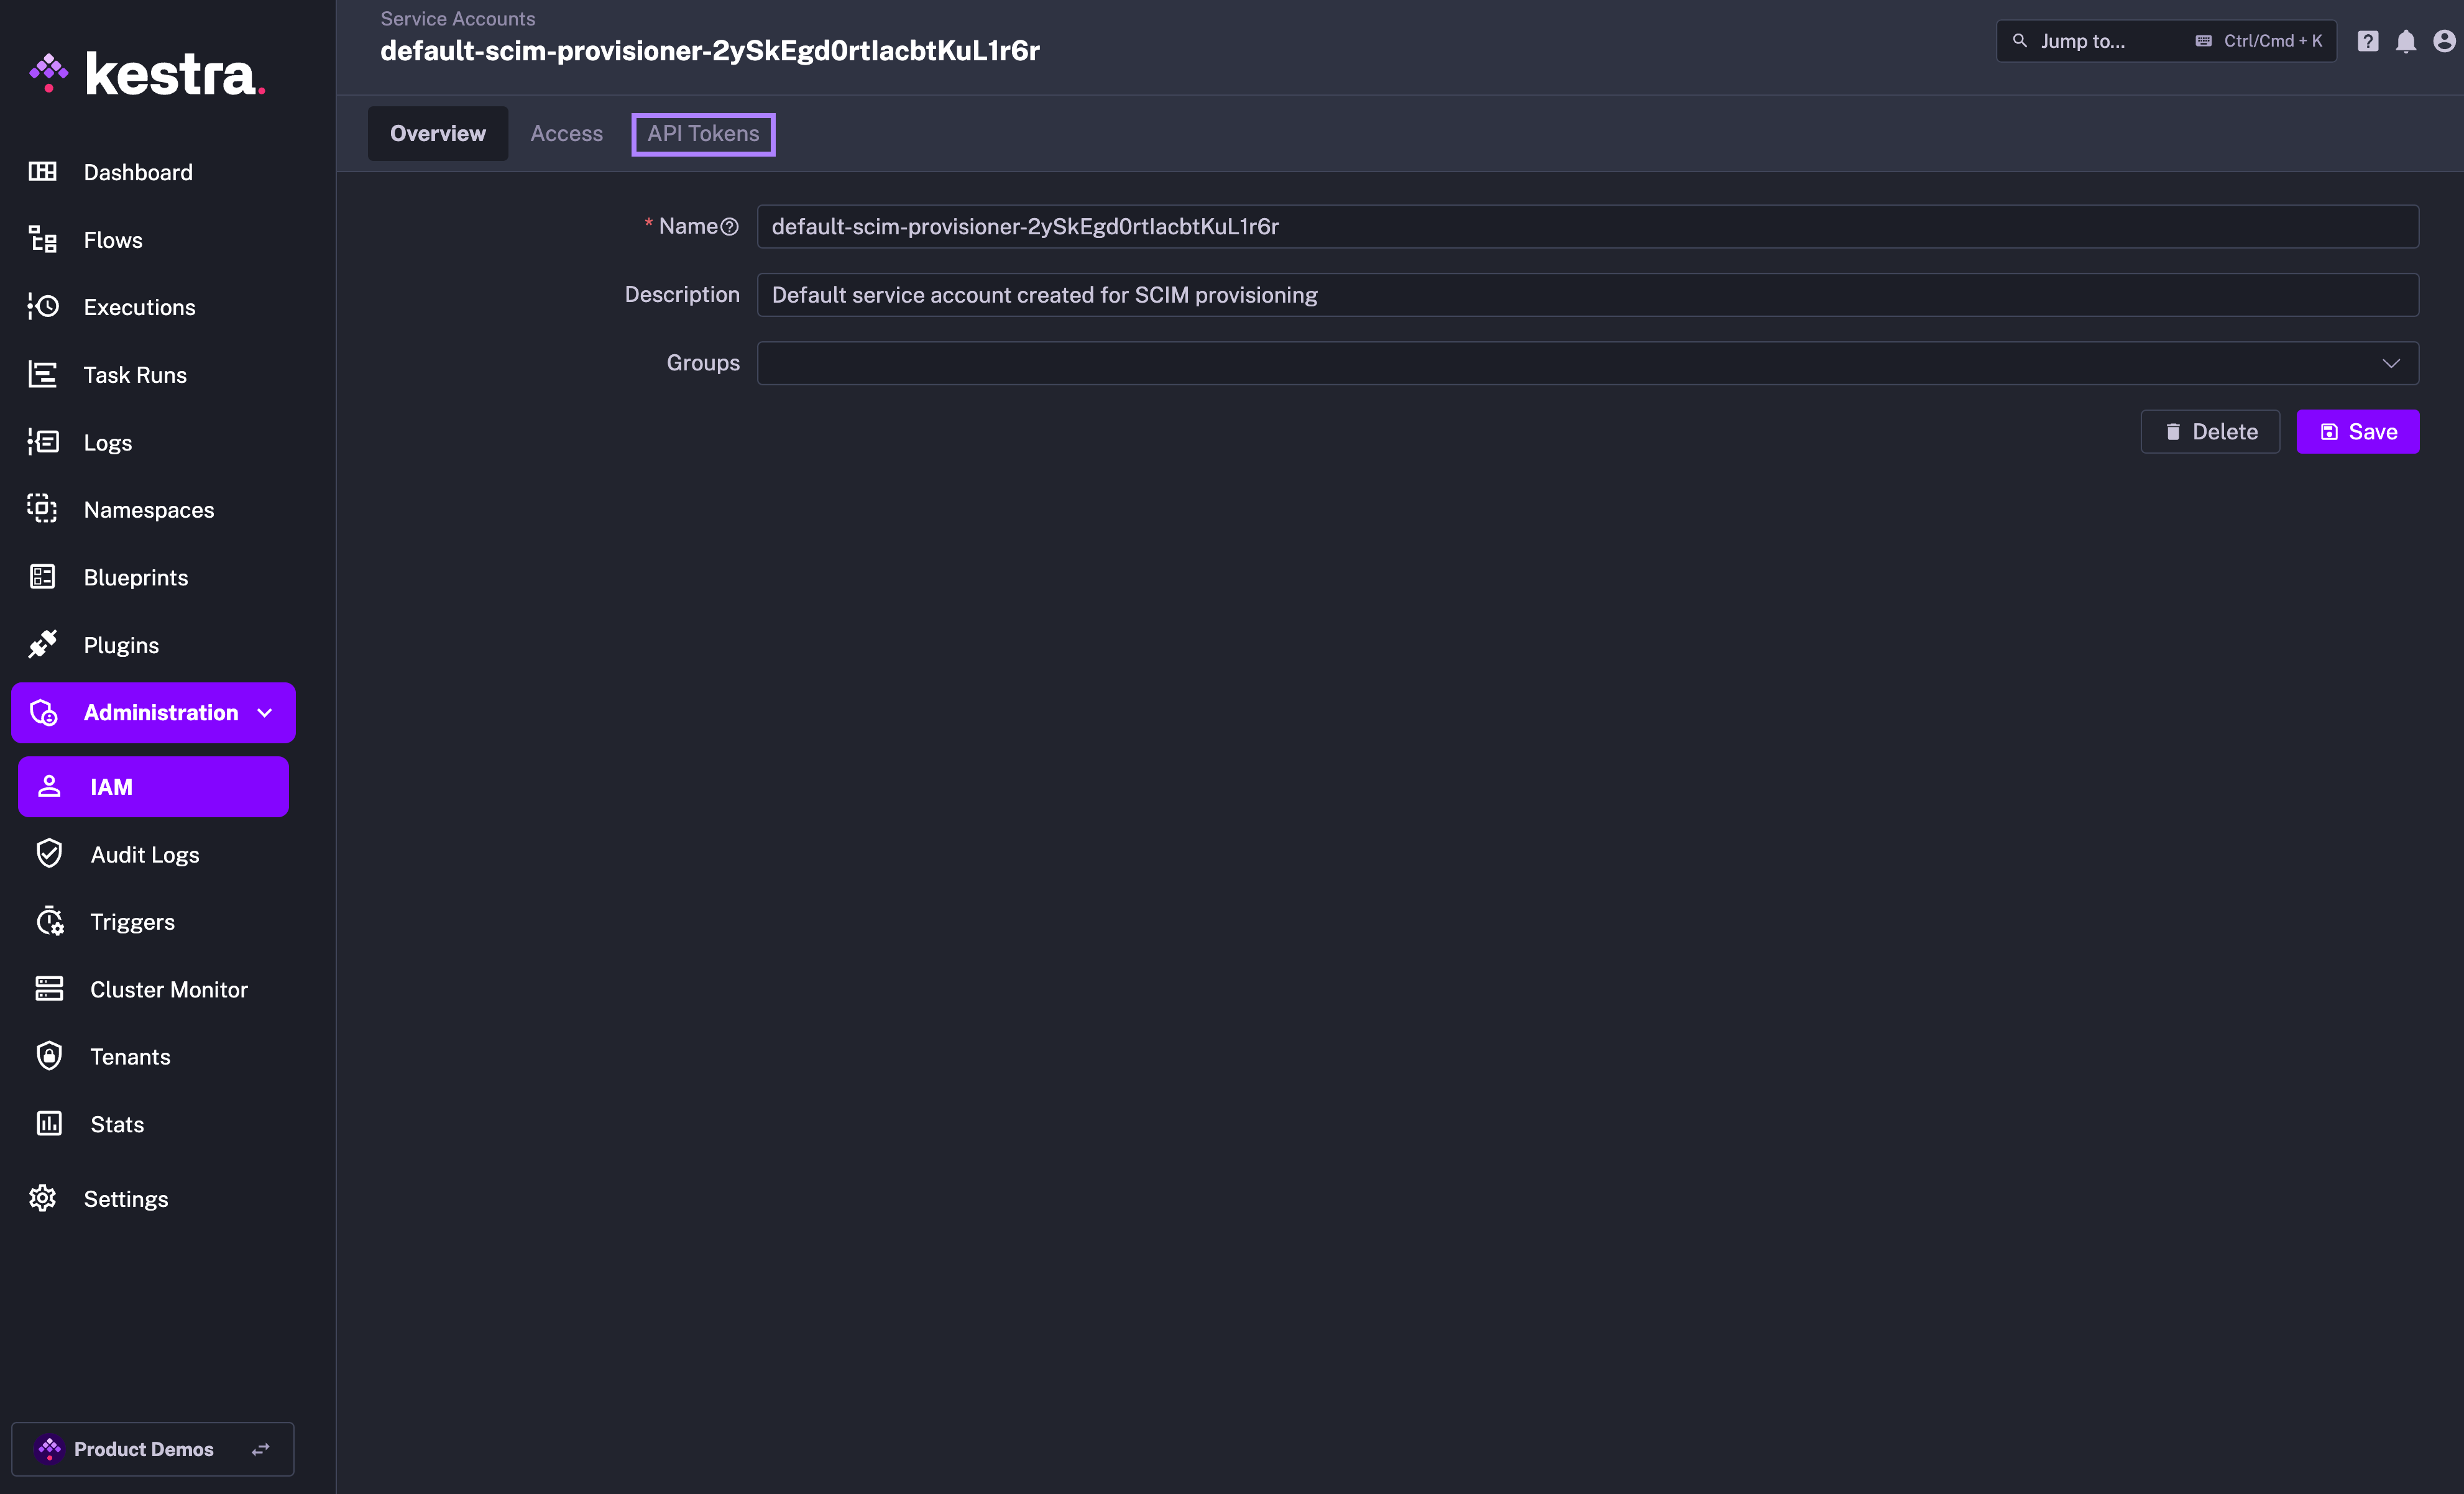
- Service Account with an API Token which was previously displayed as a Secret Token for the integration:
Why the SCIMProvisioner role doesn't have the DELETE permission for USERS? This is because you cannot delete a user through our SCIM implementation. Users are global and SCIM provisioning is per tenant. When we receive a DELETE query for a user, we remove their tenant access but the user itself remains in the system.
Keycloak SCIM Setup
Keycloak doesn’t provide any built-in support for SCIM v2.0. Some open-source solutions support groups synchronization but not users and membership synchronization.
However, there are paid solutions such as SCIM for Keycloak that allow you to extend Keycloak with SCIM. The setup shown below was validated with Kestra 0.18.0 and Keyclock 25.0.2 — best if you use the same or higher versions.
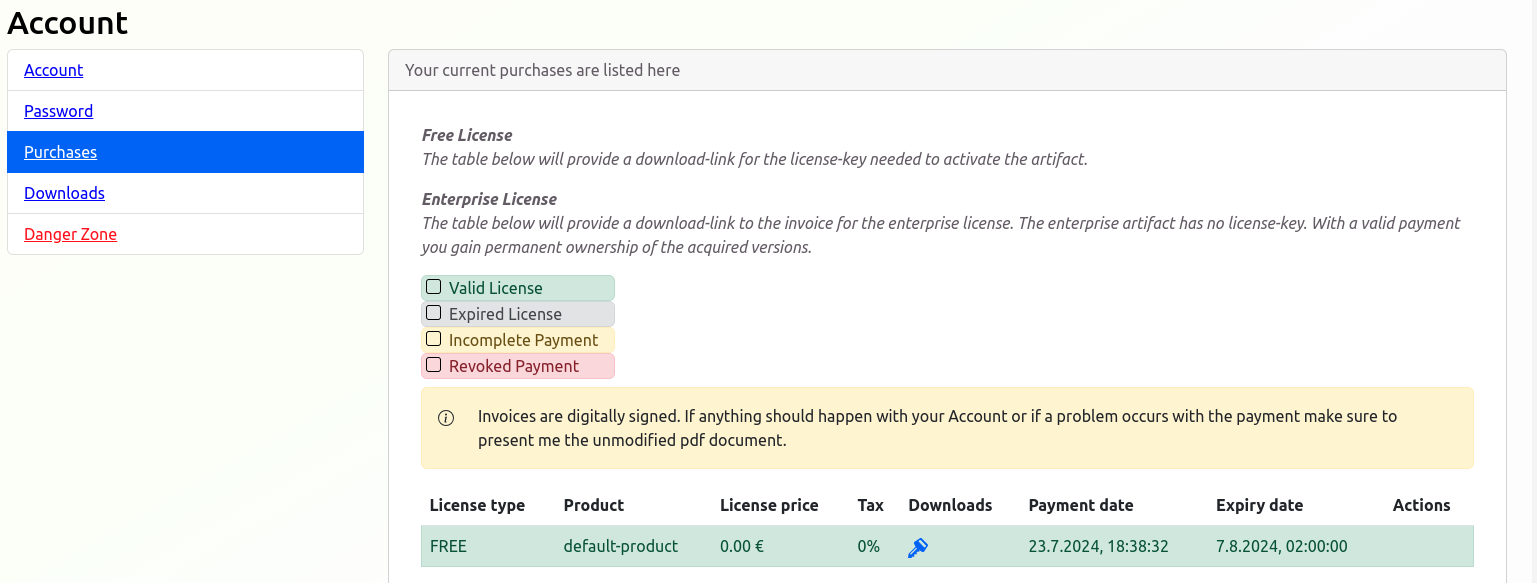
- Obtain a License:
- Create a new account on: https://scim-for-keycloak.de/
- Purchase a free license (no VAT number or credit card is required for a free license).
- Install the SCIM Provider Plugin:
- Download the plugin JAR file from the
Downloadssection in your Account (e.g.scim-for-keycloak-kc-25-2.2.1-free.jar).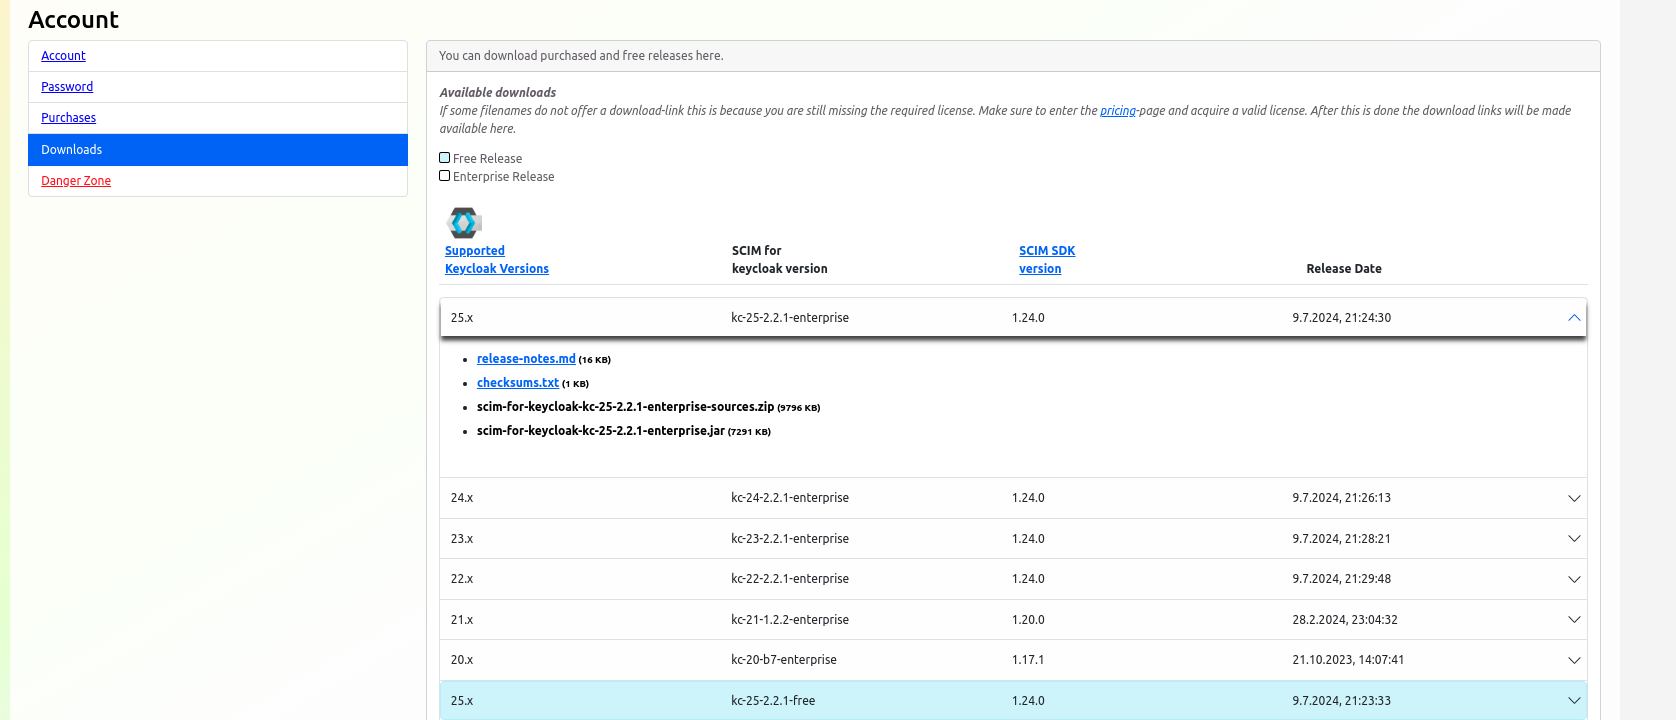
- Place the JAR file in the
./providersdirectory of your Keycloak installation (or in the current folder if Keycloack is deployed with Docker). - More information: SCIM for Keycloak Installation
- Download the plugin JAR file from the
- Deploy Keycloak:
- Create a simple
docker-compose.yamlfile:
yamlservices: keyclock: container_name: keyclock image: quay.io/keycloak/keycloak:25.0.2 ports: - 8085:8085 environment: KEYCLOAK_ADMIN: admin KEYCLOAK_ADMIN_PASSWORD: admin KC_SPI_THEME_WELCOME_THEME: scim KC_SPI_REALM_RESTAPI_EXTENSION_SCIM_LICENSE_KEY: <LICENSES_KEY> command: ["start-dev", "--http-port=8085"] volumes: - ./providers:/opt/keycloak/providers network_mode: "host" # Optional: for accessing external Kestra- Run
docker-compose upto start Keycloak.
- Create a simple
- Configure the SCIM for Keycloak:
- To synchronize Users and Groups from Keycloak to Kestra, connect to the
SCIM Administration Consolefor Keycloak with SCIM.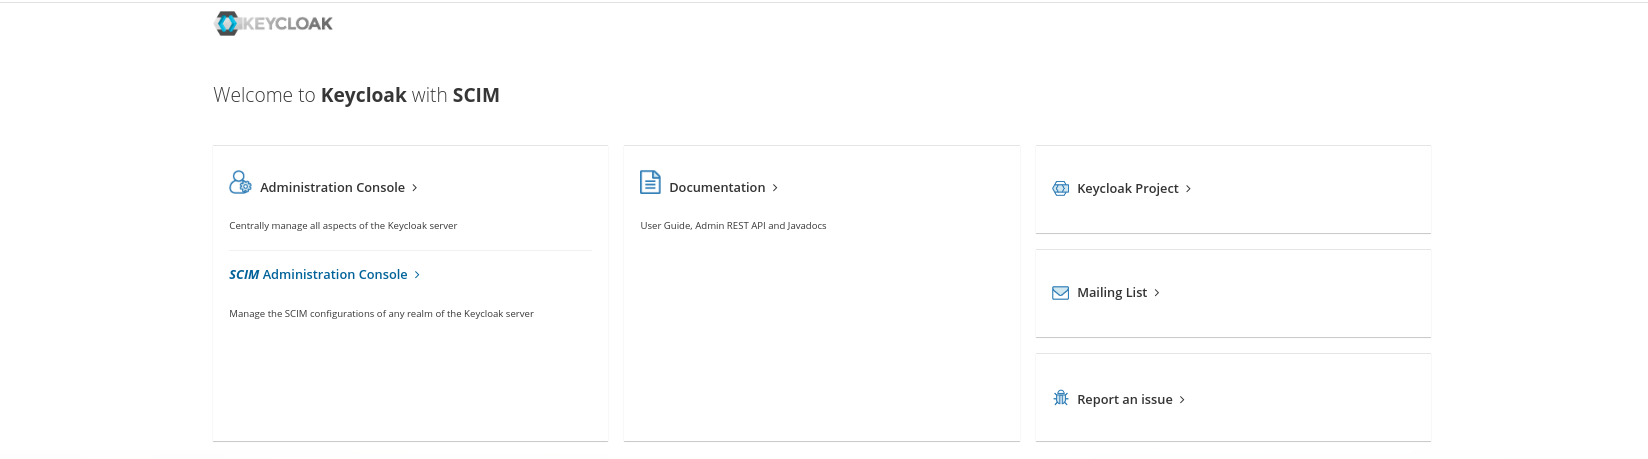
- Enable SCIM for the Realm
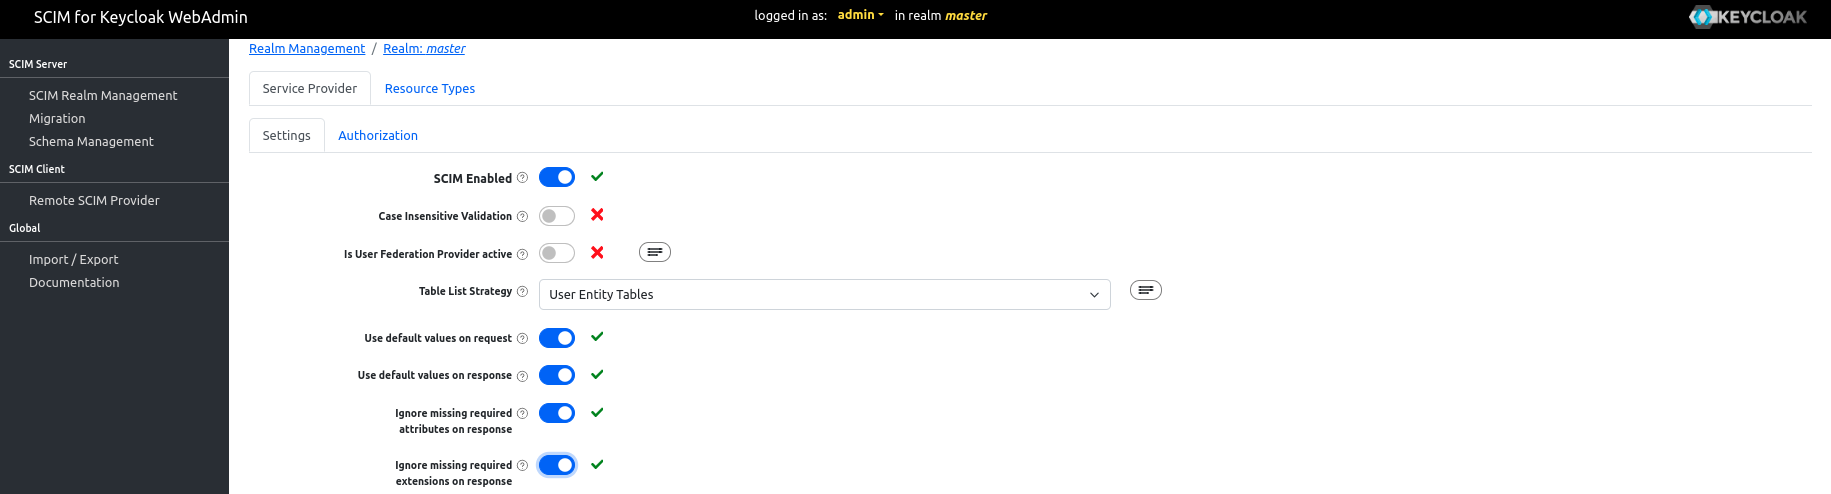
- Note that
BulkandPassword synchronizationoperations are currently not supported by Kestra and must disabled in Keycloak.
- To synchronize Users and Groups from Keycloak to Kestra, connect to the
- Create a SCIM Client:
- Navigate to the
Remote SCIM Providersection - Fill the
Base URLfield with your KestraSCIM Endpoint: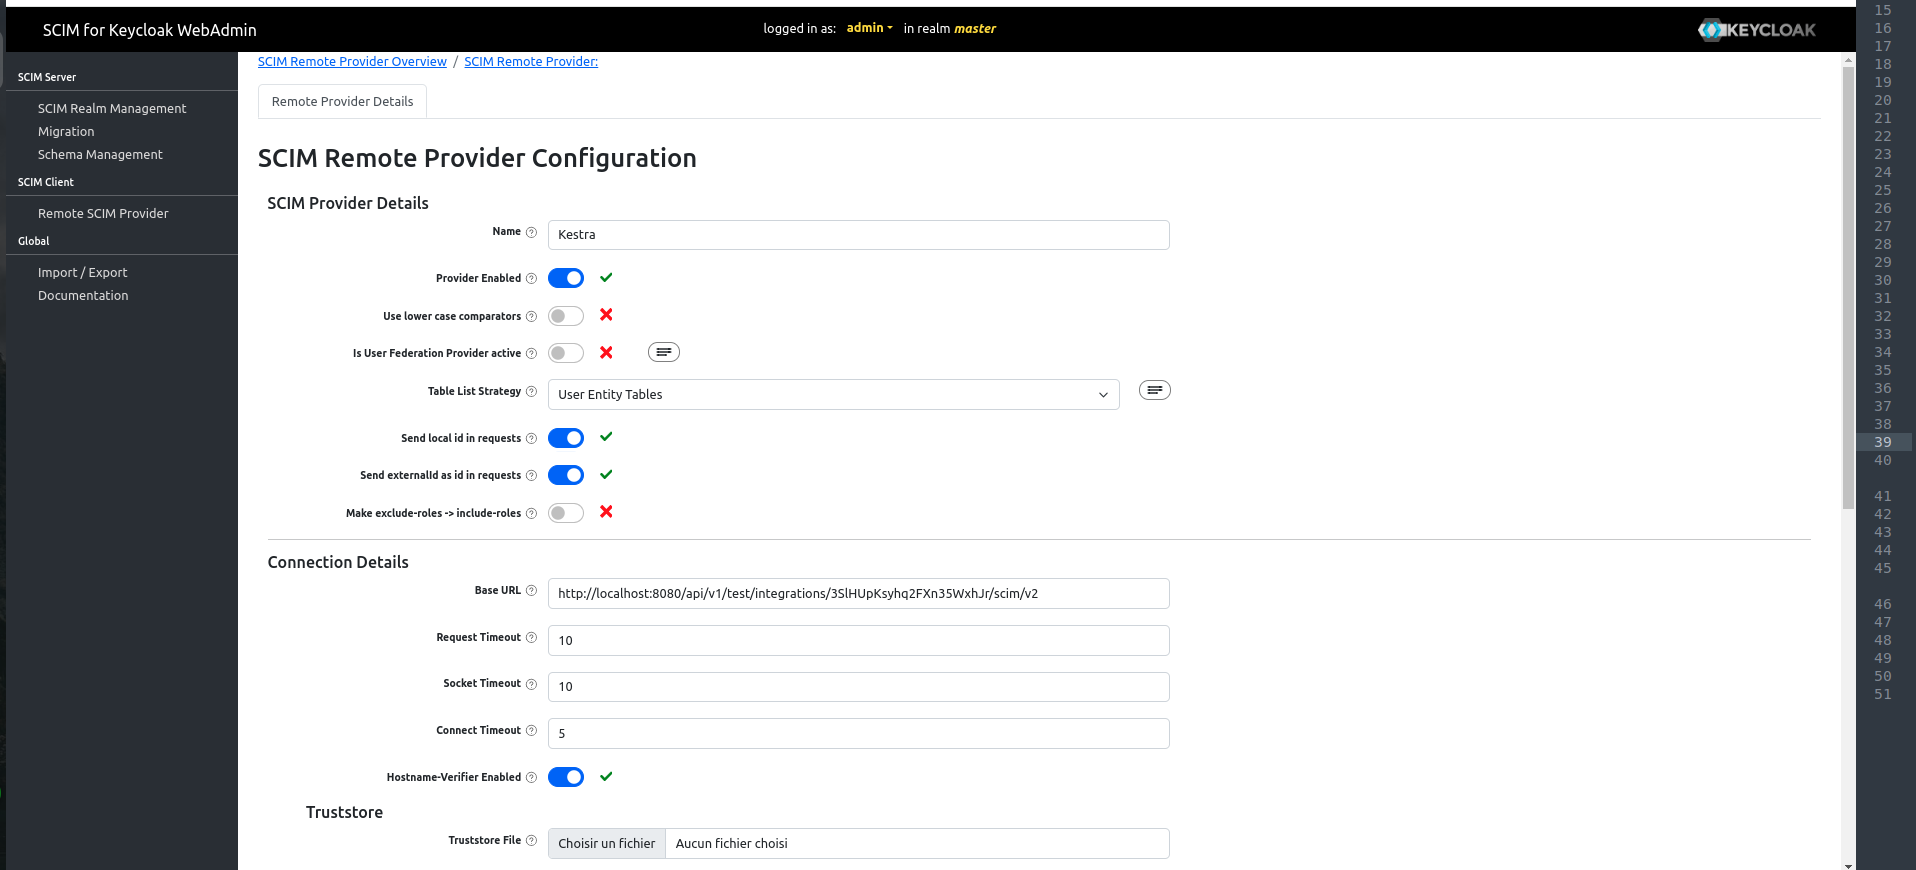
- Fill the
Authenticationwith your KestraSecret Token:
- Navigate to the
- Enable Provisioning:
- Now that everything is configured, you can toggle the
Enabledfield on in the Kestra Provisioning Integration to start syncing users and groups from Keycloak to Kestra.
- Now that everything is configured, you can toggle the
Additional Resources
Was this page helpful?