 Tenants
Available on: Enterprise EditionCloud>= 0.13.0
How to enable multi-tenancy in your Kestra instance.
What is Multi-Tenancy
A tenant represents an isolated environment within a single Kestra instance.
Each tenant functions as a separate entity with its own resources, such as flows, triggers, or executions. Multi-tenancy enables different teams, projects, or customers to operate independently within the same Kestra instance, ensuring data privacy, security, and separation of resources between business units, teams, or customers. For example, you can have a dev tenant for development, a staging tenant for testing, and a prod tenant for production.
You can think of multi-tenancy as running multiple virtual instances in a single physical instance of Kestra Cloud or Kestra Enterprise Edition.
All resources (such as flows, triggers, executions, RBAC, and more) are isolated by the tenant. This means that you can have a flow with the same identifier and the same namespace in multiple tenants at the same time.
Data stored inside the internal storage is also separated by tenants.
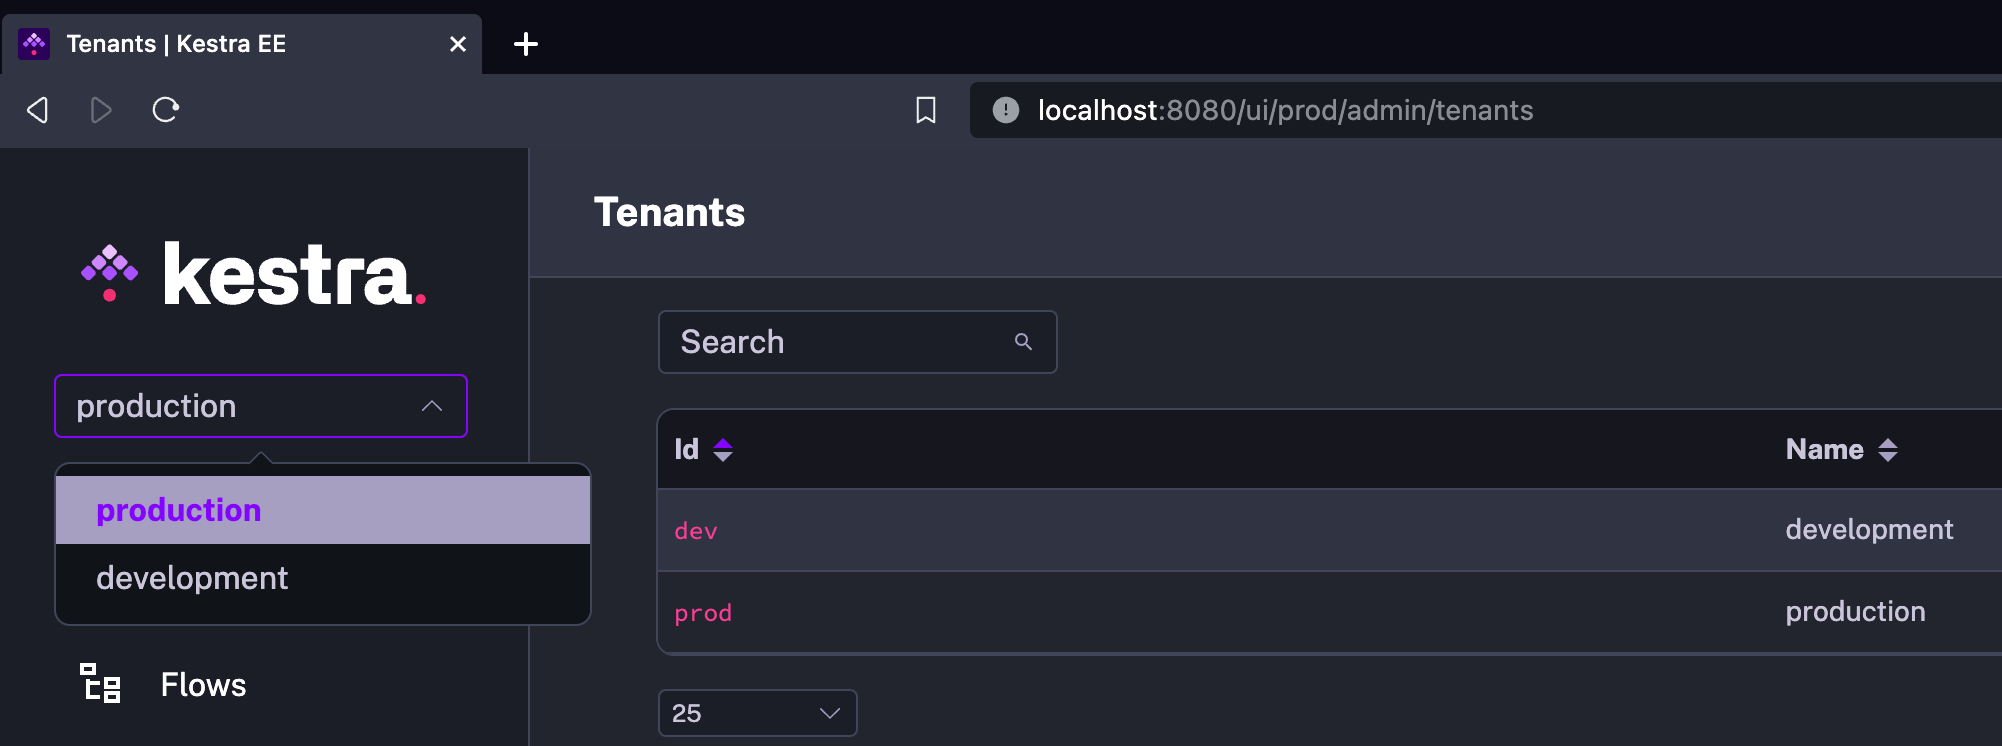
End-users can use the tenant selection dropdown menu from the UI to see tenants they have access to. It allows users to switch between tenants easily. Each UI page includes the tenant ID in the URL (e.g., https://demo.kestra.io/ui/yourTenantId/executions/namespace/flow/executionId.)
Most API endpoints also include the tenant identifier. The exception to that is instance-level endpoints such as /configs, /license-info or /banners that require Superadmin access.
For example, the URL of the API operation to list flows of the products namespace is /api/v1/{your_tenant_id}/flows/products. You can check the Enterprise Edition API Guide for more information.
Tenants must be created upfront, and a user needs to be granted access to use a specific tenant.
Key benefits of multi-tenancy
- Data Isolation: each tenant's data, configuration, and code is isolated and inaccessible to other tenants.
- Resource Isolation: each tenant's resources are isolated from other tenants — including flows, triggers, executions, logs, audit logs, secrets, etc.
- Simple Configuration: you can easily create new tenants instantly giving you a fresh, fully-isolated workspace accessible from your existing Kestra instance.
- Intuitive UI Navigation: the UI provides a dropdown as well as tenant identifiers included in the URL to make switching between tenants seamless.
Creating and Managing Tenants
Tenants in Kestra can be managed in various ways: from the UI, CLI, API, or Terraform.
Creating a Tenant from the UI
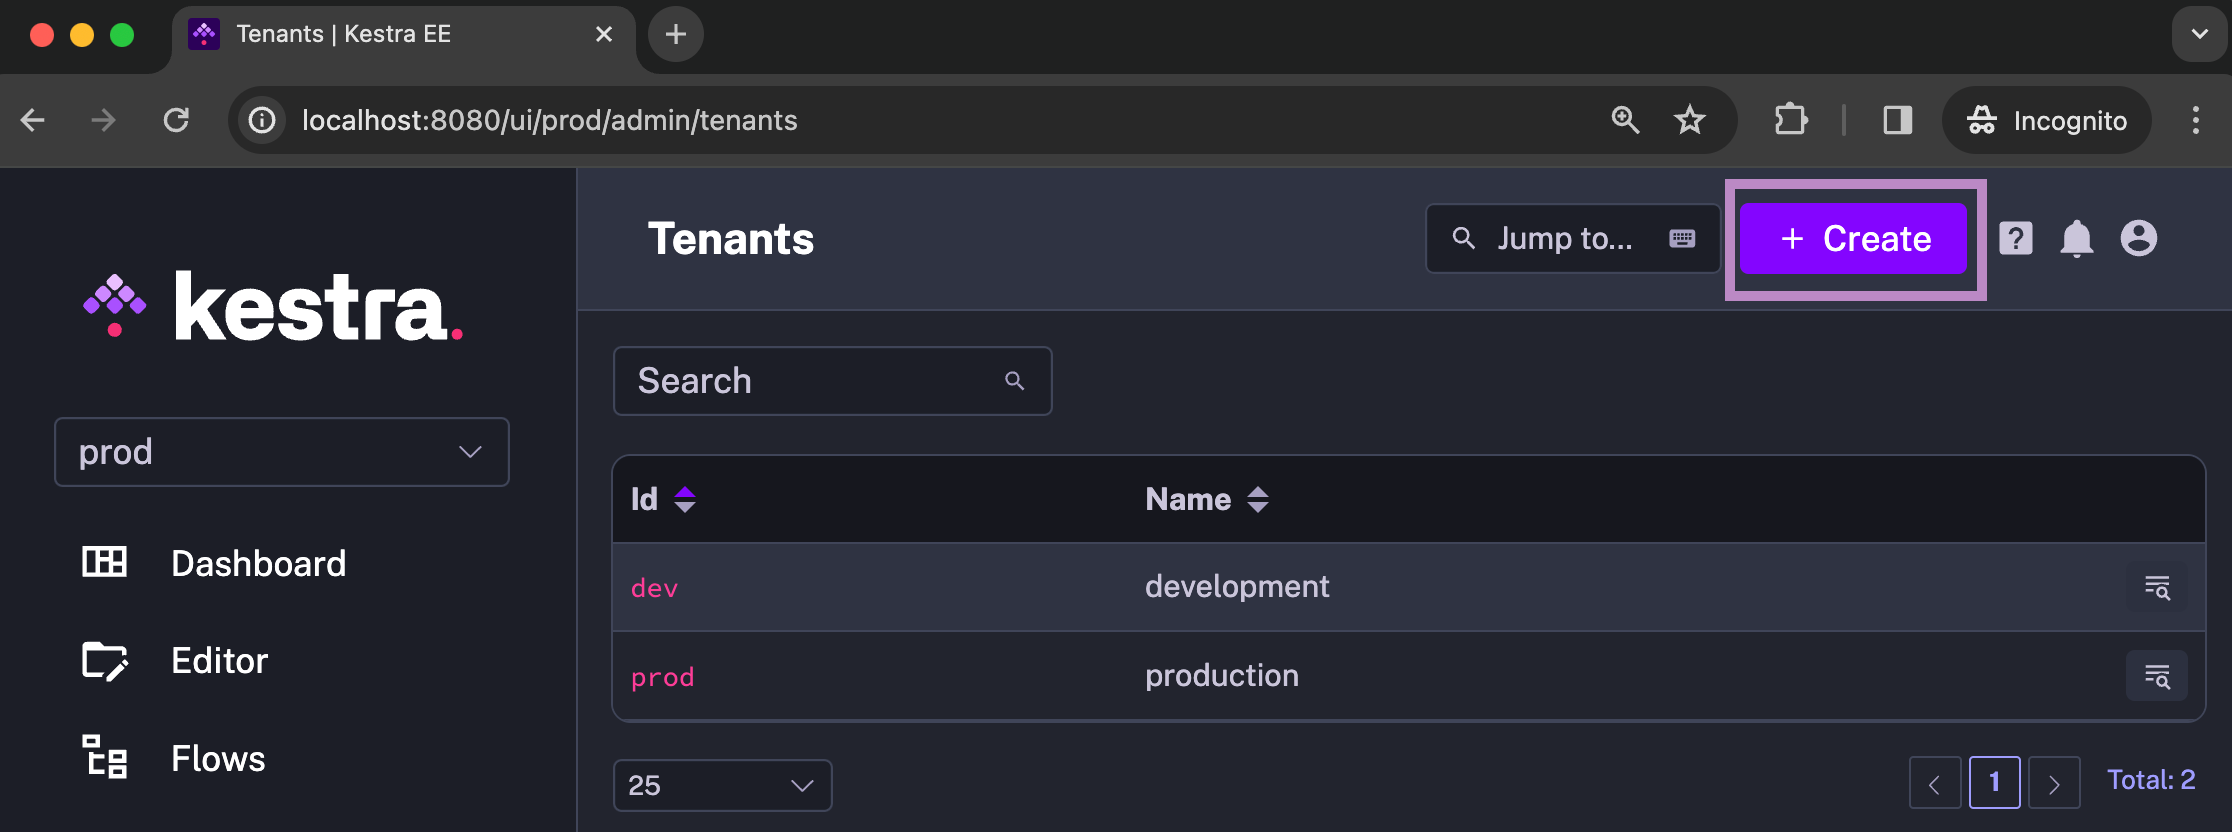
Tenants can be created and managed directly through Kestra's user interface. Go to Administration -> Tenants. Then, click on the Create button:
Fill in the form and click Save:
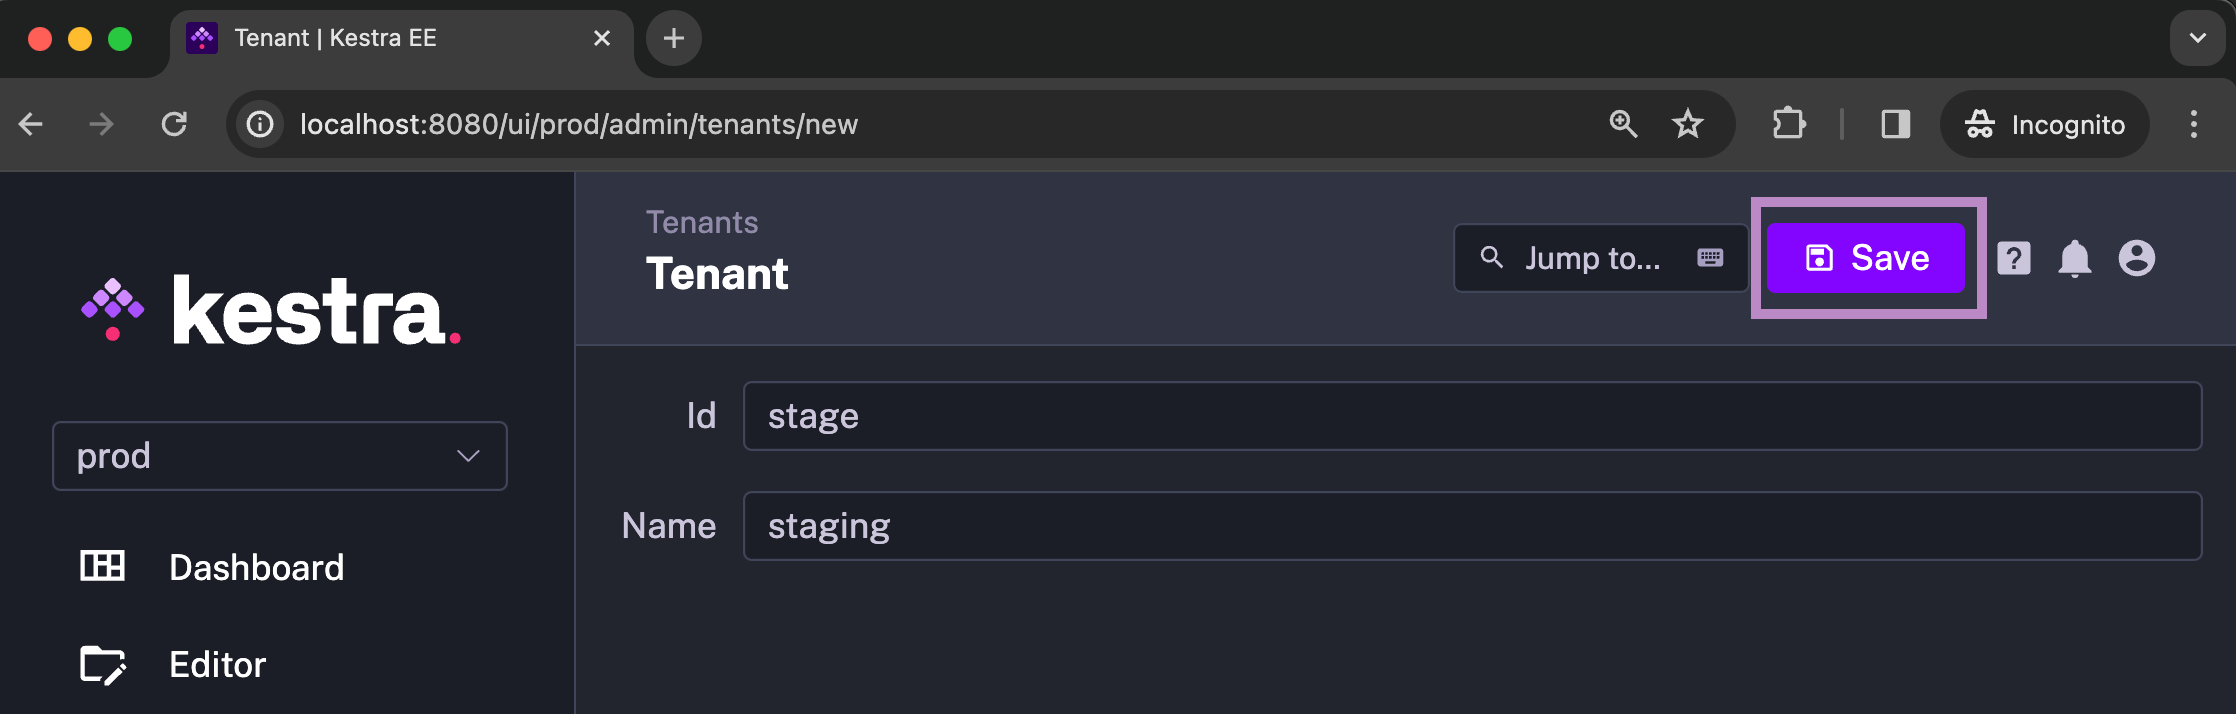
The user who creates a tenant is automatically granted the Admin Role for that tenant. You may need to refresh the UI to see updated Roles.
Creating a Tenant from the CLI
Kestra provides CLI commands for tenant creation. The following command creates a tenant with the identifier stage and the name Staging:
kestra tenants create --tenant stage --name "Staging"
Running kestra tenants create --help shows you all available properties:
$ kestra tenants create --help
Usage: kestra tenants create [-hVv] [--internal-log]
                                [--admin-username=<adminUser>] [-c=<config>]
                                [-l=<logLevel>] [--name=<tenantName>]
                                [-p=<pluginsPath>] [--tenant=<tenantId>]
create a tenant and assign admin roles to an existing admin user
      --admin-username=<adminUser>
                            Username of an existing admin user that will be
                              admin of this tenant
  -c, --config=<config>     Path to a configuration file, default: /Users/anna/.
                              kestra/config.yml)
  -h, --help                Show this help message and exit.
      --internal-log        Change also log level for internal log, default:
                              false)
  -l, --log-level=<logLevel>
                            Change log level (values: TRACE, DEBUG, INFO, WARN,
                              ERROR; default: INFO)
      --name=<tenantName>   tenant description
  -p, --plugins=<pluginsPath>
                            Path to plugins directory , default:
                              /Users/anna/dev/plugins)
      --tenant=<tenantId>   tenant identifier
  -v, --verbose             Change log level. Multiple -v options increase the
                              verbosity.
  -V, --version             Print version information and exit.
Creating a Tenant from the API
Tenants can be managed programmatically via Kestra's API. Here is an example of an API call for creating a tenant:
curl -X POST "https://demo.kestra.io/api/v1/tenants" \
  -H "accept: application/json" \
  -H "Content-Type: application/json" \
  -d "{ \"id\": \"stage\", \"name\": \"staging\", \"deleted\": false}"
Creating a Tenant from Terraform
Tenants can be managed via Infrastructure as Code using Kestra's Terraform provider.
This example assumes you have already configured the Kestra Terraform Provider
Here is an example of a Terraform configuration for creating a tenant:
resource "kestra_tenant" "stage" {
  tenant_id = "stage"
  name      = "staging"
}
Deleting a tenant
Deleting a tenant removes all associated resources including flows, namespaces, apps, dashboards, and roles. Execution data, logs, metrics, and audit logs are retained in the database, and they can be purged if needed with their corresponding Purge tasks.
Deleting a tenant is irreversible. All resources under the tenant will be permanently removed, except for logs and execution history stored in the database.
Key-value pairs and namespace files will not be deleted as they are persisted in internal storage.
Admin role assignment
Regardless of which of the above methods you use to create a tenant, the User who creates the tenant automatically gets the Admin Role assigned. That role grants admin rights to that user on that tenant.
Note that there is an exception to this rule if a tenant is created by a Superadmin. In that case, the Superadmin has to explicitly assign the Admin Role for that tenant to themselves or any other User, Service Account, or Group.
Dedicated storage and secrets backend per tenant
By default, each tenant uses the same internal storage and secrets backend configured for your Kestra instance. If you need more isolation, you can configure a dedicated storage and secrets backend per tenant. This can be useful if each of your tenants serves different customers and you need to ensure complete data isolation between them.
To configure a dedicated storage and secrets backend per tenant, navigate to the respective tenant in the UI and click on the Edit button. Then, select the storage and secrets backend you want to use for that tenant:
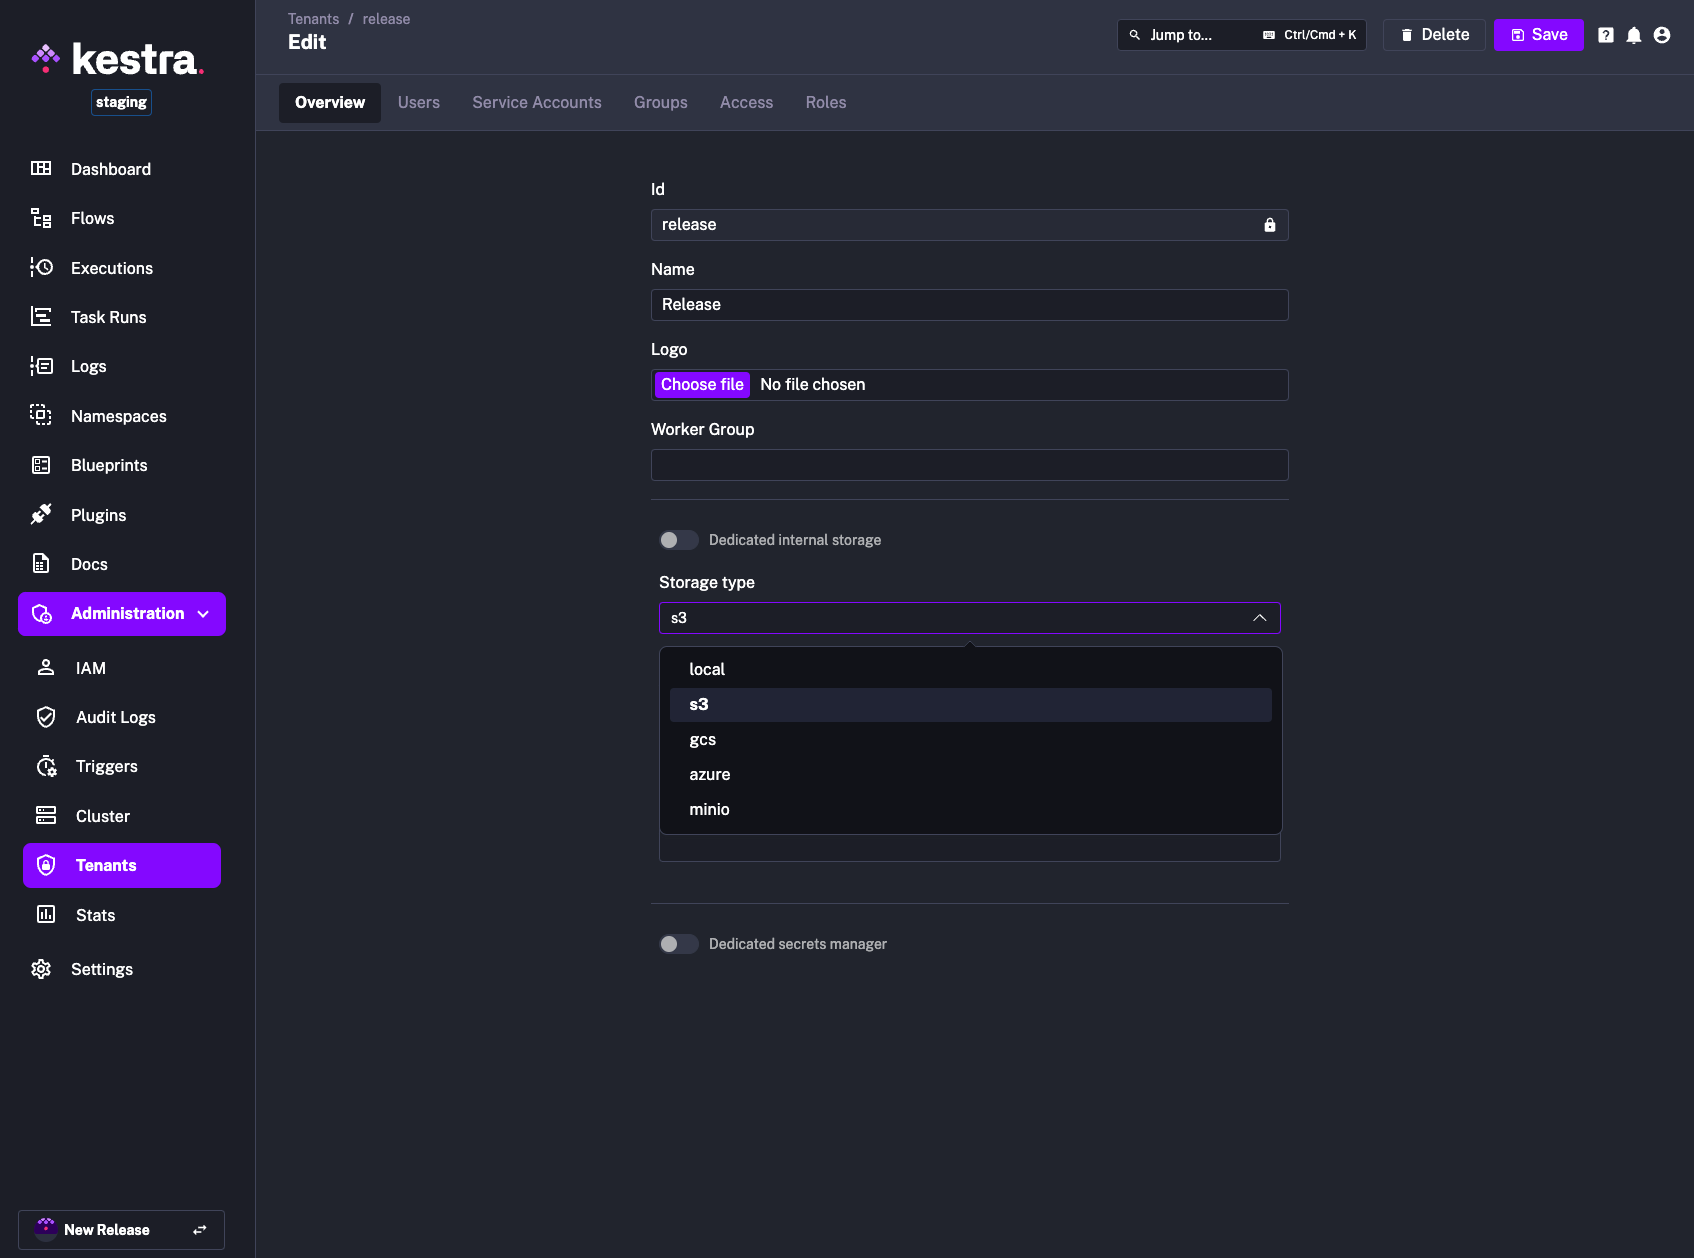
Note that this feature has been introduced in Kestra 0.20.0. If you are using an older version, you need to upgrade to set up dedicated storage and secrets backend per tenant.
Also, make sure to use camelCase notation. For example, if you want to use the GCS storage backend, you should use projectId as the value rather than project-id.
Isolate Kestra services
When using Dedicated Storage or Secret backends, you can isolate specific Kestra services to prevent them from accessing the storage or secret backend. For example, you may not want the Webserver to be able to access the dedicated internal storage. This isolation is intended for Kestra instances where multiple teams or organizations share access, but storage or secret data access must be limited to specific segments.
The configuration utilizes the deniedServices property with a list of the services to isolate. Take the following as an example using storage (this can be replaced with secret for a dedicated secret backend), where the Executor and Webserver must be isolated:
kestra:
  storage:   # or secret
    isolation:
      enabled: true
      deniedServices: [EXECUTOR, WEBSERVER]
For additional configuration details, refer to dedicated Secrets backend and Internal Storage in the configuration guide.
If this feature is enabled some UI or flow execution capabilities may not work as expected. If unsure, contact support.
Was this page helpful?