Create Your First Hello World Flow
For the complete documentation index, see llms.txt. For a full content snapshot, see llms-full.txt. Append.mdto anykestra.io/docs/*URL for plain Markdown.
Start by building a simple Hello World flow.
If you haven’t already, follow the Quickstart Guide or check the detailed Installation Guide.
Build your first Hello World Flow
Flows
Flows are defined in a declarative YAML syntax to keep the orchestration code portable and language-agnostic.
Each flow consists of three required components: id, namespace, and tasks.
idis the unique identifier of the flow.namespaceseparates projects, teams, and environments.tasksis a list of tasks executed in order.
Here are those three components in a YAML file:
id: getting_startednamespace: company.team
tasks:  - id: hello_world    type: io.kestra.plugin.core.log.Log    message: Hello World!
The id of a flow must be unique within its namespace. For example:
- ✅ You can have a flow named
getting_startedincompany.team1and another flow namedgetting_startedincompany.team2. - ❌ You cannot have two flows named
getting_startedincompany.teamat the same time.
The combination of id and namespace is the unique identifier for a flow.
Namespaces
Namespaces are used to group flows and provide structure. Keep in mind that a flow’s allocation to a namespace is immutable. Once a flow is created, you cannot change its namespace. If you need to change the namespace of a flow, create a new flow within the desired namespace and delete the old flow.
Labels
To add another layer of organization, use labels to group flows with key-value pairs. In short, labels are customizable tags to simplify monitoring and filtering of flows and executions. For example, taking the flow above, we can add a label with the key tag to define the flow as Getting Started:
id: getting_startednamespace: company.teamlabels:  tag: Getting Started
tasks:  - id: hello_world    type: io.kestra.plugin.core.log.Log    message: Hello World!
Descriptions
You can optionally add a description property to document your flow’s purpose or other useful information. The description is a string that supports markdown syntax. This markdown description is rendered and displayed in the UI.
You can also add a description property to tasks and triggers to document all the components of your workflow.
Here is the same flow as before, but with labels and descriptions:
id: getting_startednamespace: company.team
description: |  # Getting Started  Let's `write` some **markdown** - [first flow](https://t.ly/Vemr0) 🚀
labels:  tag: Getting Started
tasks:  - id: hello_world    type: io.kestra.plugin.core.log.Log    message: Hello World!    description: |      ## About this task      This task prints "Hello World!" to the logs.
Learn more about flows in the Flows page.
Tasks
Now that you know how to document and organize your flows, it’s time to get to the core of orchestration: tasks.
Tasks are atomic actions in your flows. You can design your tasks to be small and granular, such as fetching data from a REST API or running a self-contained Python script. However, tasks can also represent large and complex processes, like triggering containerized processes or long-running batch jobs (e.g., using dbt, Spark, AWS Batch, Azure Batch, etc.) and waiting for their completion.
Task execution order
Tasks are defined as a list. By default, all tasks in the list will be executed sequentially — the second task will start as soon as the first one finishes successfully.
Kestra provides additional customization to run tasks in parallel, iterate (sequentially or in parallel) over a list of items, or allow specific tasks to fail without stopping the flow. These kinds of actions are called Flowable tasks because they define the flow logic. We’ll cover Flowable tasks in more detail later in the tutorial, but for now it is good to know they exist.
A task in Kestra must have an id and a type. This is similar to how a flow must have an id and a namespace. Other task properties depend on the task type. You can think of a task as a step in a flow that executes a specific action, such as running a Python or Node.js script in a Docker container or loading data from a database.
We’ve shown a Log task in some example flows before, and below is the same flow with an additional Python script task added. The Log task runs first and then the Python task (copy and run for yourself to see the results):
id: getting_startednamespace: company.team
description: |  # Getting Started  Let's `write` some **markdown** - [first flow](https://t.ly/Vemr0) 🚀
labels:  tag: Getting Started
tasks:  - id: hello_world    type: io.kestra.plugin.core.log.Log    message: Hello World!    description: |      ## About this task      This task prints "Hello World!" to the logs.
  - id: python    type: io.kestra.plugin.scripts.python.Script    containerImage: python:slim    script: |      print("Hello World!")
Iterate quickly with Playground
When you want to tweak a flow step by step without rerunning everything, use the Playground in the editor. It lets you play tasks one at a time, keep prior outputs, and iterate like a notebook. See the short guide in UI → Playground and try it with the getting_started example above before moving on.
Autocompletion
Kestra supports hundreds of tasks integrating with various external systems. It’s neither necessary nor possible to memorize all potential tasks or properties, maybe one day. Use the shortcut CTRL + SPACE on Windows/Linux or fn + control + SPACE on macOS to trigger autocompletion and list available tasks or properties for a given task. Kestra also has built-in documentation accessible through the UI for Flow, Task, and Trigger properties, so you don’t have to context switch between building a flow and learning the ins and outs of a component.
If you want to comment or uncomment out part of your code, use CTRL + / on Windows/Linux or ⌘ + / on macOS. All available keyboard shortcuts are listed in the code editor context menu.
Create and run a flow
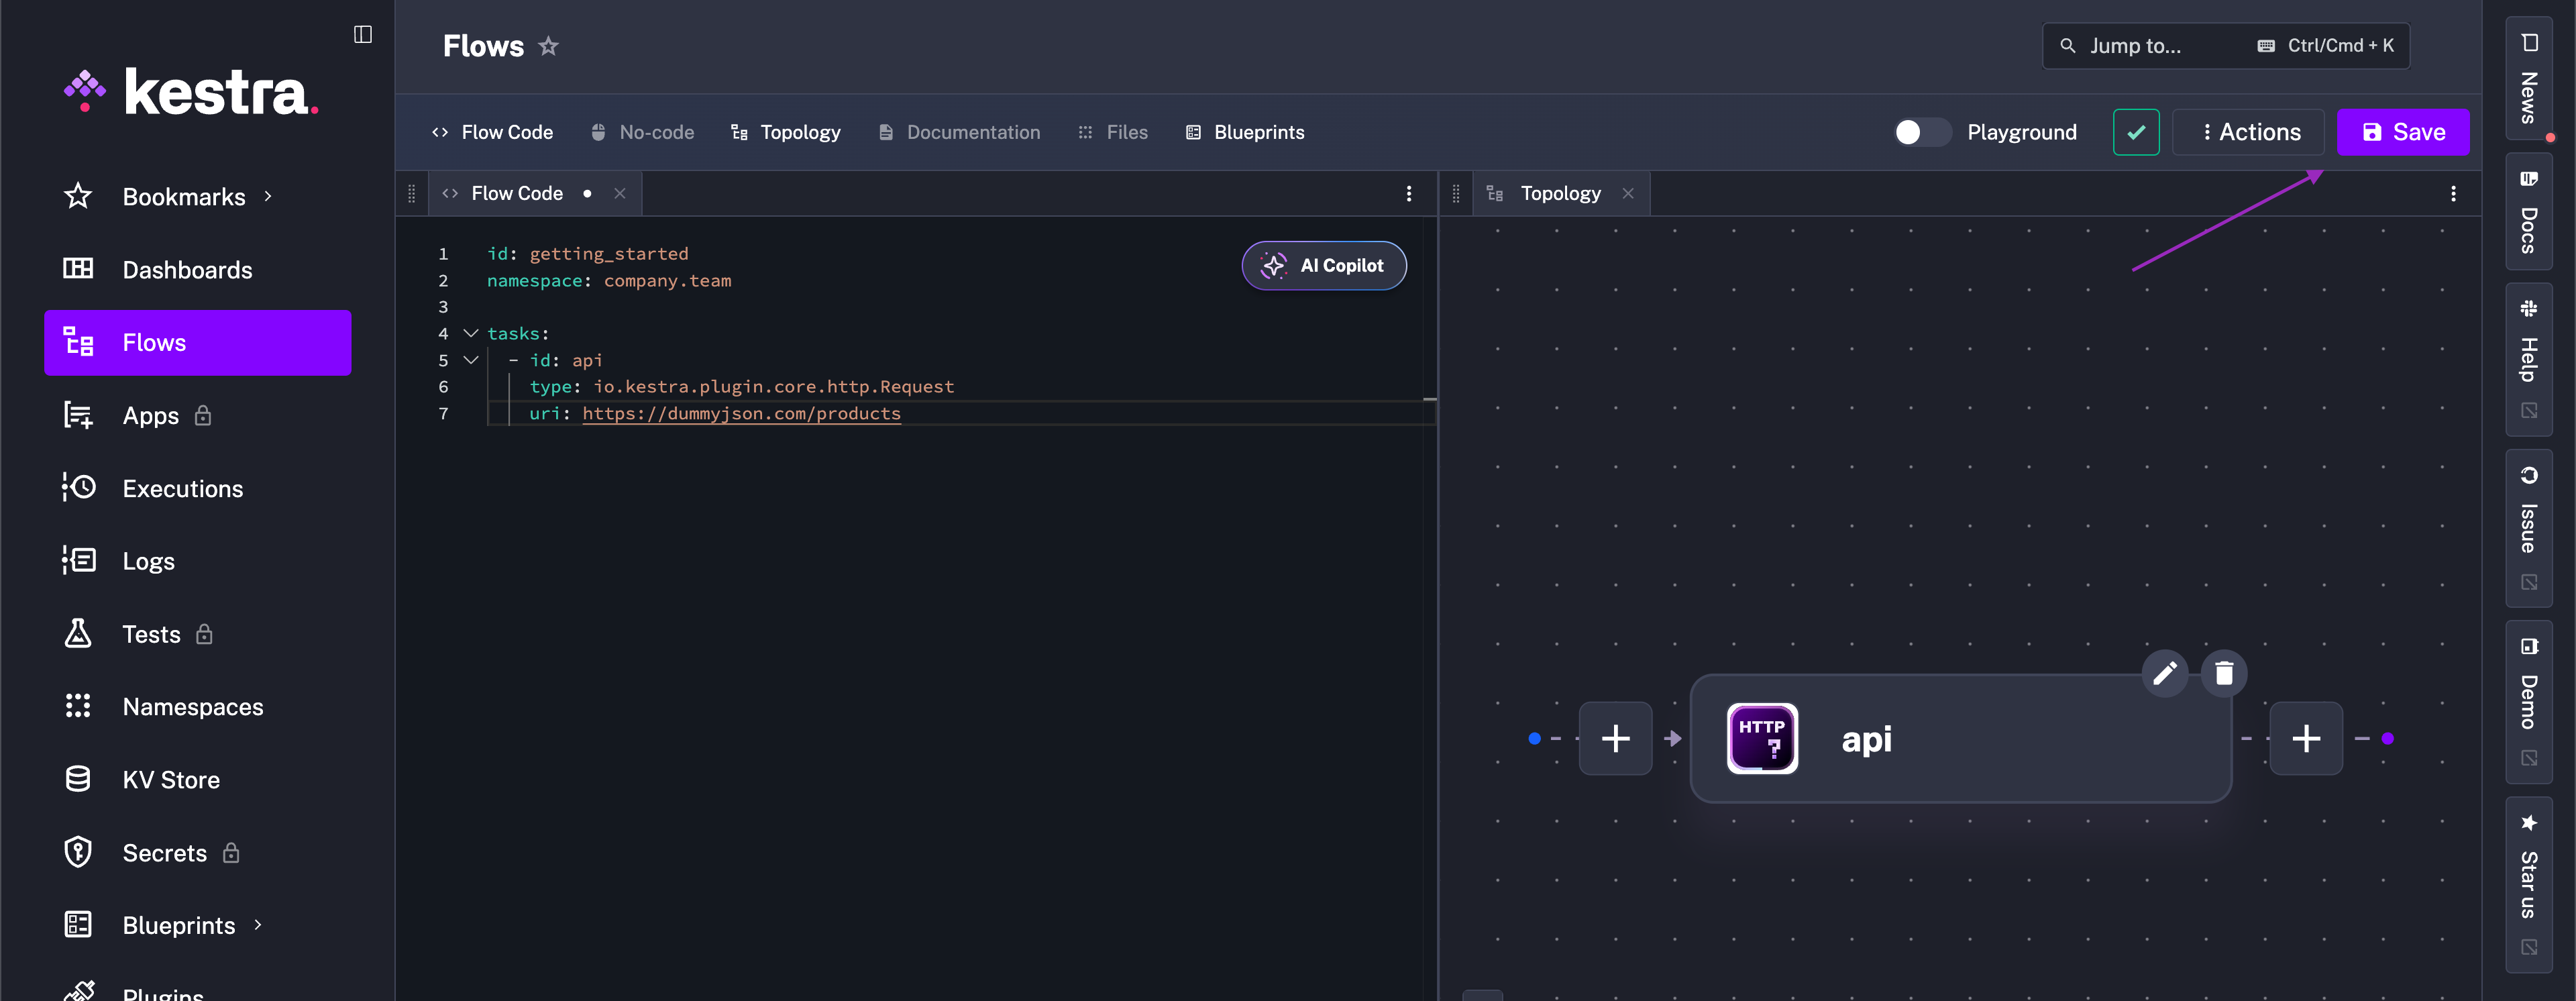
To this point, we have shown some flows to run and get familiar with. Now, let’s create a flow to use throughout the rest of the tutorial. Open the Flows view and click + Create:

Paste the following code into the Flow editor:
id: getting_startednamespace: company.team
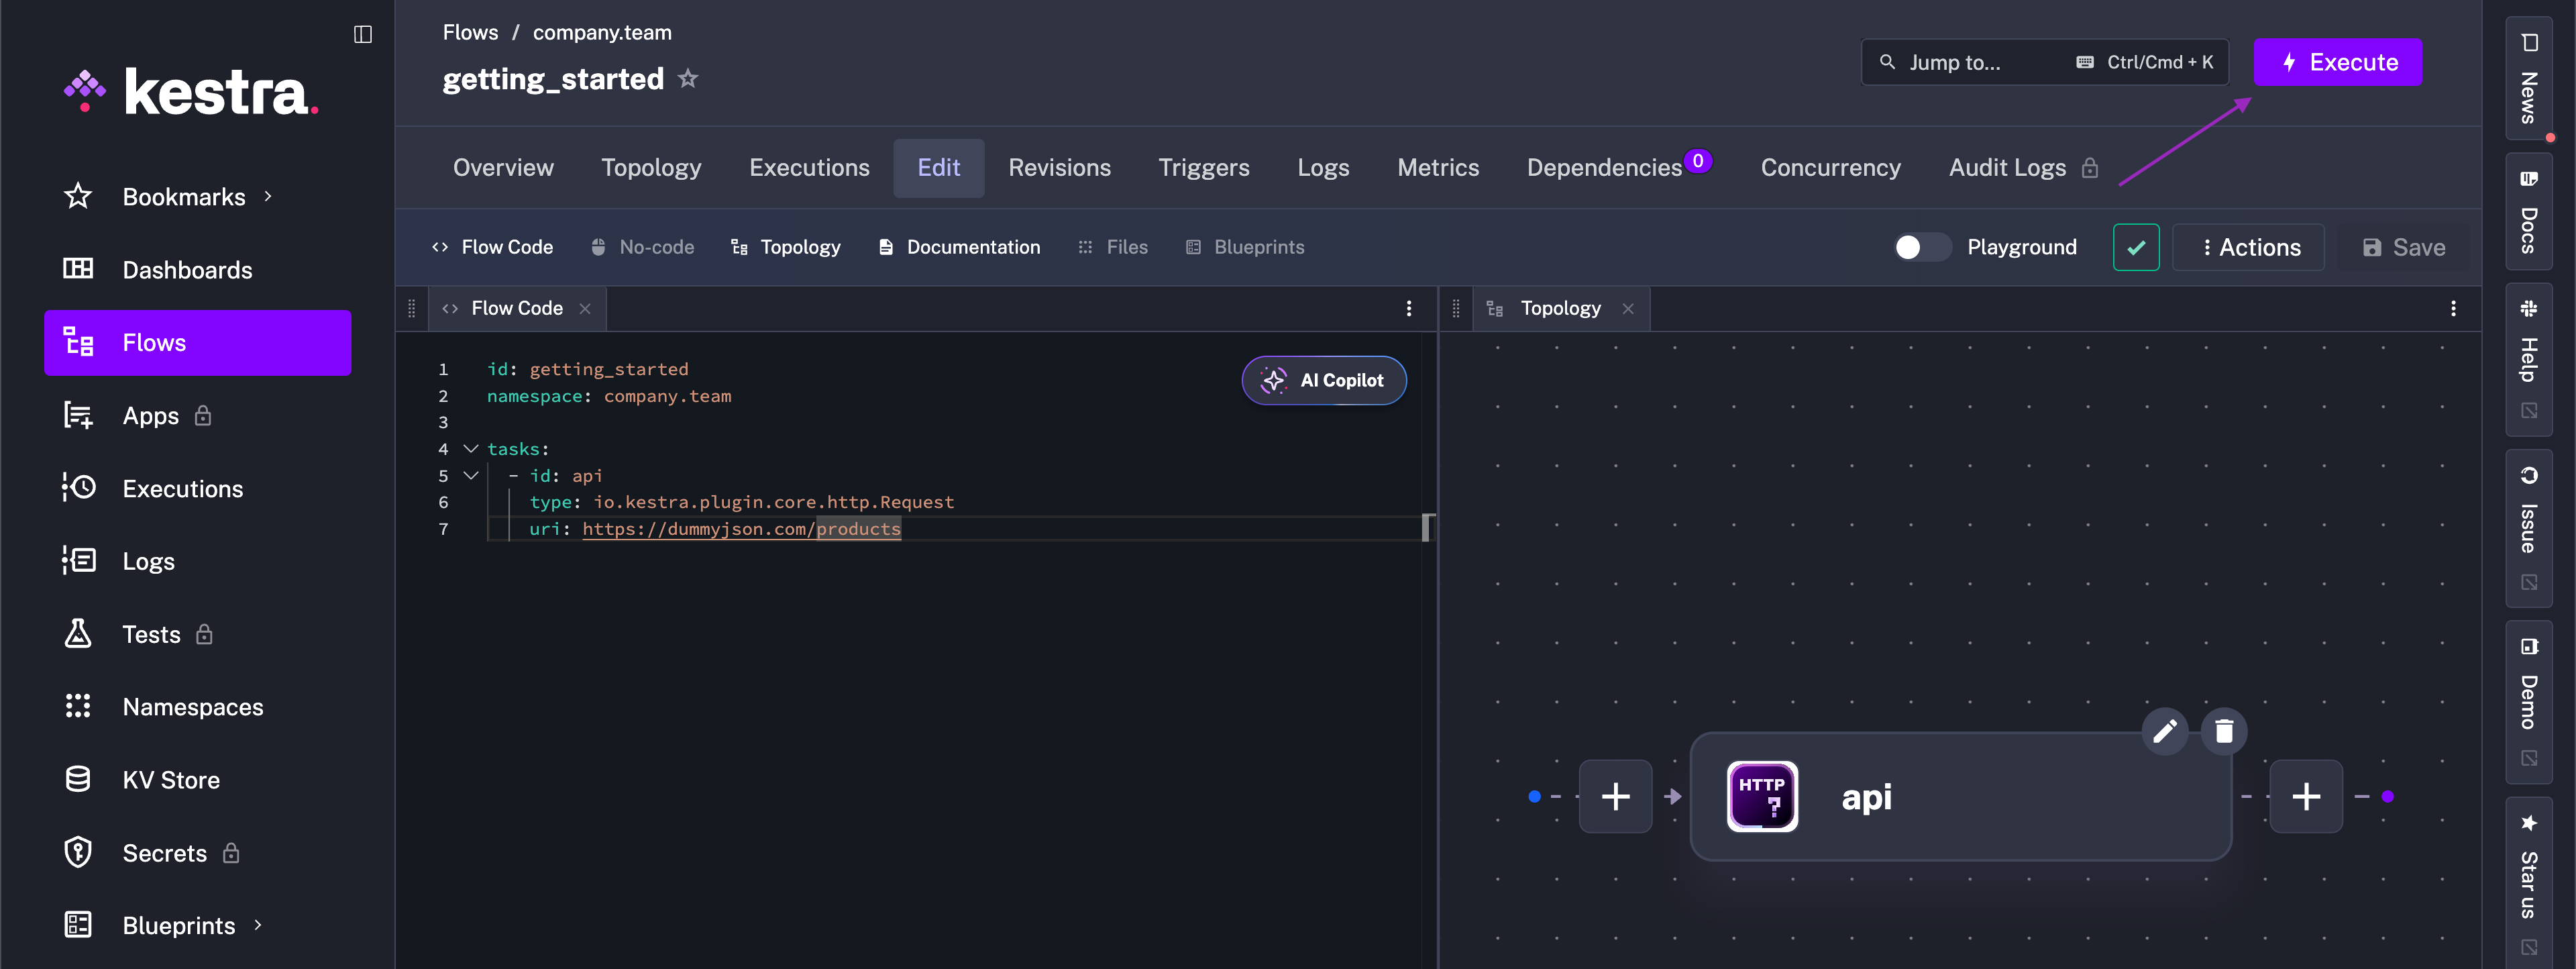
tasks: - id: api type: io.kestra.plugin.core.http.Request uri: https://dummyjson.com/productsThen, hit the Save button.
This flow has a single task that fetches data from the dummyjson API via an HTTP Request task. Run it to see the output.
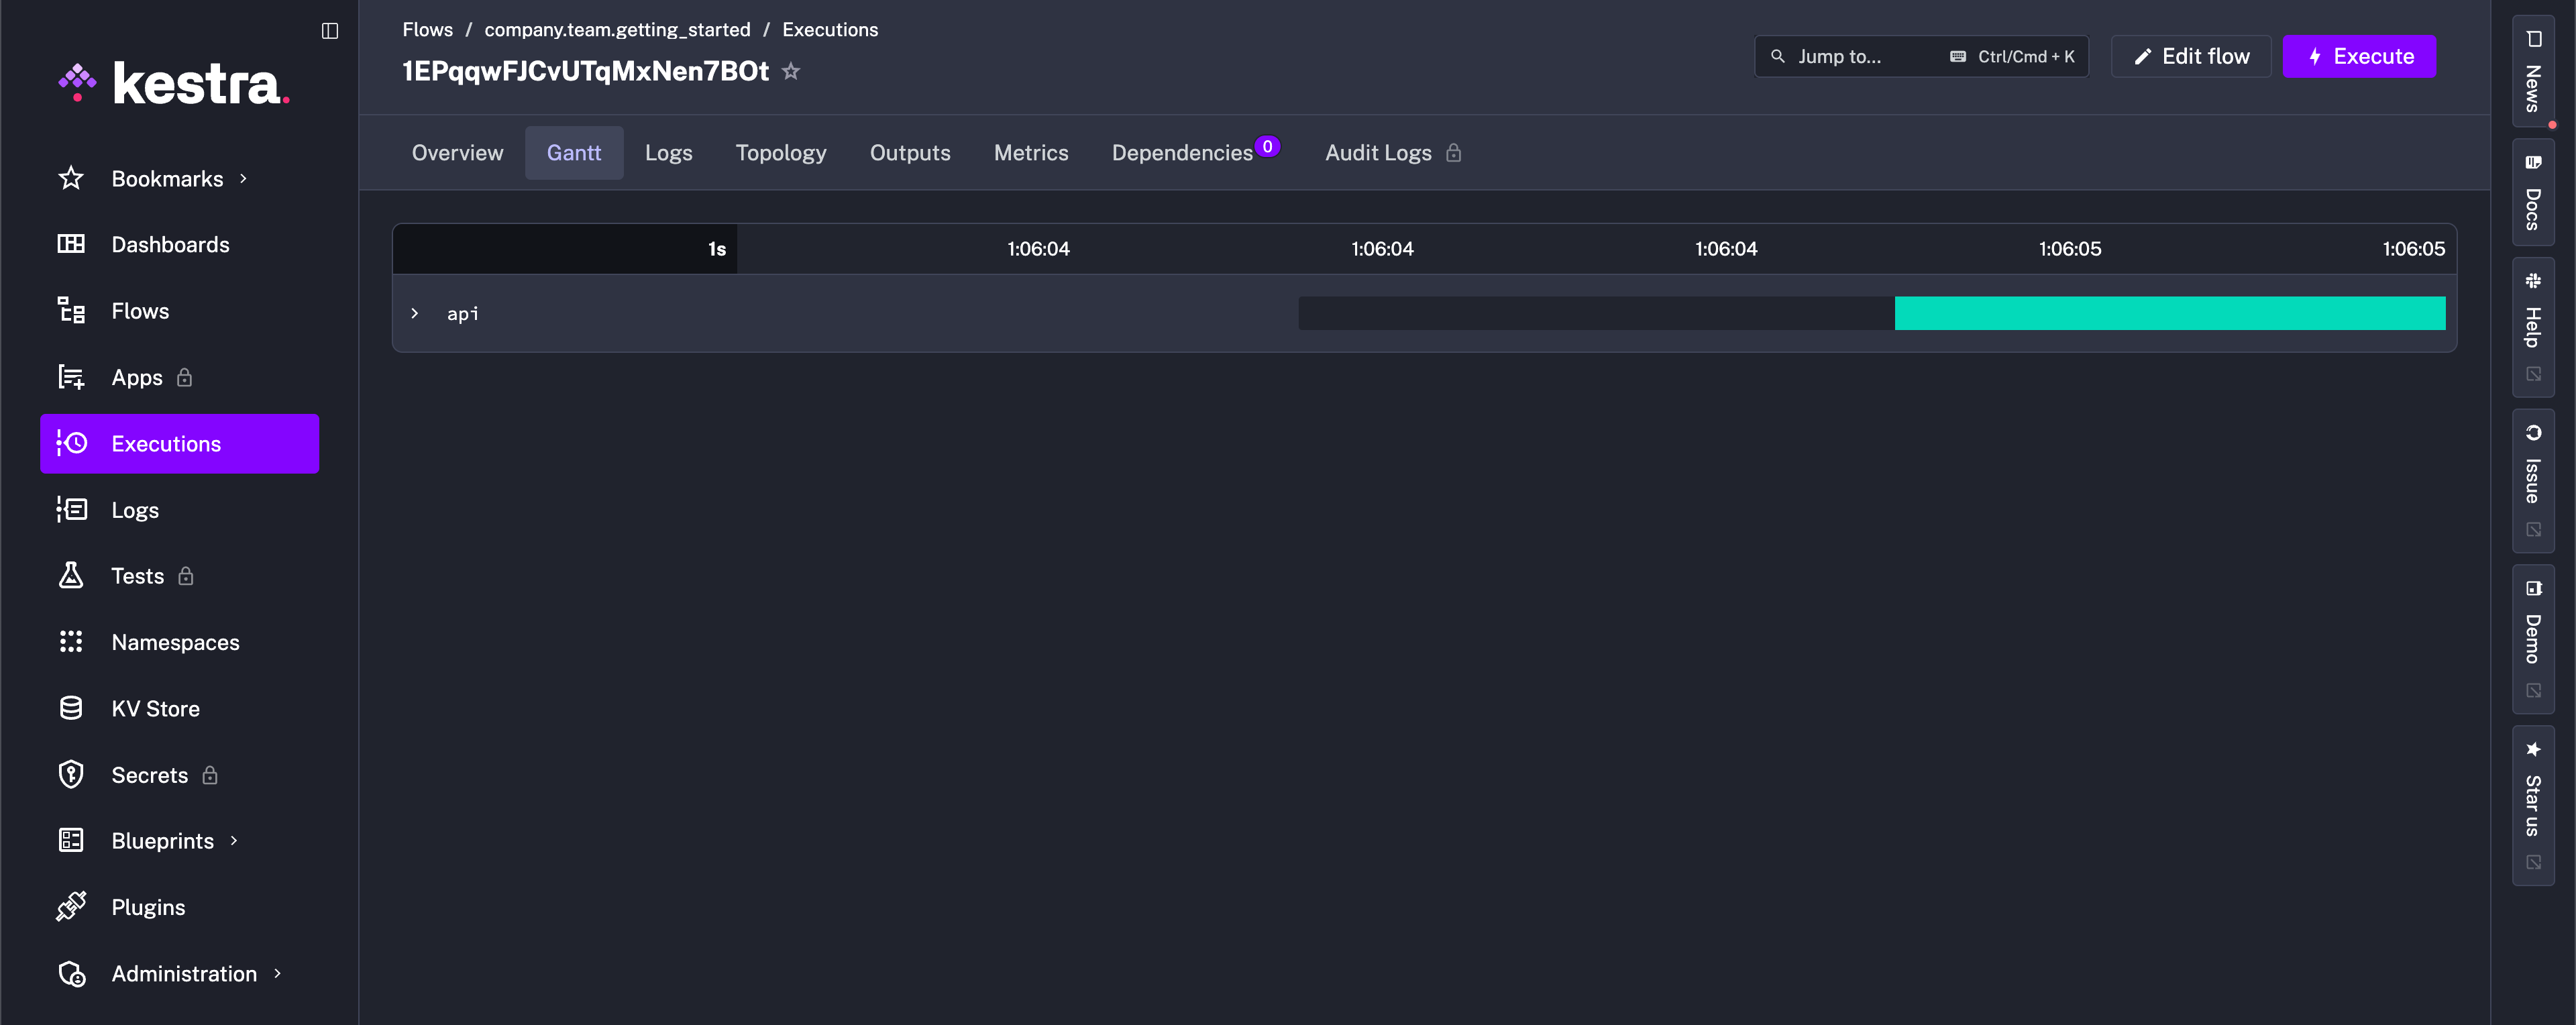
After execution, you’ll be directed to the Gantt view to see the stages of your flow’s progress. In this simple example, we see the API request successfully execute.
While fetching data is a great first step, it is just that, a first step. In the next sections, you’ll explore the other critical components of Kestra flows: Inputs, Outputs, Triggers, and more.
Was this page helpful?