Enterprise Migration Guide from defaultTenant to Multitenancy
Enterprise Migration Guide from defaultTenant to Multitenancy
Kestra now requires a tenant context across both the OSS and EE versions. For Enterprise users, this affects default tenants and their associated configuration properties.
Enterprise Edition (EE) changes
Tenant System Now Always Enabled
The configuration properties kestra.ee.tenants.enabled and kestra.ee.tenants.defaultTenant have been removed, as tenants are now mandatory and must be manually created.
New Configuration Property
With this change, there is a new configuration property: kestra.ee.tenants.fallbackTenant: tenant-id.
This property is used to route non-tenant-specific API calls to a fallback tenant. This does not rewrite the route but internally assigns the tenant.
Compatibility Layer
While in OSS we transform URI to a different one including the main tenantId directly into the API routes, in EE we inject the fallback tenant into the request header instead without rerouting the API endpoints themselves. Thus, we won’t map /api/v1/... to /api/v1/fallbackTenant/..., but instead we only inject tenantId into the header. Note that this manual tenant header injection will be removed in a future version.
Migration Script
Before running the following migration scripts, you must completely shut down all server components of your Kestra application. Running these scripts while the application is active may result in data corruption or migration failures.
The following command will migrate the defaultTenant to a newly created tenant. Thus, you need to provide both the --tenant-id and the --tenant-name (both are required). Use --dry-run to simulate the migration. Before running the migrate script, we recommend to do a complete database dump to preserve a restore point in case of any issues during the process.
kestra migrate default-tenant \ --tenant-id=tenant \ --tenant-name="Tenant Name" \ [--dry-run]The migration command is also required for customers that have the following configuration:
kestra: tenants: defaultTenant: true enabled: falseIf you are using Helm for deployment, you can use an init container to run the migration:
initContainers: - name: kestra-migrate image: registry.kestra.io/docker/kestra-ee:v0.23.0 command: ['sh', '-c', 'exec', '/app/kestra', 'migrate', 'default-tenant', '--tenant-id', 'migrated', '--tenant-name', 'migrated']You can remove it after successful run (it has to be only executed once).
Kafka Queue Handling
If your queue is Kafka, queues will be recreated after migration. You don’t need to do anything manually — we recreate the queue automatically for you.
Internal storage migration guide from defaultTenant to a tenant
This section explains how to migrate internal storage data to ensure the tenant ID is included and properly queried by the application. Migration can be done via the provided scripts or directly through the management console of your cloud storage provider.
Who needs to perform this migration?
- Enterprise users who used to rely on the
defaultTenantneed to run this script as well.
The provided commands use a list of existing tenant names (main, tenant1, tenant2). Update these in the scripts to match your actual tenant names.
Local storage
If you use both defaultTenant and specific tenants, you need to specify all existing tenant ID in the list here [[ "$bn" == "main" || "$bn" == "tenant1" || "$bn" == "tenant2" ]], and replace those names with your existing tenant IDs. Also make sure to replace main in base-path/main/ with your target tenant ID.
#!/bin/bashfor f in base-path/*; do bn=$(basename "$f") [[ "$bn" == "main" || "$bn" == "tenant1" || "$bn" == "tenant2" ]] || { rsync -a "$f/" base-path/main/"$bn"/ && rm -rf "$f" };doneIf you used to rely on defaultTenant with no multitenancy enabled, use the following script:
#!/bin/bashfor f in base-path/*; do bn=$(basename "$f") [[ "$bn" == "main" ]] || { rsync -a "$f/" base-path/main/"$bn"/ && rm -rf "$f" };done- Your
base-pathis configured under the configuration sectionkestra.storage.local.base-path. - Replace
mainwith the appropriate tenant ID.
MinIO Storage
For MinIO, we recommend keeping the undefined option due to the different handling of storage paths.
Enterprise Users
#!/bin/bashfor f in $(mc ls myminio/mybucket | awk '{print $NF}' | sed 's|/$||'); do if [[ "$f" != "main" && "$f" != "tenant" && "$f" != "undefined" ]]; then # List of known tenant folders. If you use defaultTenant with no multitenancy enabled, you only need one listed tenant ID (i.e., main) and undefined. echo "Moving $f → tenantId/" mc mv --recursive "myminio/mybucket/$f" "myminio/mybucket/tenantId/" fidone- Replace
mybucketwith the bucket name fromkestra.storage.minio.bucket.
Azure Blob Storage
#!/bin/bash
## Set your Azure Storage account and bucket (container) nameACCOUNT_NAME="myaccount"BUCKET_NAME="mybucket"
## Configurable destination tenant (default: 'main')DEST_TENANT="${1:-main}"
## List of tenant folders to skip (don't move)TENANTS=("main" "tenant1" "tenant2") # List of known tenant folders. If you use defaultTenant with no multitenancy enabled, you only need one listed tenant ID (i.e., main).
## Get all blob namesblob_names=$(az storage blob list --account-name "$ACCOUNT_NAME" --container-name "$BUCKET_NAME" --query "[].name" --output tsv)
## Separate top-level files and folderstop_files=()top_folders=()
for name in $blob_names; do    if [[ "$name" == */* ]]; then        top_folder=$(echo "$name" | cut -d'/' -f1)        top_folders+=("$top_folder")    else        top_files+=("$name")    fidone
## Deduplicate folder listunique_folders=($(printf "%s\n" "${top_folders[@]}" | sort | uniq))
## Remove from top_files any that match folder namesclean_files=()for file in "${top_files[@]}"; do    skip=false    for folder in "${unique_folders[@]}"; do        if [[ "$file" == "$folder" ]]; then            skip=true            break        fi    done    if [ "$skip" = false ]; then        clean_files+=("$file")    fidone
## Process top-level filesfor file in "${clean_files[@]}"; do    skip=false    for tenant in "${TENANTS[@]}"; do        if [[ "$file" == "$tenant" ]]; then            skip=true            break        fi    done
    if [ "$skip" = false ]; then        echo "Copying single file $file -> $DEST_TENANT/$file"        az storage blob copy start \            --account-name "$ACCOUNT_NAME" \            --destination-container "$BUCKET_NAME" \            --destination-blob "$DEST_TENANT/$file" \            --source-uri "$(az storage blob url --account-name "$ACCOUNT_NAME" --container-name "$BUCKET_NAME" --name "$file" -o tsv)"    fidone
## Process top-level folders (batch copy)for folder in "${unique_folders[@]}"; do    skip=false    for tenant in "${TENANTS[@]}"; do        if [[ "$folder" == "$tenant" ]]; then            skip=true            break        fi    done
    if [ "$skip" = false ]; then        echo "Batch copying $folder/* -> $DEST_TENANT/"        az storage blob copy start-batch \            --account-name "$ACCOUNT_NAME" \            --destination-container "$BUCKET_NAME" \            --destination-path "$DEST_TENANT" \            --source-container "$BUCKET_NAME" \            --pattern "$folder/*"    fidone
echo "Migration finished!"BUCKET_NAMEis configured underkestra.storage.azure.container.
S3 Storage
#!/bin/bash
BUCKET="mybucket"DEST_TENANT="${1:-main}"TENANTS=("main" "tenant1" "tenant2") # List of known tenant folders. If you use defaultTenant with no multitenancy enabled, you only need one listed tenant ID (i.e., main).
echo "Starting S3 tenant migration → destination tenant: $DEST_TENANT"
## List all keys, no leading slashaws s3 ls s3://$BUCKET --recursive | awk '{print $4}' | sed 's|^/||' | grep -v '^$' | while read -r key; do    # Check top-level folder or file    top_level=$(echo "$key" | cut -d'/' -f1)
    # Skip if key is already under an existing tenant    skip=false    for tenant in "${TENANTS[@]}"; do        if [[ "$top_level" == "$tenant" ]]; then            skip=true            break        fi    done
    if [ "$skip" = false ]; then        new_key="$DEST_TENANT/$key"        echo "Copying s3://$BUCKET/$key → s3://$BUCKET/$new_key"
        # Copy object to tenant folder        aws s3 cp "s3://$BUCKET/$key" "s3://$BUCKET/$new_key"    fidone
echo "Tenant migration finished!"BUCKETis configured underkestra.storage.s3.bucket.
GCS storage
#!/bin/bashBUCKET="gs://bucket"DEST_TENANT="${1:-main}"  # Default tenant is 'main' if not specifiedTENANTS=("main" "tenant1" "tenant2")  # List of known tenant folders. If you use defaultTenant with no multitenancy enabled, you only need one listed tenant ID (i.e., main).
echo "Starting GCS tenant migration on $BUCKET → destination tenant: $DEST_TENANT"
## Get all object keys (strip bucket prefix)all_keys=$(gsutil ls "$BUCKET/**" | sed "s|$BUCKET/||")
## Collect top-level folders and filesdeclare -A top_foldersdeclare -a top_files
for key in $all_keys; do    # Skip folder markers (end with /)    if [[ "$key" == */ ]]; then        top_folder=$(echo "$key" | cut -d'/' -f1)        top_folders["$top_folder"]=1    else        top_level=$(echo "$key" | cut -d'/' -f1)        if [[ "$key" != */* ]]; then            # Root-level file (no folder)            top_files+=("$key")        else            top_folders["$top_level"]=1        fi    fidone
## Process top-level filesfor file in "${top_files[@]}"; do    skip=false    for tenant in "${TENANTS[@]}"; do        if [[ "$file" == "$tenant" ]]; then            skip=true            break        fi    done
    if [ "$skip" = false ]; then        new_key="$DEST_TENANT/$file"        echo "Copying file $BUCKET/$file → $BUCKET/$new_key"        gsutil cp "$BUCKET/$file" "$BUCKET/$new_key"        # Optional: gsutil rm "$BUCKET/$file"    fidone
## Process top-level foldersfor folder in "${!top_folders[@]}"; do    skip=false    for tenant in "${TENANTS[@]}"; do        if [[ "$folder" == "$tenant" ]]; then            skip=true            break        fi    done
    if [ "$skip" = false ]; then        echo "Batch copying folder $BUCKET/$folder/** → $BUCKET/$DEST_TENANT/"        gsutil cp -r "$BUCKET/$folder" "$BUCKET/$DEST_TENANT/"        # Optional: gsutil rm -r "$BUCKET/$folder"    fidone
echo "Tenant migration finished!"BUCKETis configured underkestra.storage.gcs.bucket.
Migrating files using graphical user interfaces (GUI)
For users who prefer not to use command-line scripts or are limited by their environment (e.g., Windows Server without shell access), migration can be accomplished with graphical tools. Below are guidelines for each storage type.
Windows: Using File Explorer
If your internal storage is a local directory (or a network drive), you can manually move or copy files to migrate them to the right tenant folder:
- Open File Explorer and go to your base storage path (as configured in
kestra.storage.local.base-path). - Identify all folders and files at the root level that are not already under a tenant folder (e.g., “main”, “tenant1”, “tenant2”).
Example: If your structure is
base-path/ main/ tenant1/ foo/ bar/You need to move foo/ and bar/ into main/ or your target tenant directory.
- Select the folders and files to migrate, right-click, and choose Cut (or Copy if you want to keep the original temporarily).
- Paste them into the appropriate tenant folder (e.g.,
main/).
The result should be:
base-path/ main/ foo/ bar/ tenant1/- Delete the original folders/files from the root after confirming the migration.
Local storage on macOS
- Open Finder and navigate to your base storage directory.
- Locate folders and files at the root level not already under your tenant folders.
- Drag and drop each folder or file into the appropriate tenant folder (e.g., “main”).
- Verify the migration by checking that only tenant folders exist at the root.
- Remove the original files/folders if you used Copy.
S3/MinIO/Cloudflare R2: Using management console for S3-compatible storage
Most S3-compatible providers (including AWS S3, MinIO, and Cloudflare R2) allow you to move or copy files directly in their web interfaces:
- Open the management console for your S3-compatible storage provider.
- Navigate to your bucket.
- Locate all objects at the root of the bucket (not under any tenant folder such as “main” or “tenant1”).
- For each object or folder:
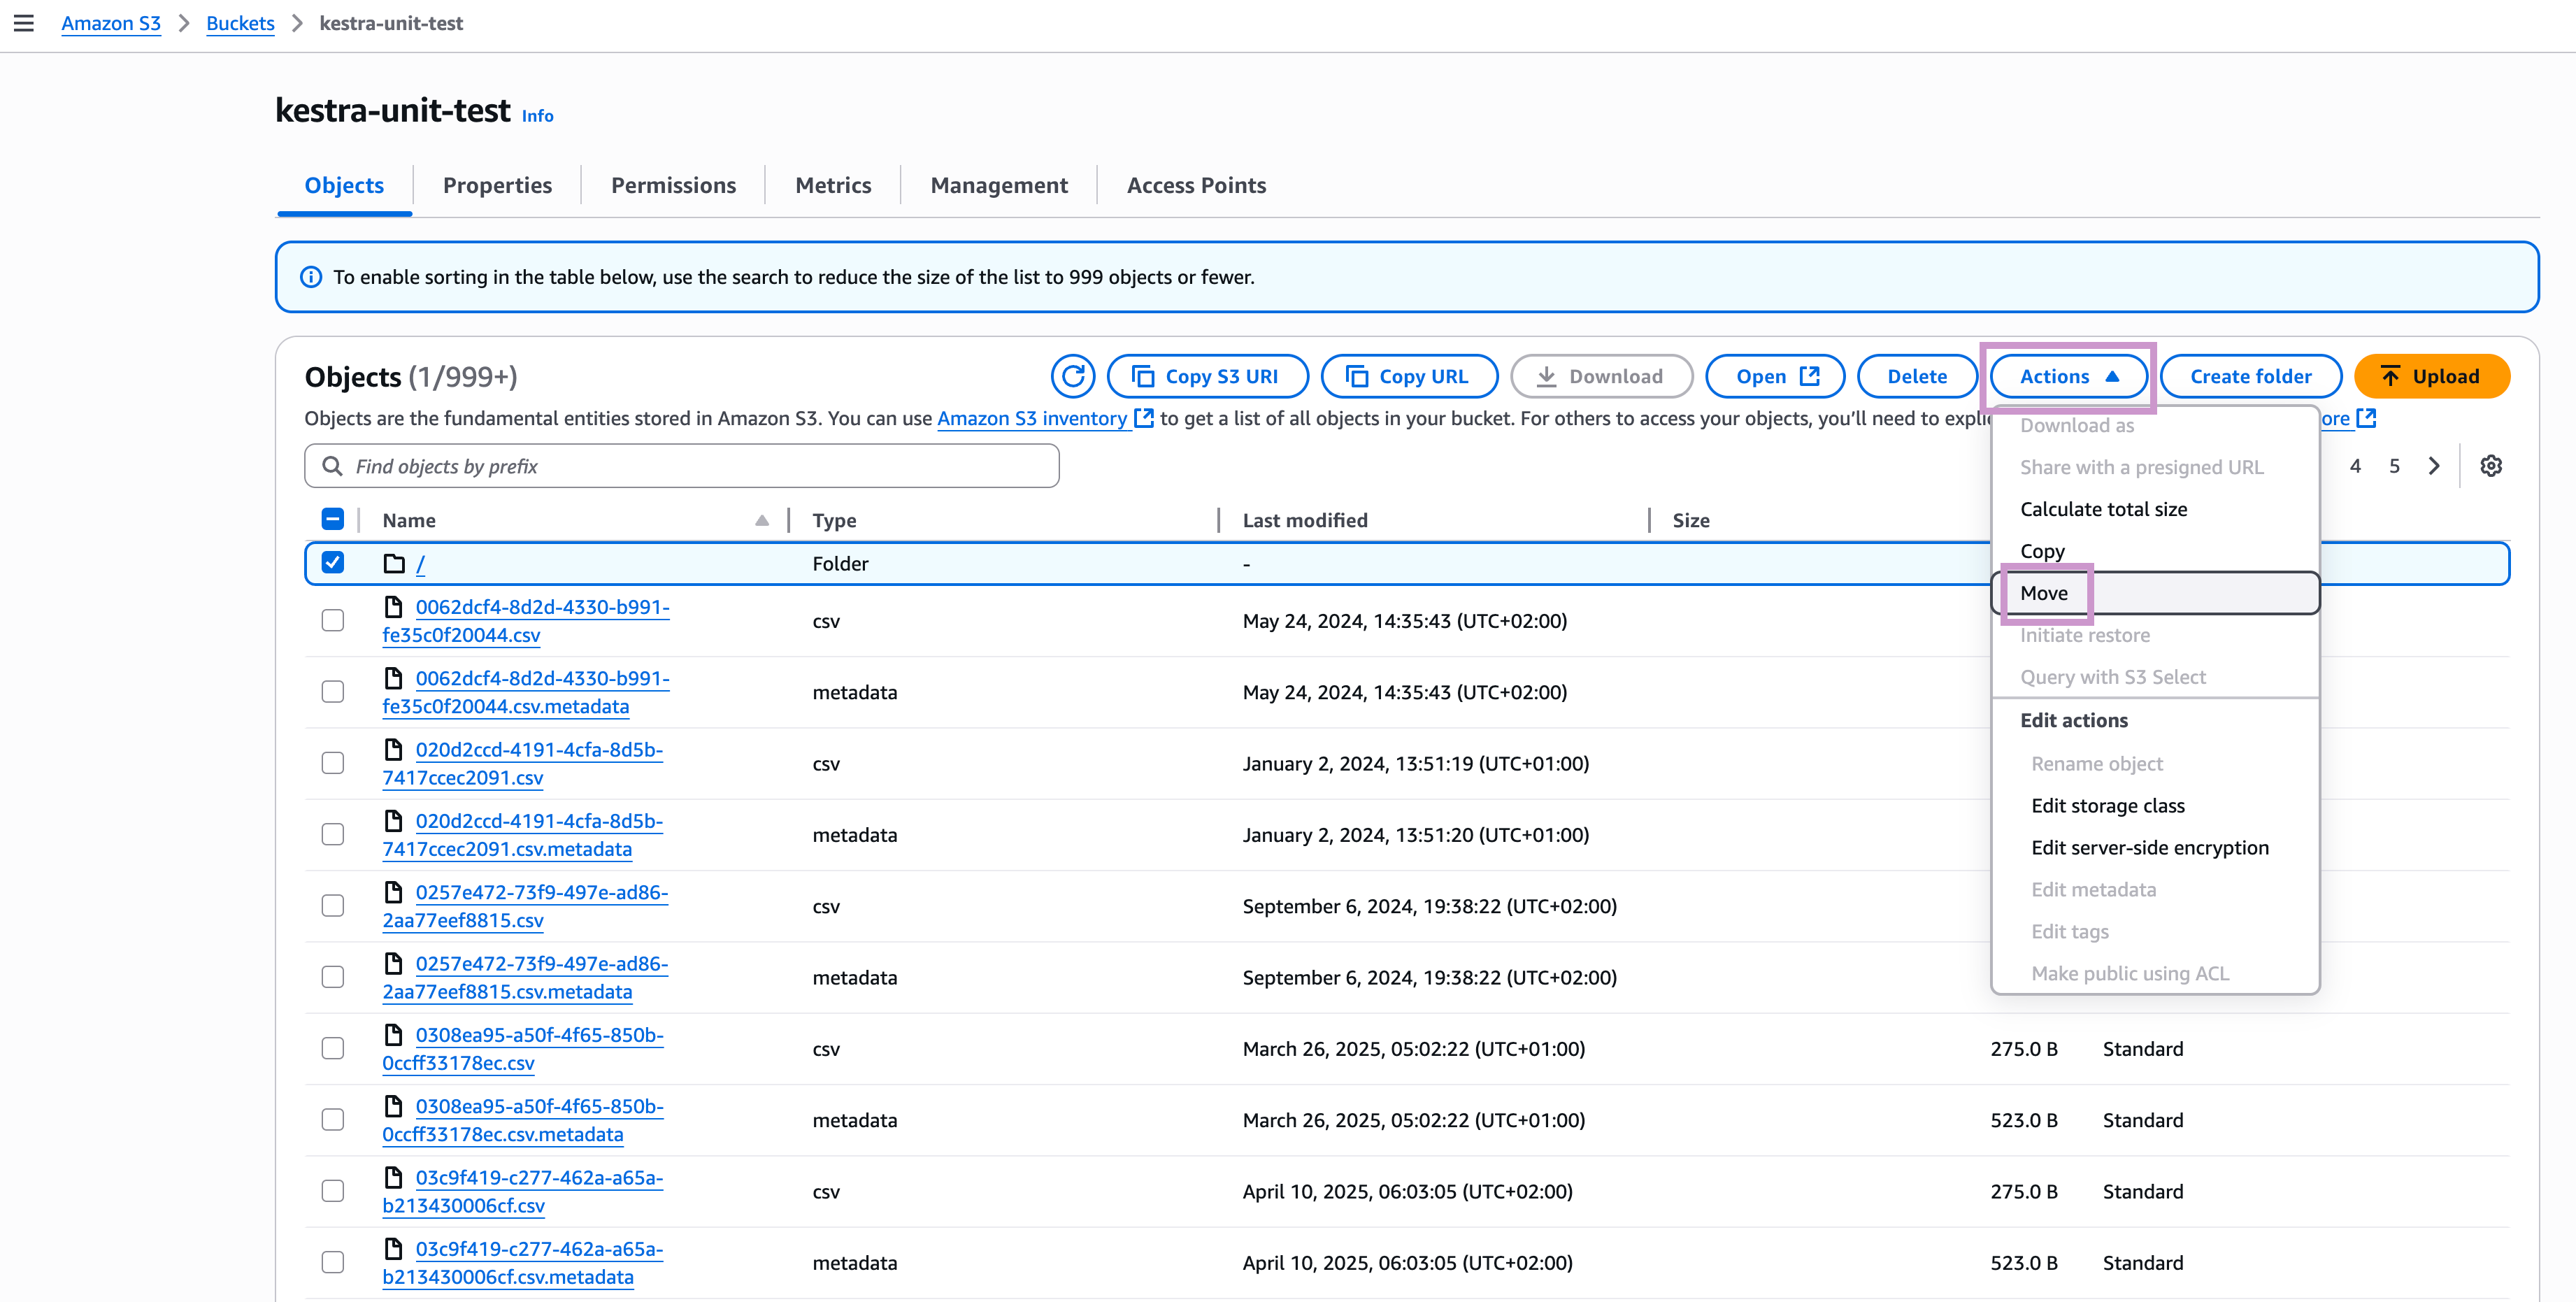
- In S3 console, use the Move function to relocate it into the correct tenant folder (e.g., move
foo/bar.txt→main/foo/bar.txt). - If your R2/MinIO/Ceph console does not support move/rename in-place, you may need to copy the object to the new location and then delete the original.
- In S3 console, use the Move function to relocate it into the correct tenant folder (e.g., move
- Verify that all data now resides under the tenant folder.
Was this page helpful?