Set Up Keycloak as Your SSO Provider
For the complete documentation index, see llms.txt. For a full content snapshot, see llms-full.txt. Append.mdto anykestra.io/docs/*URL for plain Markdown.
Set up Keycloak SSO to manage authentication for users.
If you don’t have a Keycloak server already running, you can use a managed service like Cloud IAM.
You can follow the Cloud IAM getting started tutorial to deploy a managed Keycloak cluster for free.
Configure Keycloak client
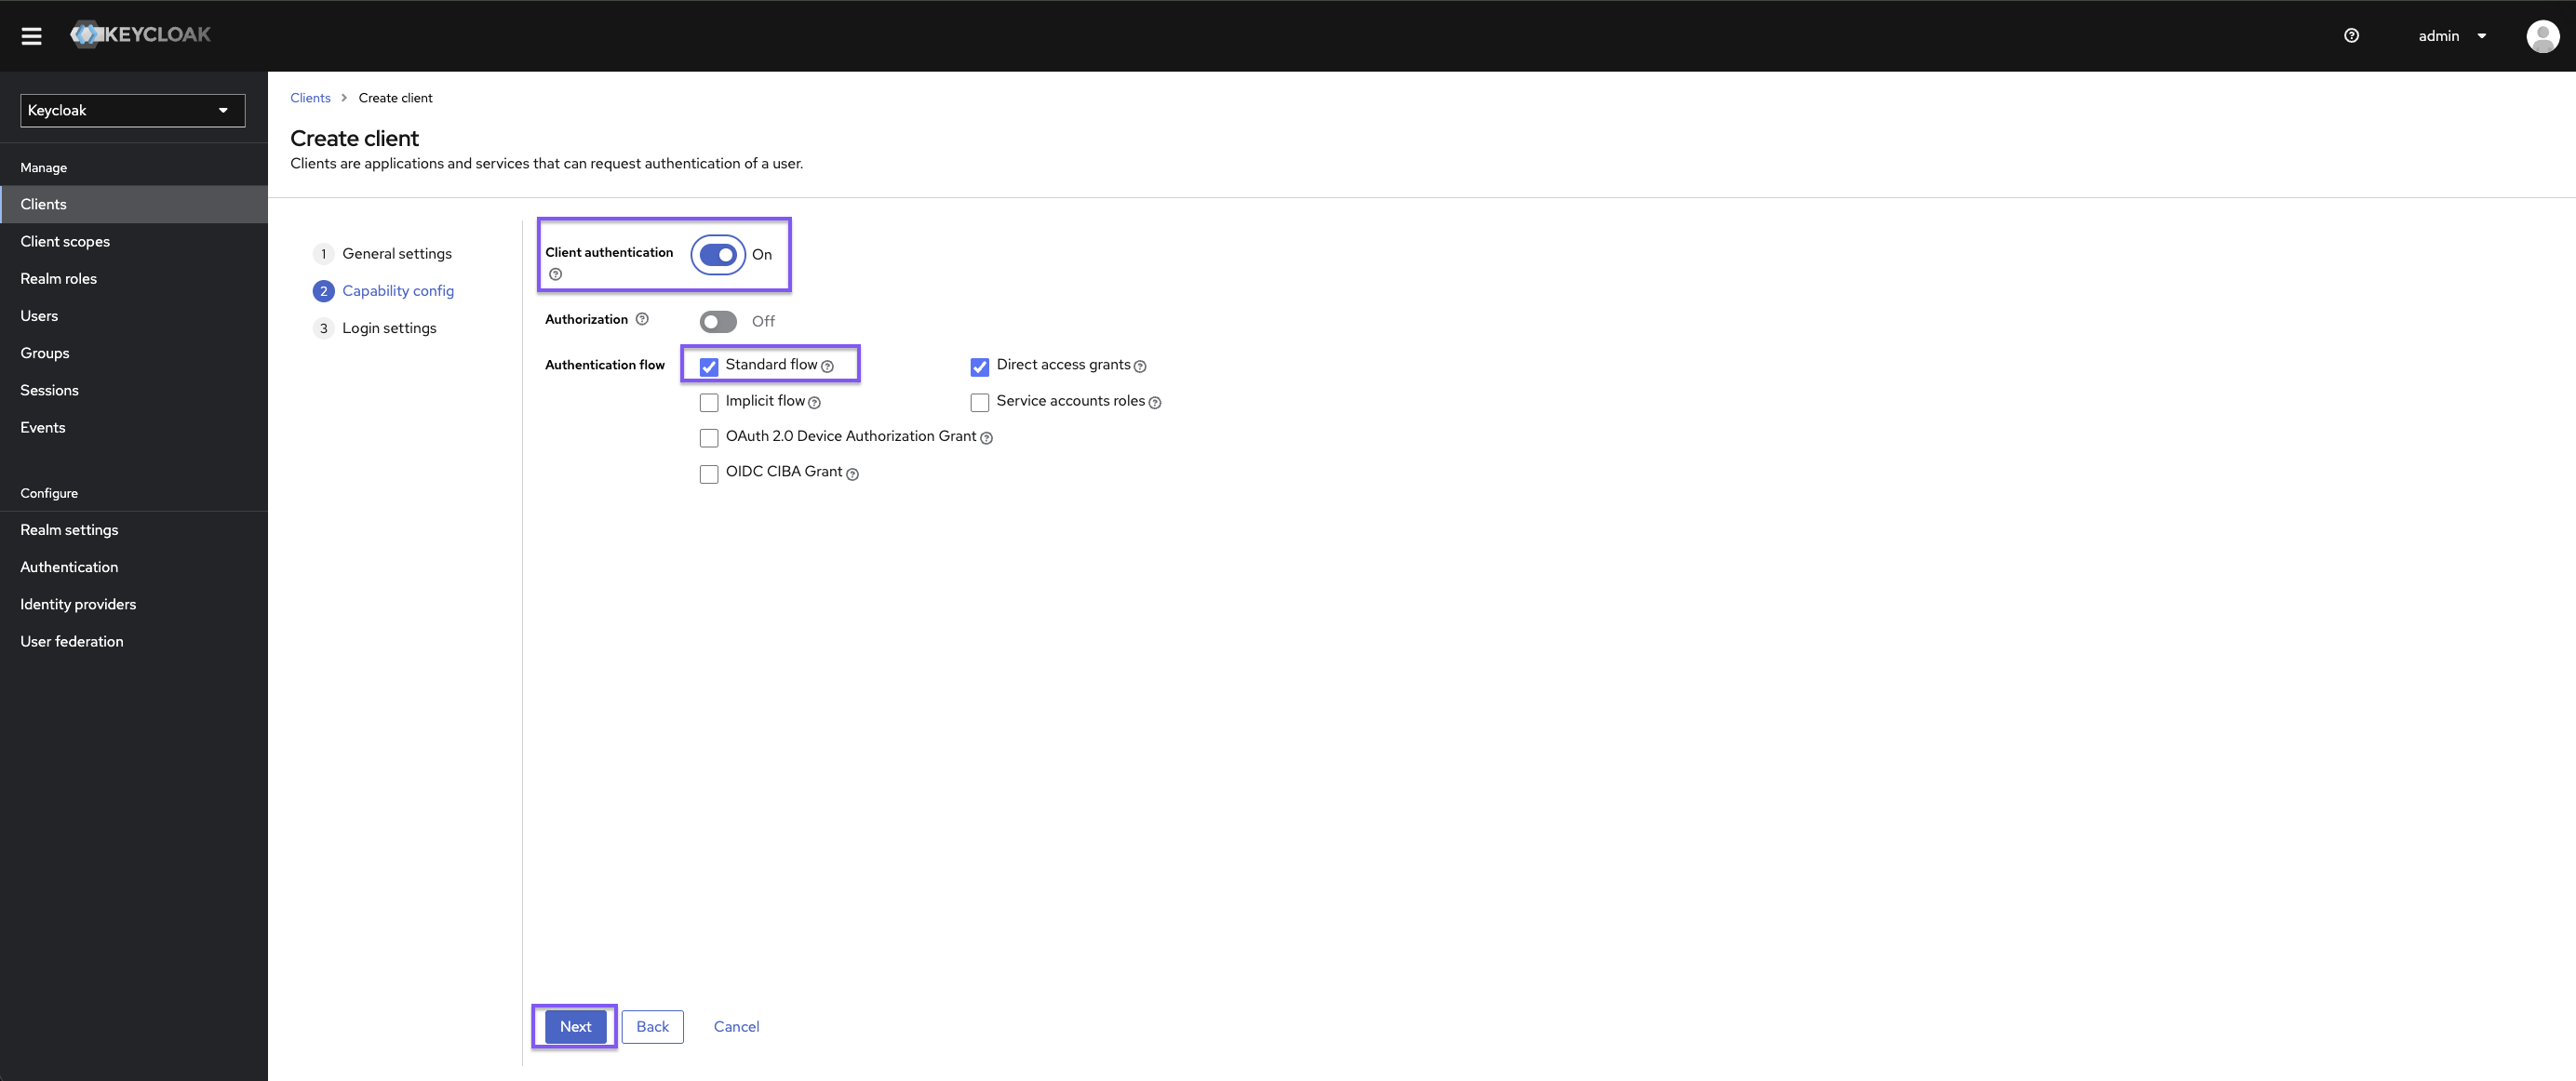
Once in Keycloak, you need to create a client:

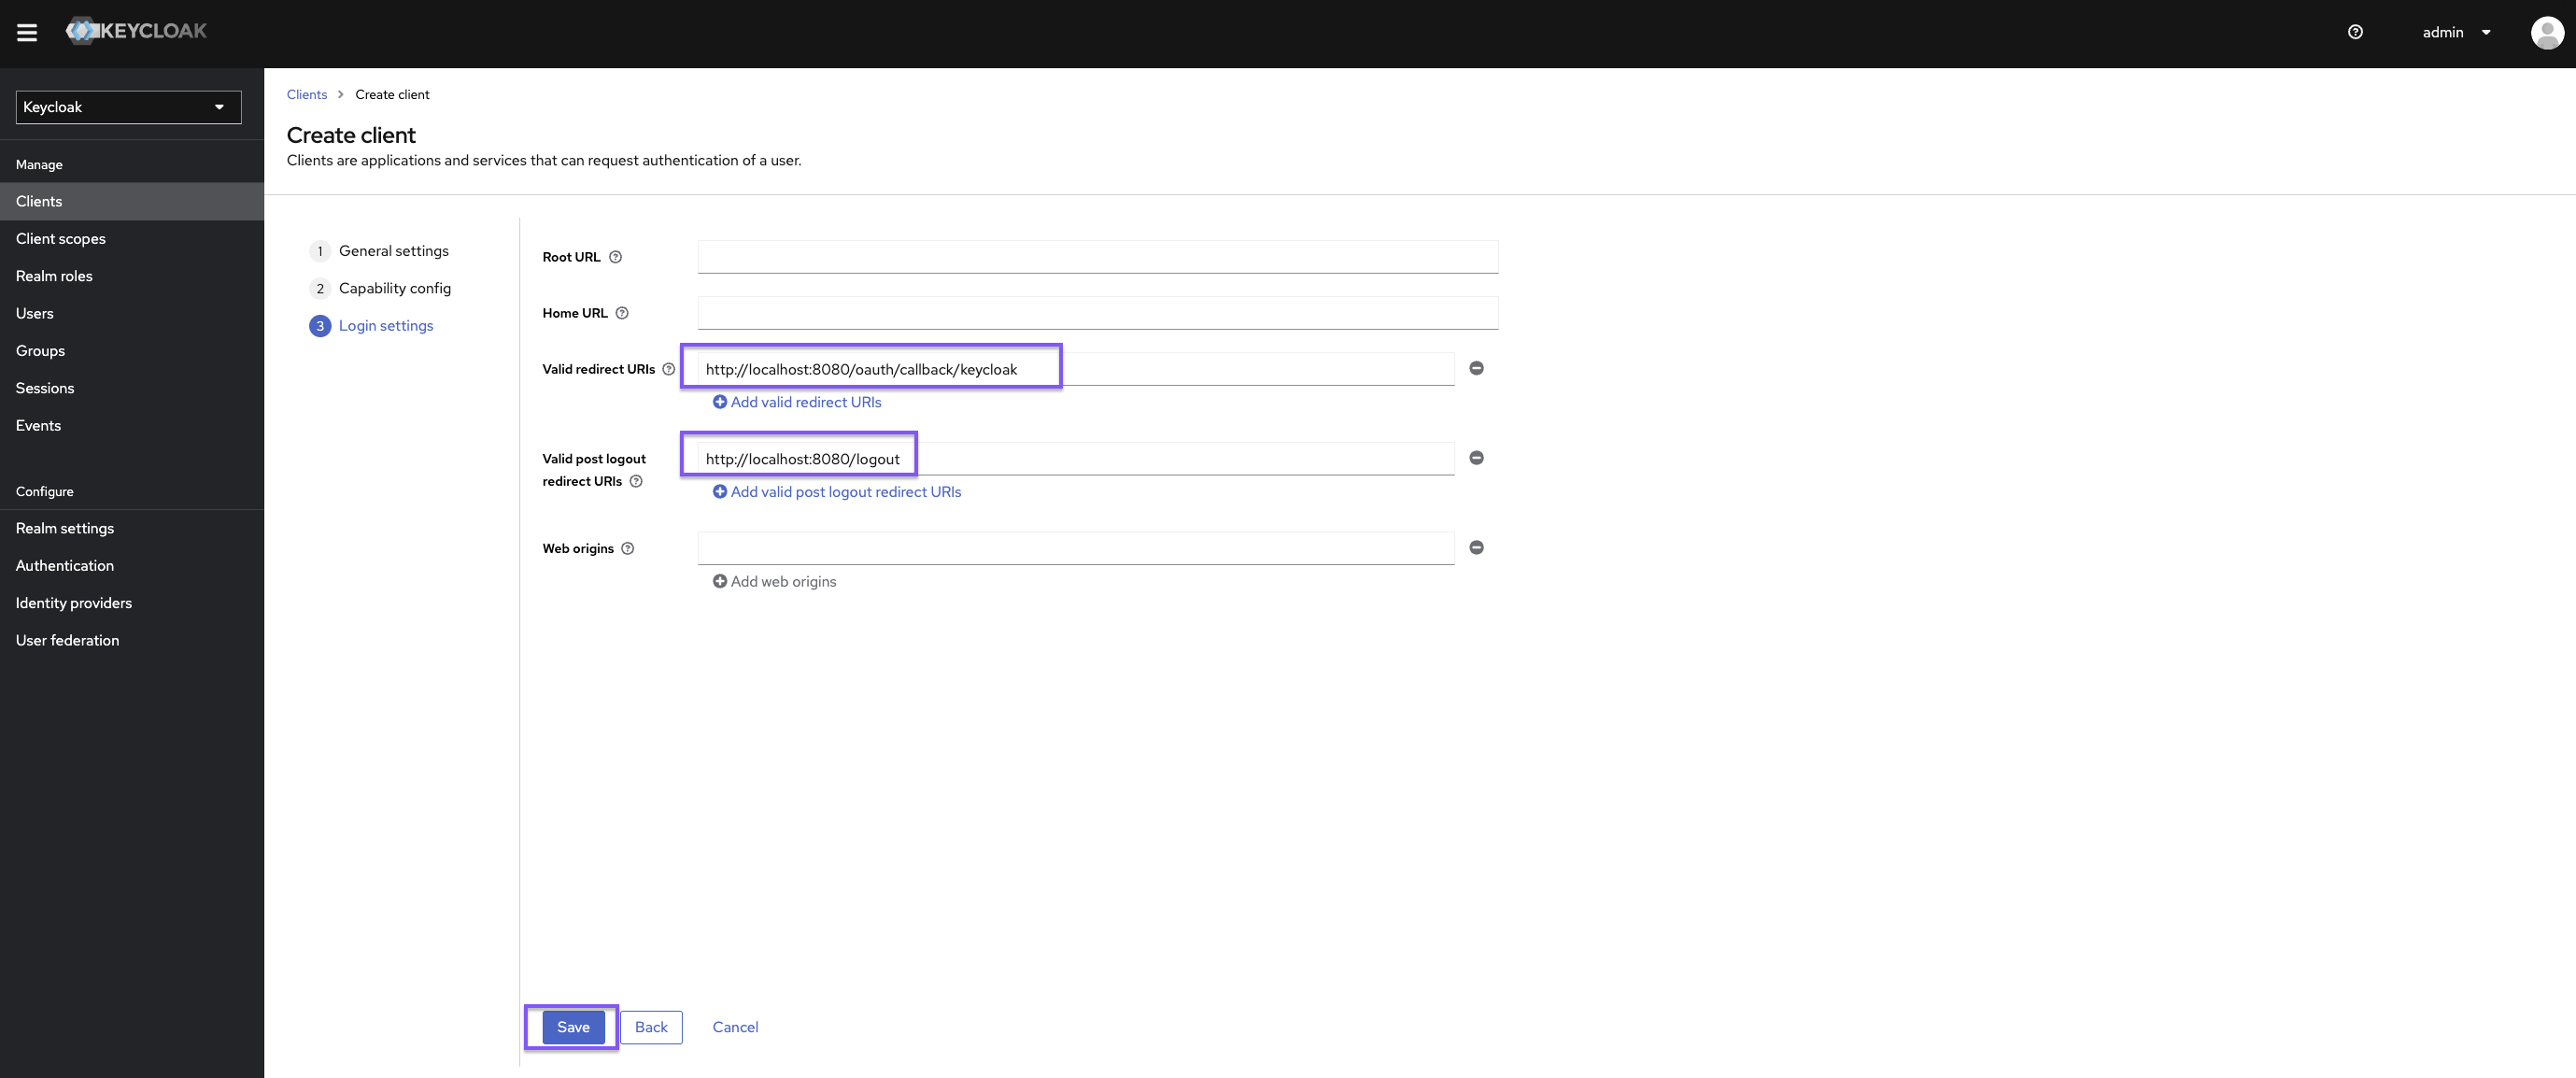
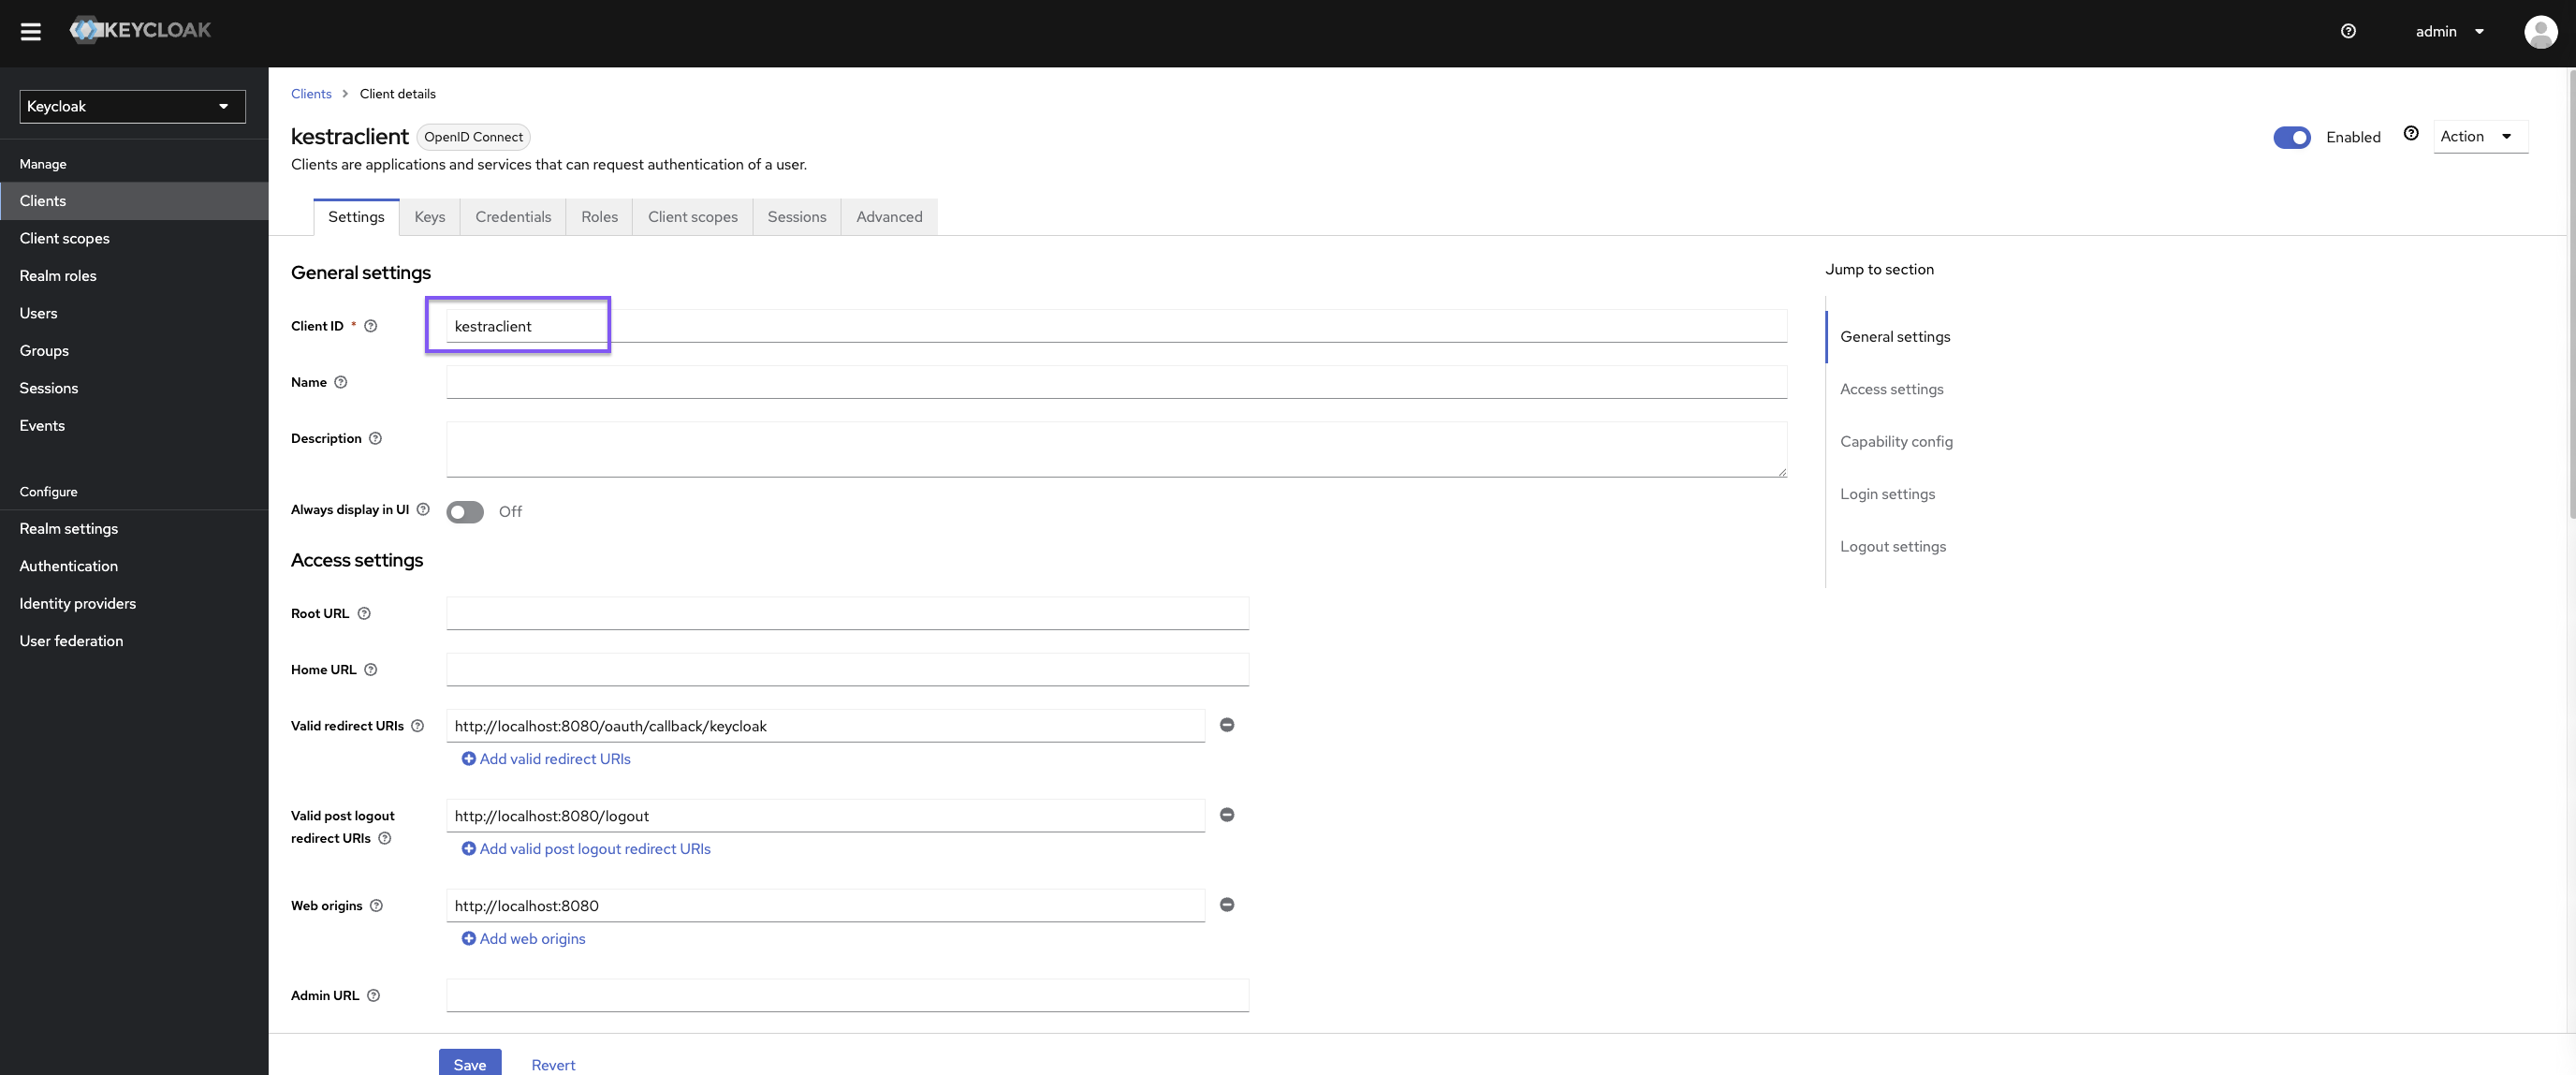
Set https://{{ yourKestraInstanceURL }}/oauth/callback/keycloak as Valid redirect URIs and https://{{ yourKestraInstanceURL }}/logout as Valid post logout redirect URIs.
Kestra Configuration
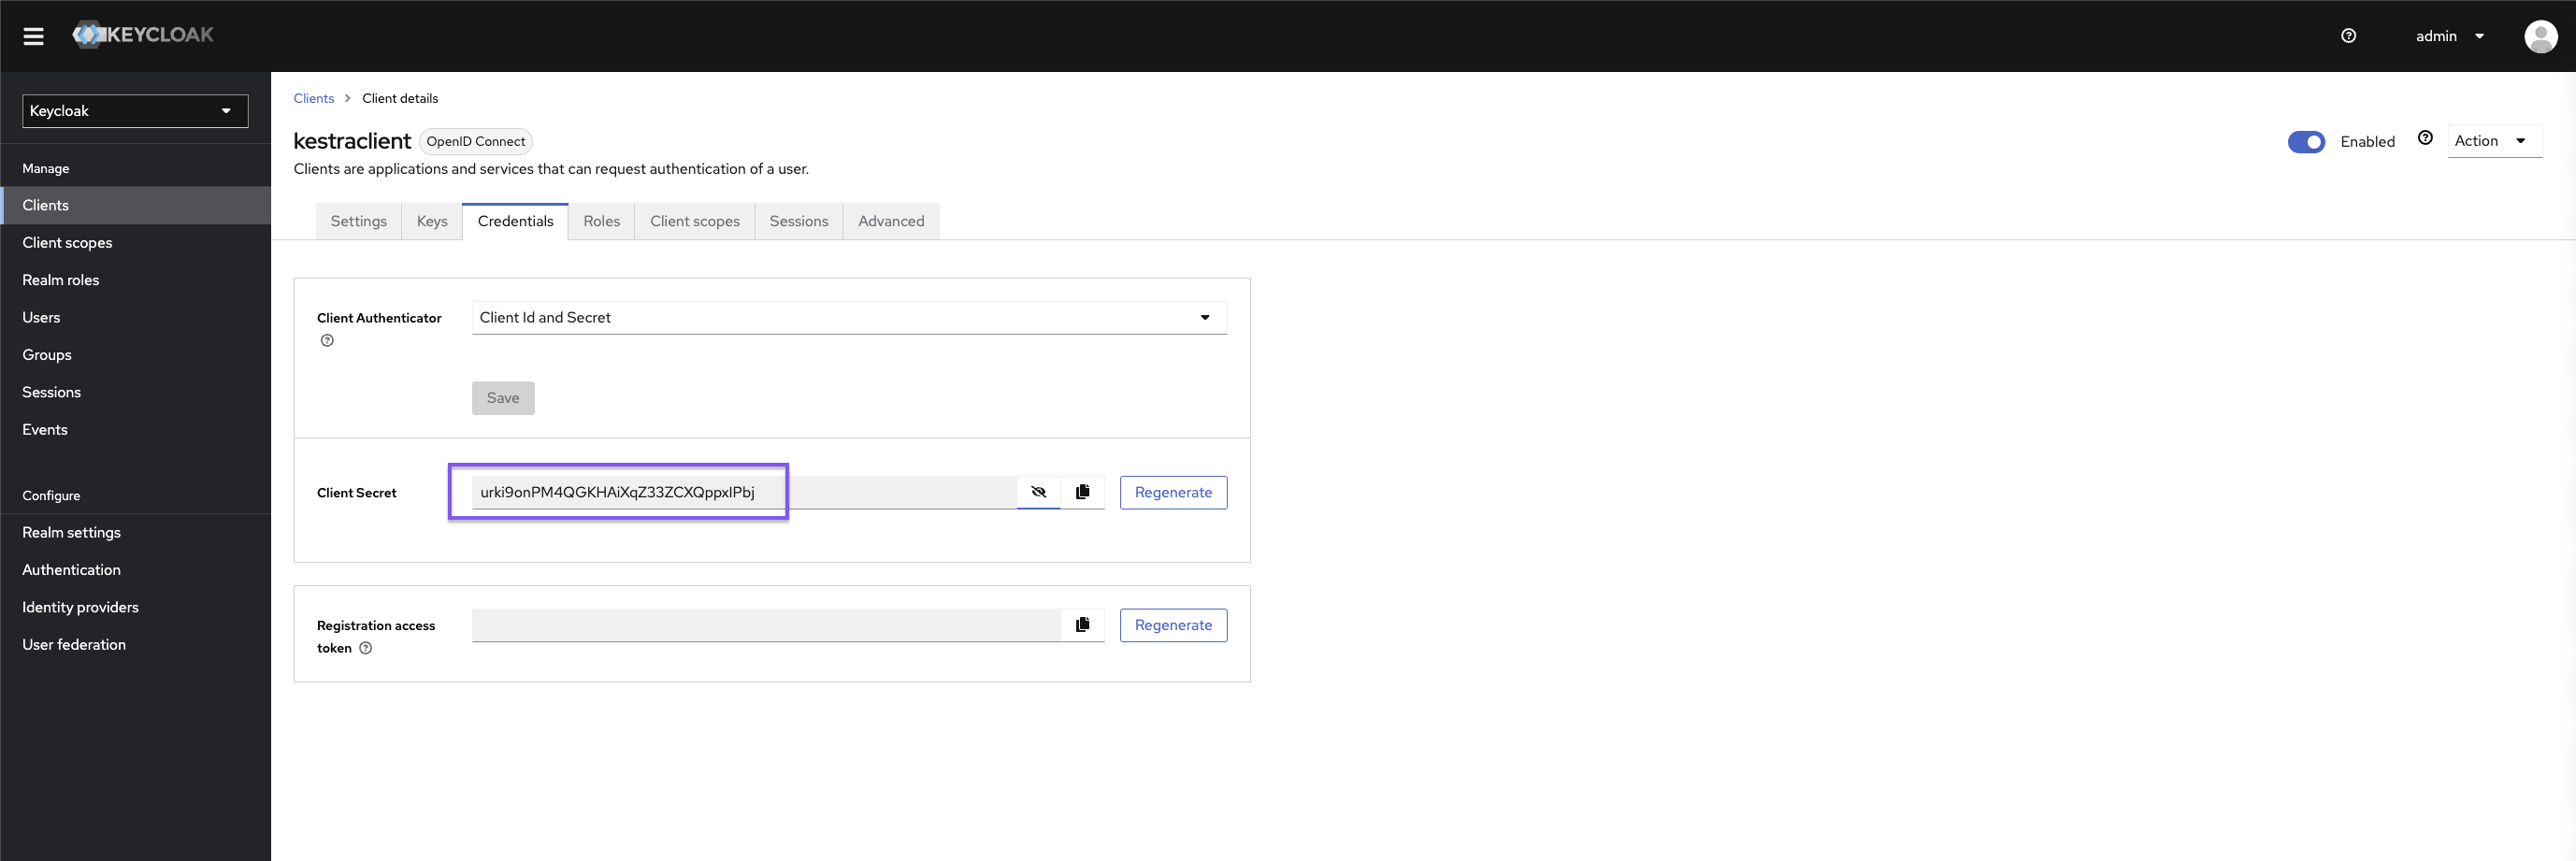
micronaut: security: oauth2: enabled: true clients: keycloak: client-id: "{{clientId}}" client-secret: "{{clientSecret}}" openid: issuer: "https://{{keyCloakServer}}/auth/realms/{{yourRealm}}" endpoints: logout: get-allowed: trueYou can retrieve clientId and clientSecret via the Keycloak user interface.
Don’t forget to set a default role in your Kestra Security and Secrets configuration to streamline the process of adding new users.
kestra: security: defaultRole: name: Editor description: Default Editor role permissions: FLOW: ["CREATE", "READ", "UPDATE", "DELETE"] EXECUTION: - CREATE - READ - UPDATE - DELETENote: Depending on the Keycloak configuration, you might want to tune the issuer URL.
For more configuration details, refer to the Keycloak OIDC configuration guide.
Was this page helpful?