Keep Namespace Files in Sync with Git Using SyncNamespaceFiles
For the complete documentation index, see llms.txt. For a full content snapshot, see llms-full.txt. Append.mdto anykestra.io/docs/*URL for plain Markdown.
Sync files from a Git Repository to Kestra with SyncNamespaceFiles Task.
The SyncNamespaceFiles task is a powerful integration that allows you to sync your namespace files with Git from the UI while still managing this process entirely in code! Kestra unifies the development experience between the UI and code so you can combine the best of both worlds without sacrificing the benefits of version control.
The task syncs one or more namespace files from a Git repository on a schedule or anytime you push a change to a given Git branch.
Before you begin
Before you start using the SyncNamespaceFiles task, ensure the following prerequisites are in place:
- A Git repository where you want to sync your files. If you haven’t pushed any files yet, see the guide using the PushNamespaceFiles task.
- A Personal Access Token (PAT) for Git authentication.
- A running Kestra instance in a version 0.17.0 or later with the PAT stored as a secret within the Kestra instance.
Using the dryRun property
Here is a sync flow that will sync the git namespace with files from the repository in the _files directory.
id: sync_files_from_gitnamespace: company.ops
tasks:  - id: sync_files    type: io.kestra.plugin.git.SyncNamespaceFiles    username: git_username    password: "{{ secret('GITHUB_ACCESS_TOKEN') }}"    url: https://github.com/git_username/scripts    branch: main    namespace: git    gitDirectory: _files    dryRun: true
Given that the dryRun property is set to true, the task will only output changes from the Git repository without syncing any files to Kestra yet:
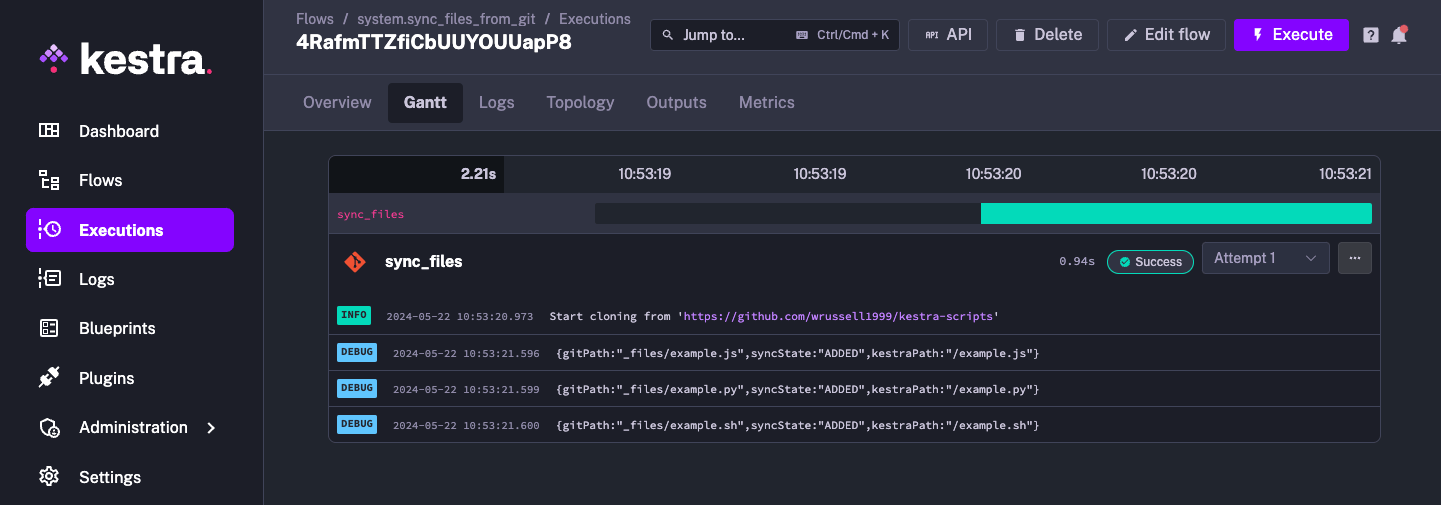
The files listed are the same ones we added in the PushNamespaceFiles guide.
Sync all files to a single namespace from Git
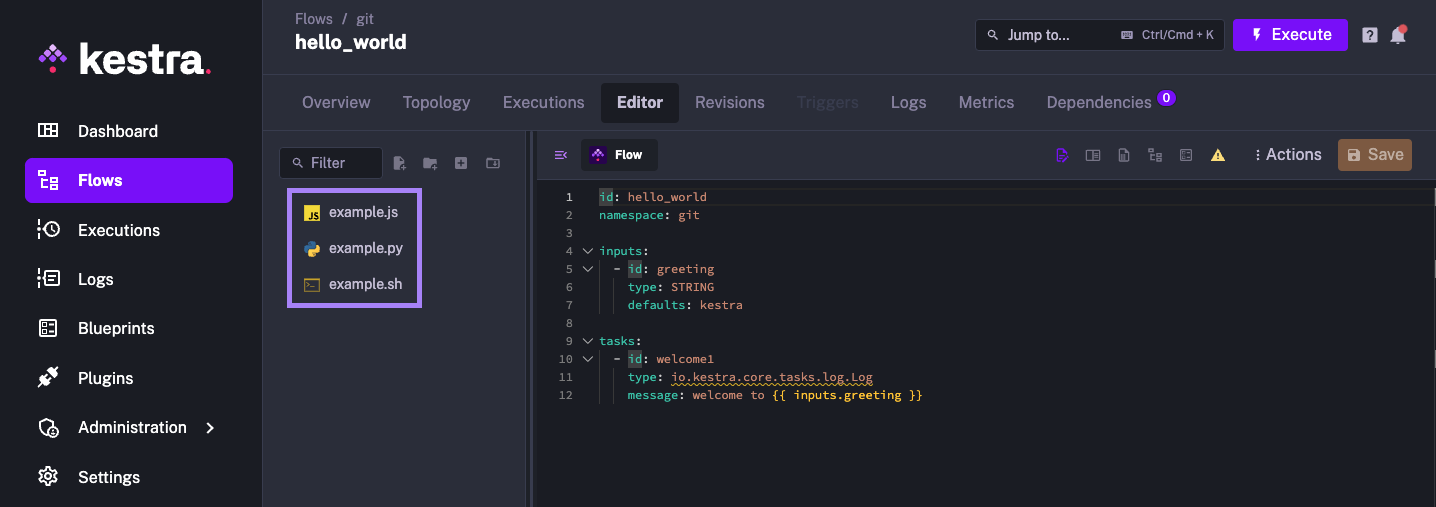
Set the dryRun property to false and sync the repository with Kestra:
id: sync_files_from_gitnamespace: company.ops
tasks:  - id: sync_files    type: io.kestra.plugin.git.SyncNamespaceFiles    ...    dryRun: false
You should see the same files from the earlier log now in Kestra:
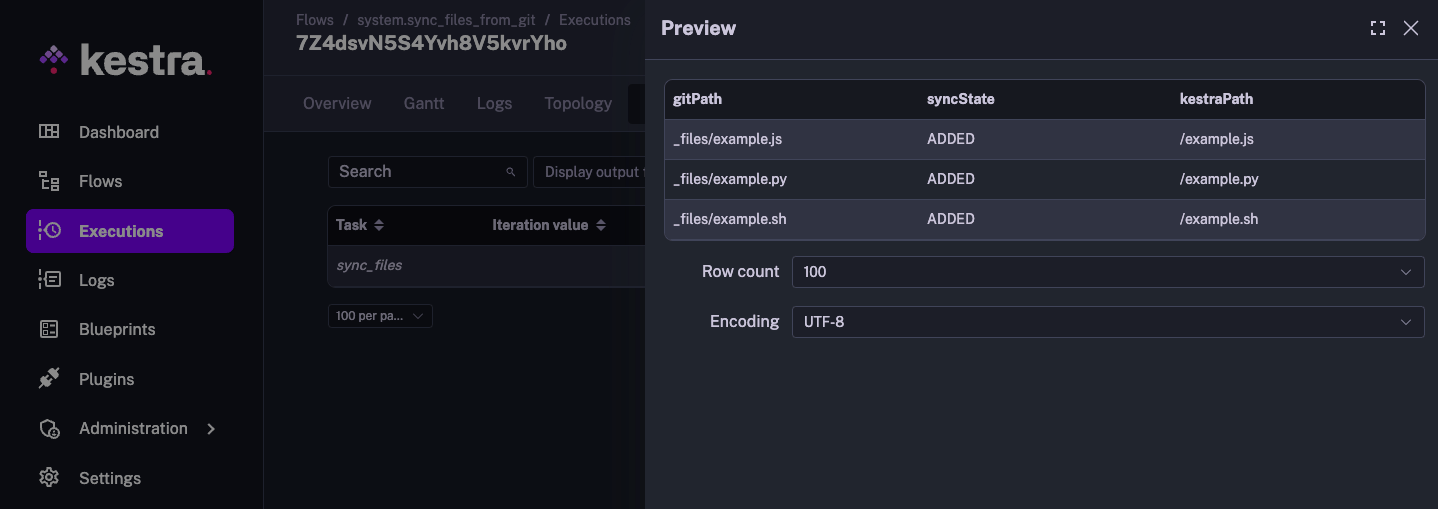
A full list is also available in the Outputs tab:
Set up a schedule
A common use case for this task is to set up a routine schedule to keep Kestra in sync with the Git repository. Add a Schedule trigger. This example has a cron expression to execute once every hour:
id: sync_files_from_gitnamespace: company.ops
tasks:  - id: sync_files    type: io.kestra.plugin.git.SyncNamespaceFiles    username: git_username    password: "{{ secret('GITHUB_ACCESS_TOKEN') }}"    url: https://github.com/git_username/scripts    branch: main    namespace: git    gitDirectory: _files
triggers:  - id: every_full_hour    type: io.kestra.plugin.core.trigger.Schedule    cron: "* 0 * * *"
Automatically sync when a change is pushed to Git
You can also automate the syncing process by adding a Webhook trigger and creating a Webhook on your GitHub repository to trigger the flow every time something is pushed to the repository. This is useful for keeping Kestra always in sync with the repository.
id: sync_files_from_gitnamespace: company.ops
tasks:  - id: sync_files    type: io.kestra.plugin.git.SyncNamespaceFiles    username: git_username    password: "{{ secret('GITHUB_ACCESS_TOKEN') }}"    url: https://github.com/git_username/scipts    branch: main    namespace: git    gitDirectory: _files
triggers:  - id: gh_webhook    type: io.kestra.plugin.core.trigger.Webhook    key: abcdefg
To setup this webhook, go to the Settings for your GitHub repository and head to Webhooks and create a new Webhook:
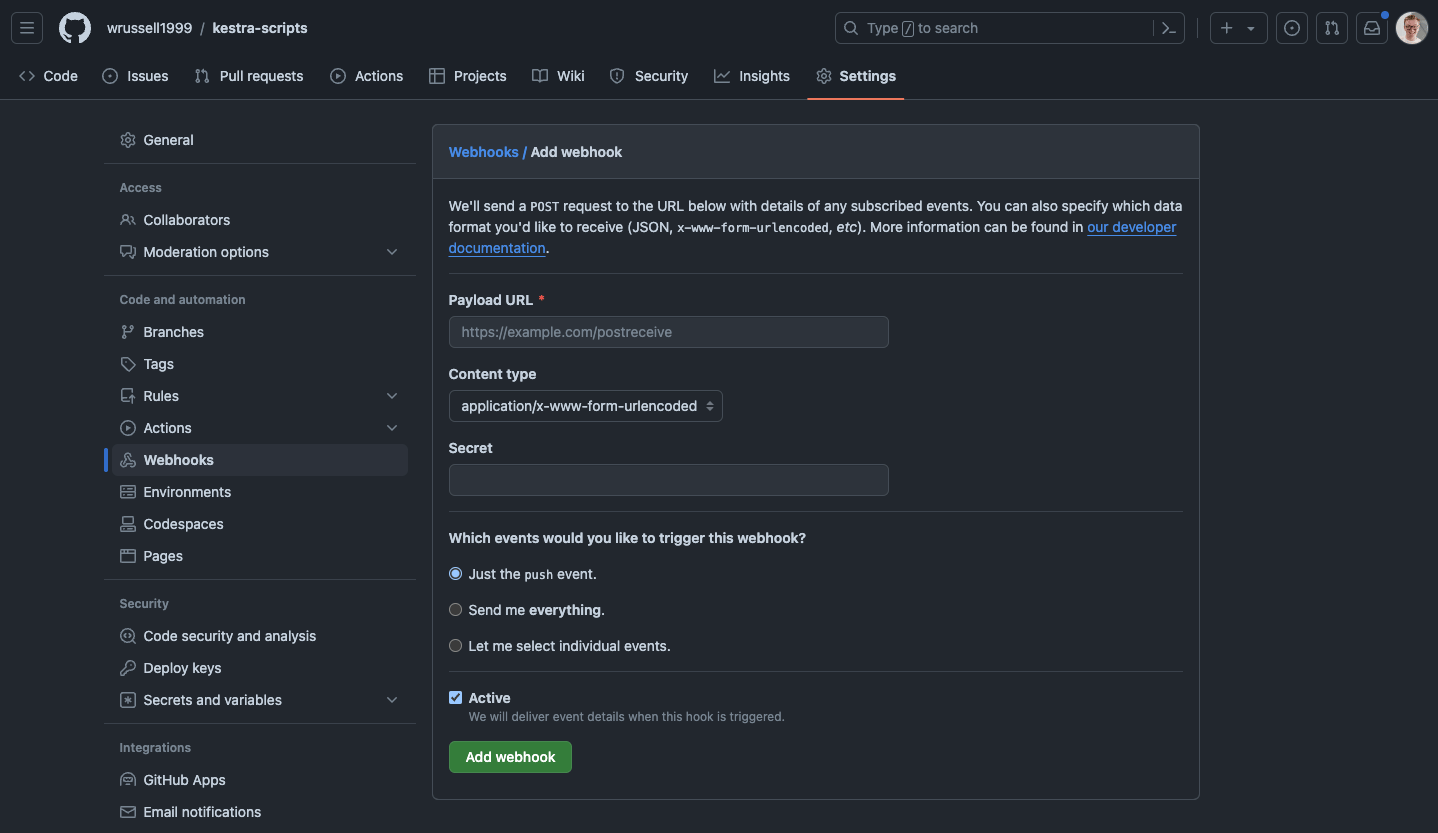
For the Payload URL, your URL will follow the following format:
https://{your_hostname}/api/v1/main/executions/webhook/company.ops/sync_files_from_git/abcdefgThis will require your host name to be publicly accessible. If you want to test this without having to deploy Kestra first, you can use a tool like ngrok to tunnel Kestra so GitHub can see it. As we’re putting the secret in the URL, we can leave the Secret field blank.
Save and test by committing something to the Git repository.
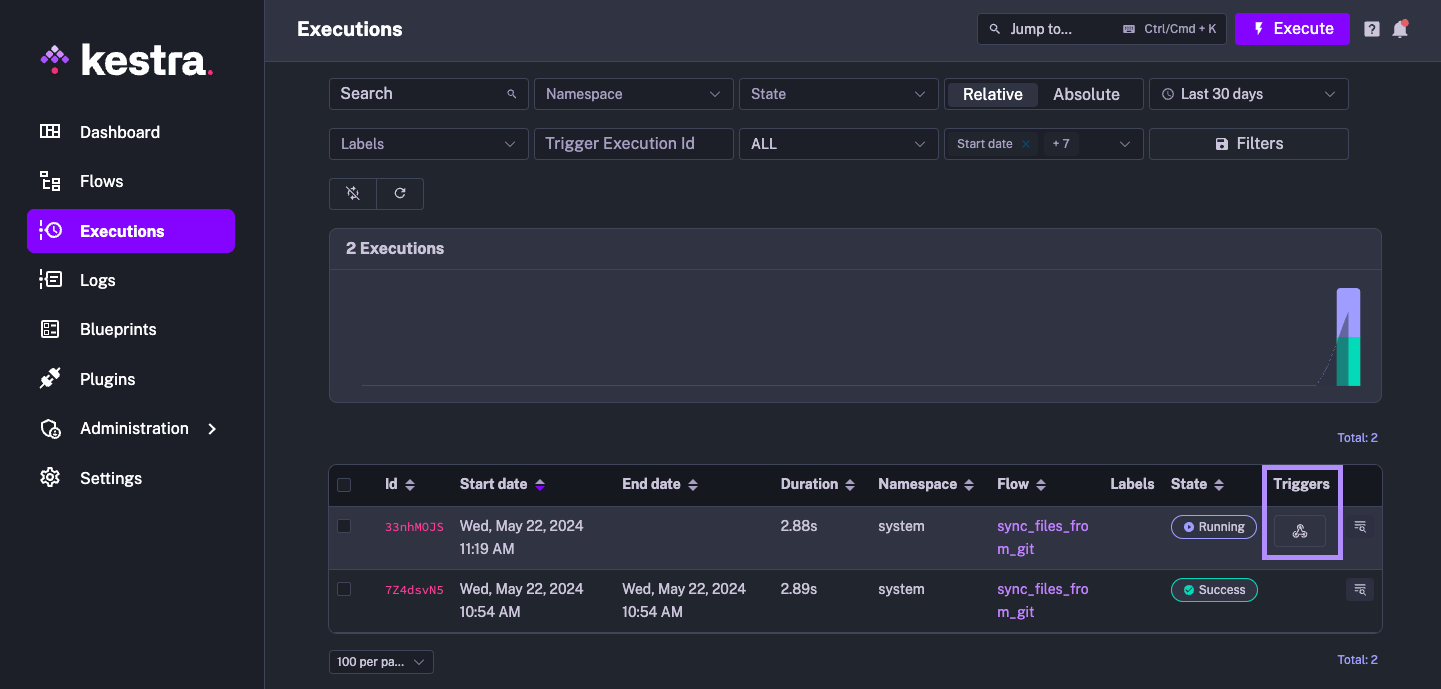
The most recent execution was triggered by the Webhook, keeping Kestra in sync with the Git repository automatically.
If you also want to sync your flows, see the guide on syncing flows.
Was this page helpful?